Microsoft 365 Apps (formerly known as Microsoft Office 365 Apps) is the most common office productivity suite installed by customers in their Frame environments. While Microsoft 365 App installation on physical laptops/desktops and persistent virtual desktops is straightforward, Frame administrators need to perform an additional configuration step to Microsoft 365 Apps once they have been installed in a non-persistent Frame account gold image.
This solution guide discusses how Frame administrators can install and configure Microsoft 365 Apps for use in a non-persistent Frame account with Enterprise Profiles. The two prerequisites for delivering Microsoft 365 Apps from Frame sessions are:
- An active Microsoft 365 subscription
- Configuring Microsoft 365 Apps for Microsoft shared computer activation
To persist the user's Microsoft activation information between sessions, Frame Enterprise Profiles or a third-party user profile solution, such as FSLogix or Liquidware ProfileUnity, must be enabled.
Microsoft 365 App Installation
Power up your Sandbox VM and start a new Frame session.
Open a browser and login to your Microsoft 365 Dashboard and download the Microsoft 365 Apps Installer.
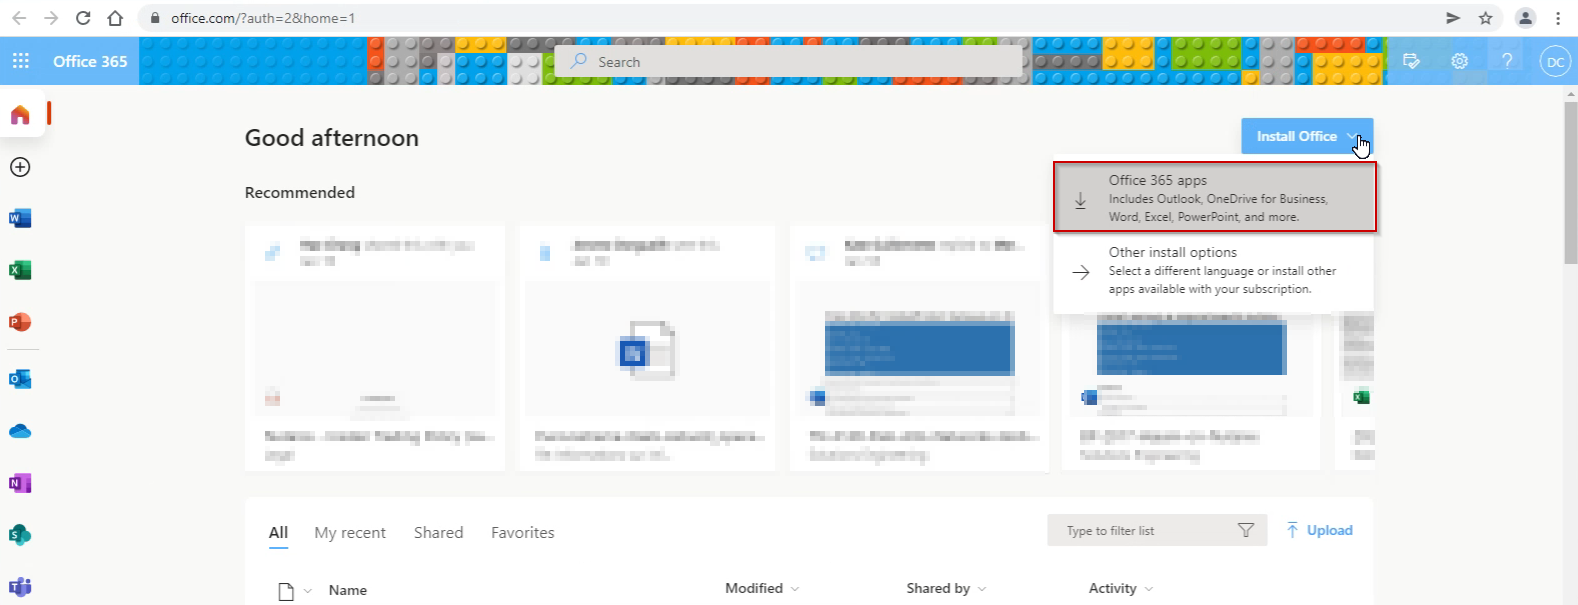
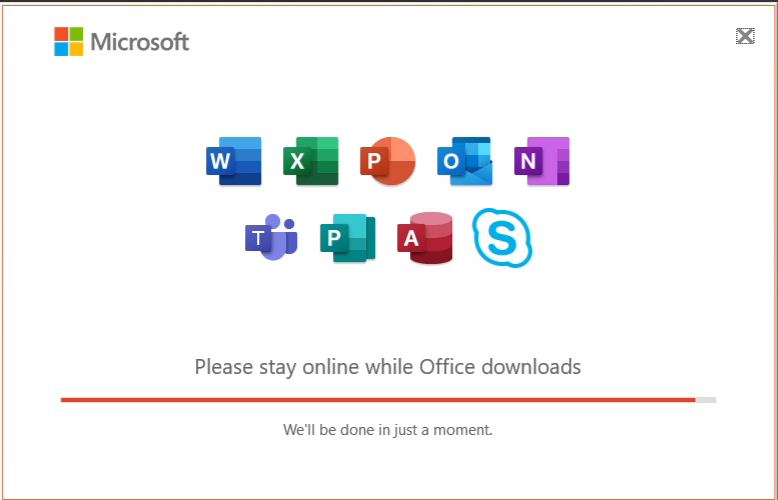
Execute the installer and it will start downloading and installing Office in your Sandbox.
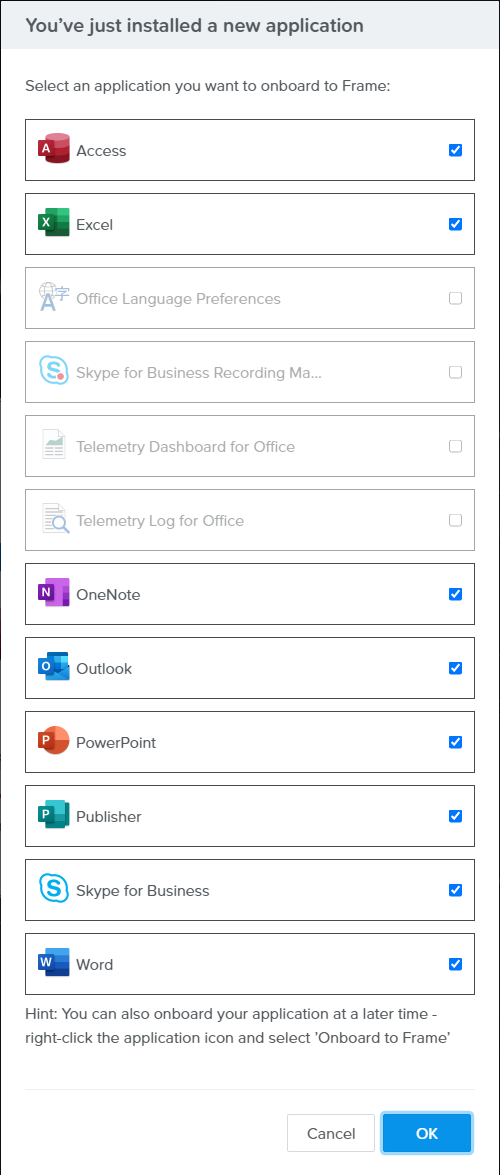
After your Microsoft 365 App installation is finished, Frame will ask you whether you wish to onboard any of the Office applications. If you only plan to deliver a desktop experience, you can click Cancel to skip onboarding of applications. Otherwise, select the Microsoft 365 Apps you wish to deliver as individual applications and click OK. You can always onboard Microsoft 365 apps at another time.
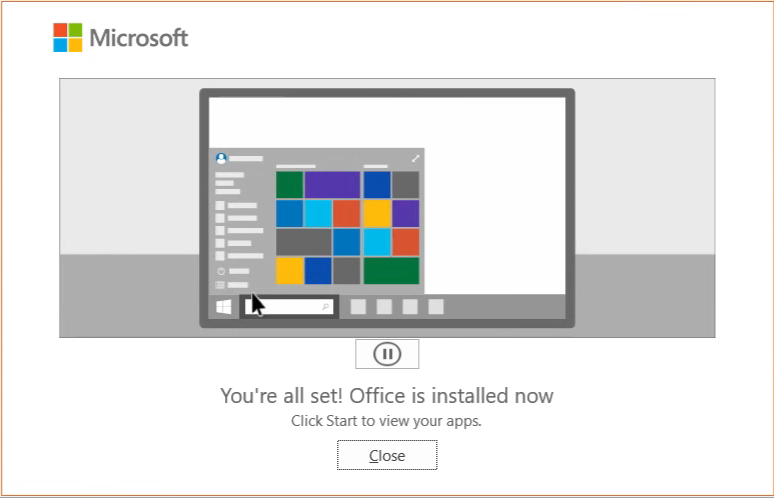
Close the Microsoft 365 installation window.
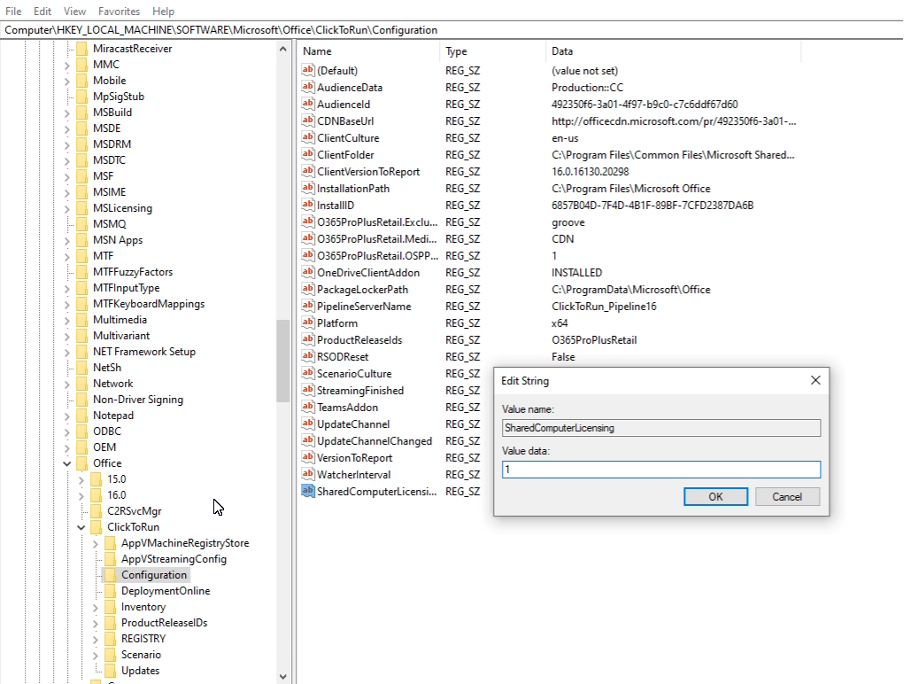
Next, open the registry editor (regedit.exe) and navigate to HKEY_LOCAL_MACHINE\SOFTWARE\Microsoft\Office\ClickToRun\Configuration. Create a new String with the Value name SharedComputerLicensing and value data 1.
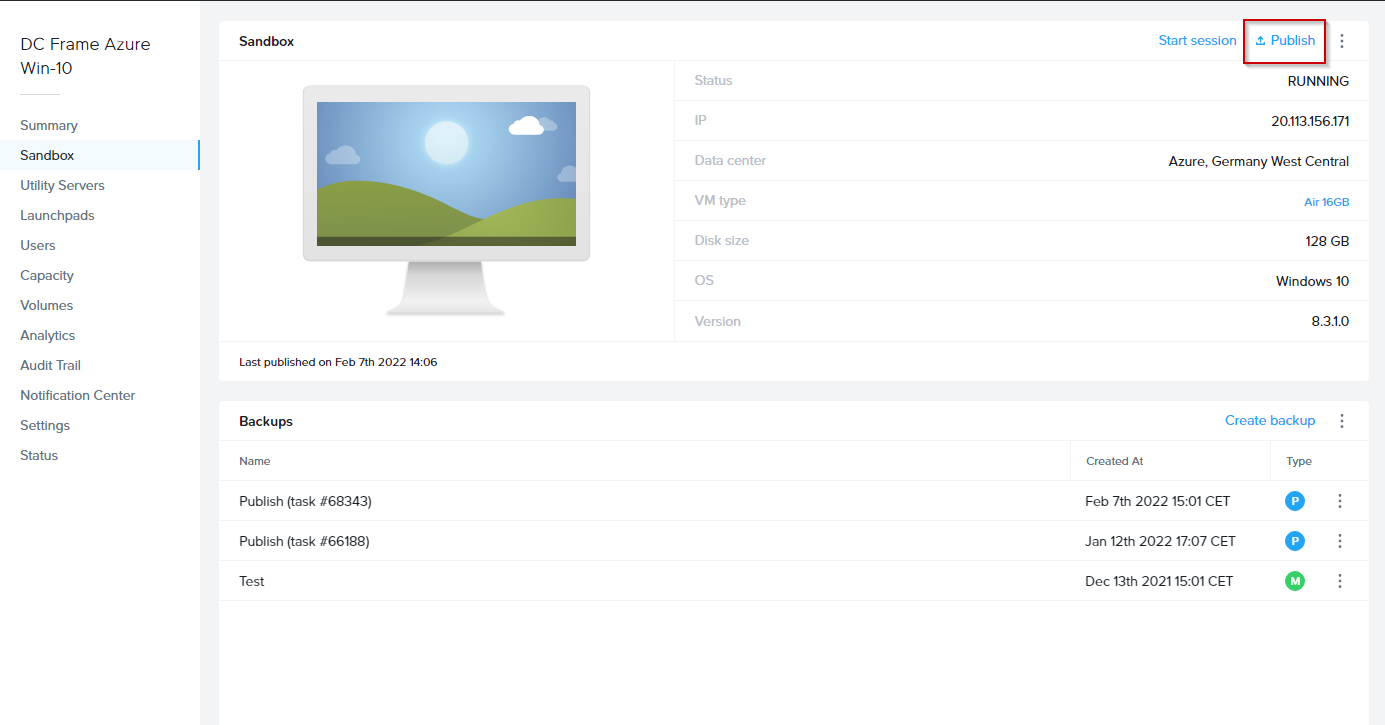
Close your Sandbox session and publish your Sandbox to roll out your changes to your production pool(s).
Application Launchpad (Optional)
If you wish to deliver individual Microsoft 365 Apps without a Windows desktop experience and have onboarded at least one Microsoft 365 App in Step 4, you can create an Application Launchpad and specify the onboarded Microsoft 365 Apps you wish to make available to your Application Launchpad users following the instructions below. Otherwise, if you plan to simply deliver a desktop, then skip this section and proceed to Enable Enterprise Profiles.
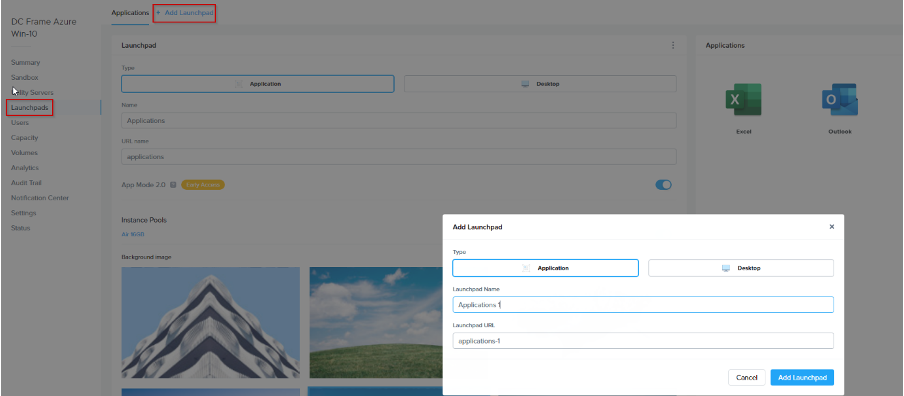
While the Publish is running, switch to the Launchpad page, and create a new Application Launchpad for your Microsoft 365 Apps.
- Click Add Launchpad
- Select Application as the Launchpad Type and specify the Name and Launchpad URL. Click Add Launchpad.
On the upper right-hand corner of the Application Launchpad page, click on Manage Applications and select all applications that should be available for this Launchpad.

Verify that in Launchpad > Session Settings, App Mode 2.0 is enabled for this Launchpad.

Enable Enterprise Profiles
To persist a user's Microsoft activation information between Frame sessions from non-persistent workload VMs so users do not need to authenticate to Microsoft each time they start a Frame session to use their MIcrosoft 365 Apps, you will need Frame Enterprise Profiles or a third-party profile management solution.
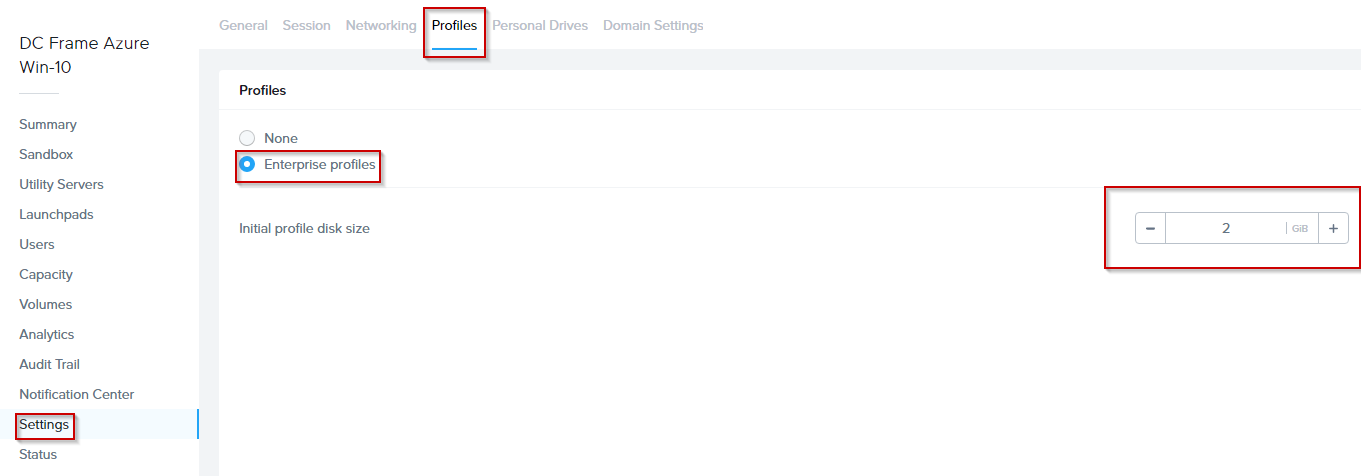
From your Account Dashboard, go to the Settings page and go to the Profiles tab. Click on the Enable Enterprise Profiles slider to enable Enterprise Profiles.
Test the User Experience
After the Publish process finishes, switch to your existing Desktop Launchpad or newly created Application Launchpad with one or more of your onboarded Microsoft 365 Apps.
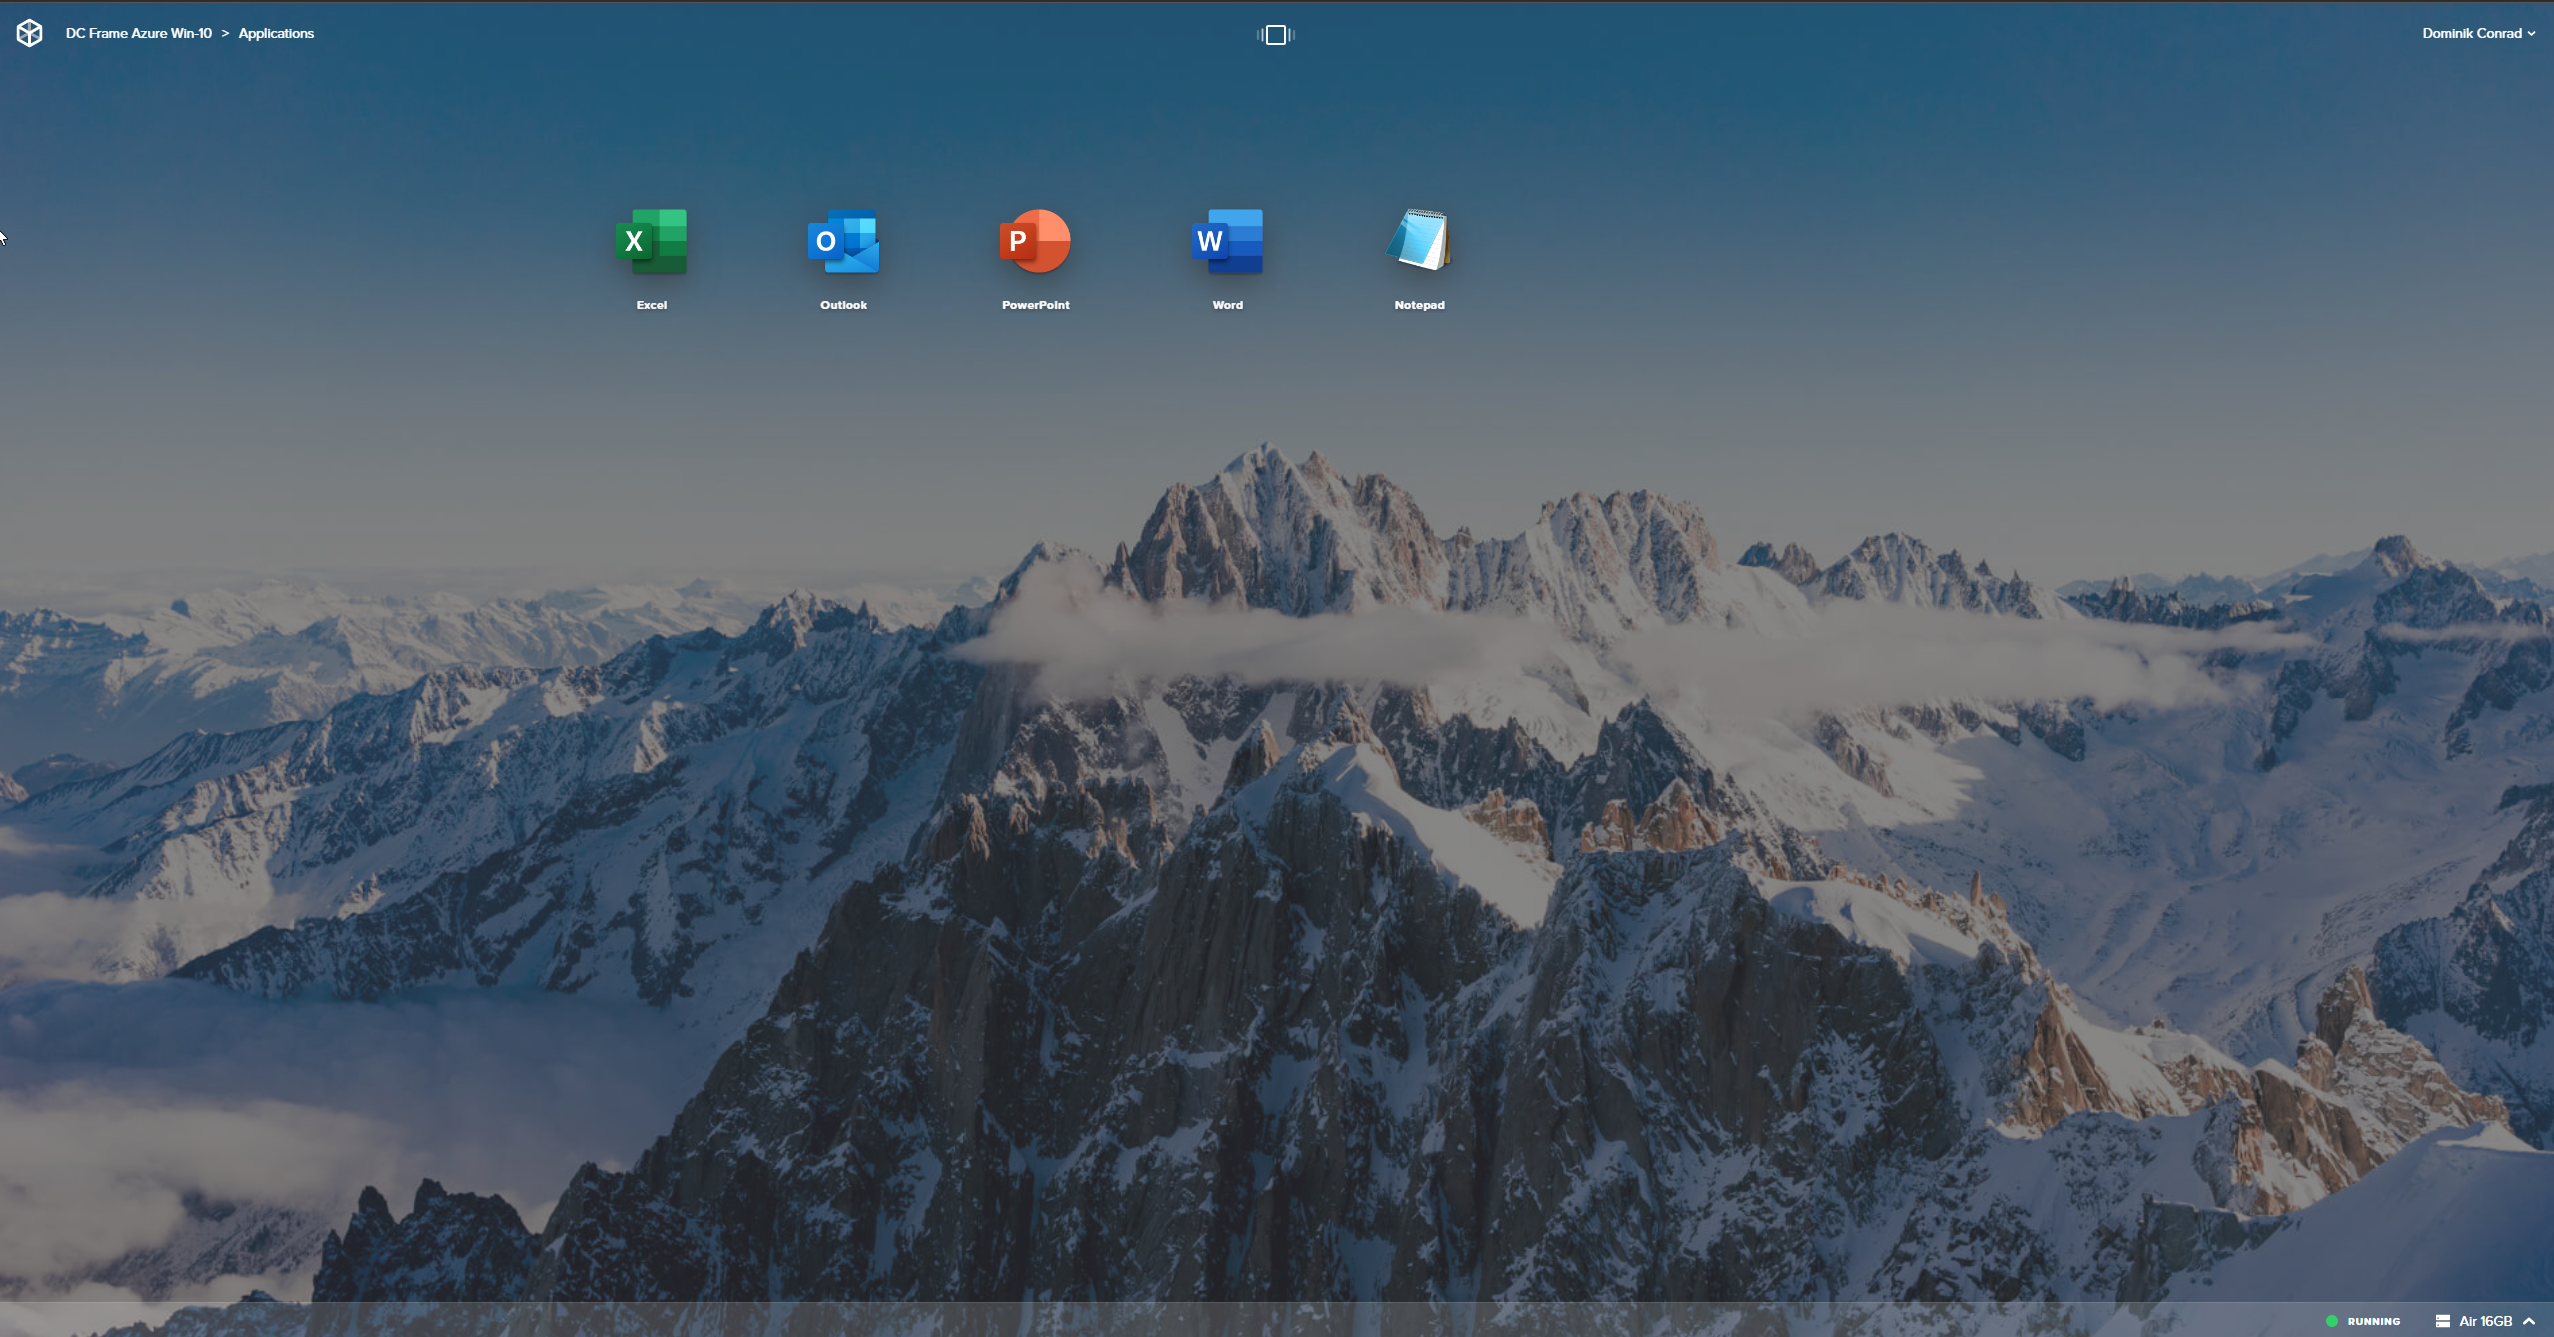
Start a desktop or application only session.
The first time you start a Microsoft 365 application, you will see the Microsoft Office login window. Enter your Microsoft 365 user credentials from your active Microsoft 365 subscription to activate your Microsoft 365 license.
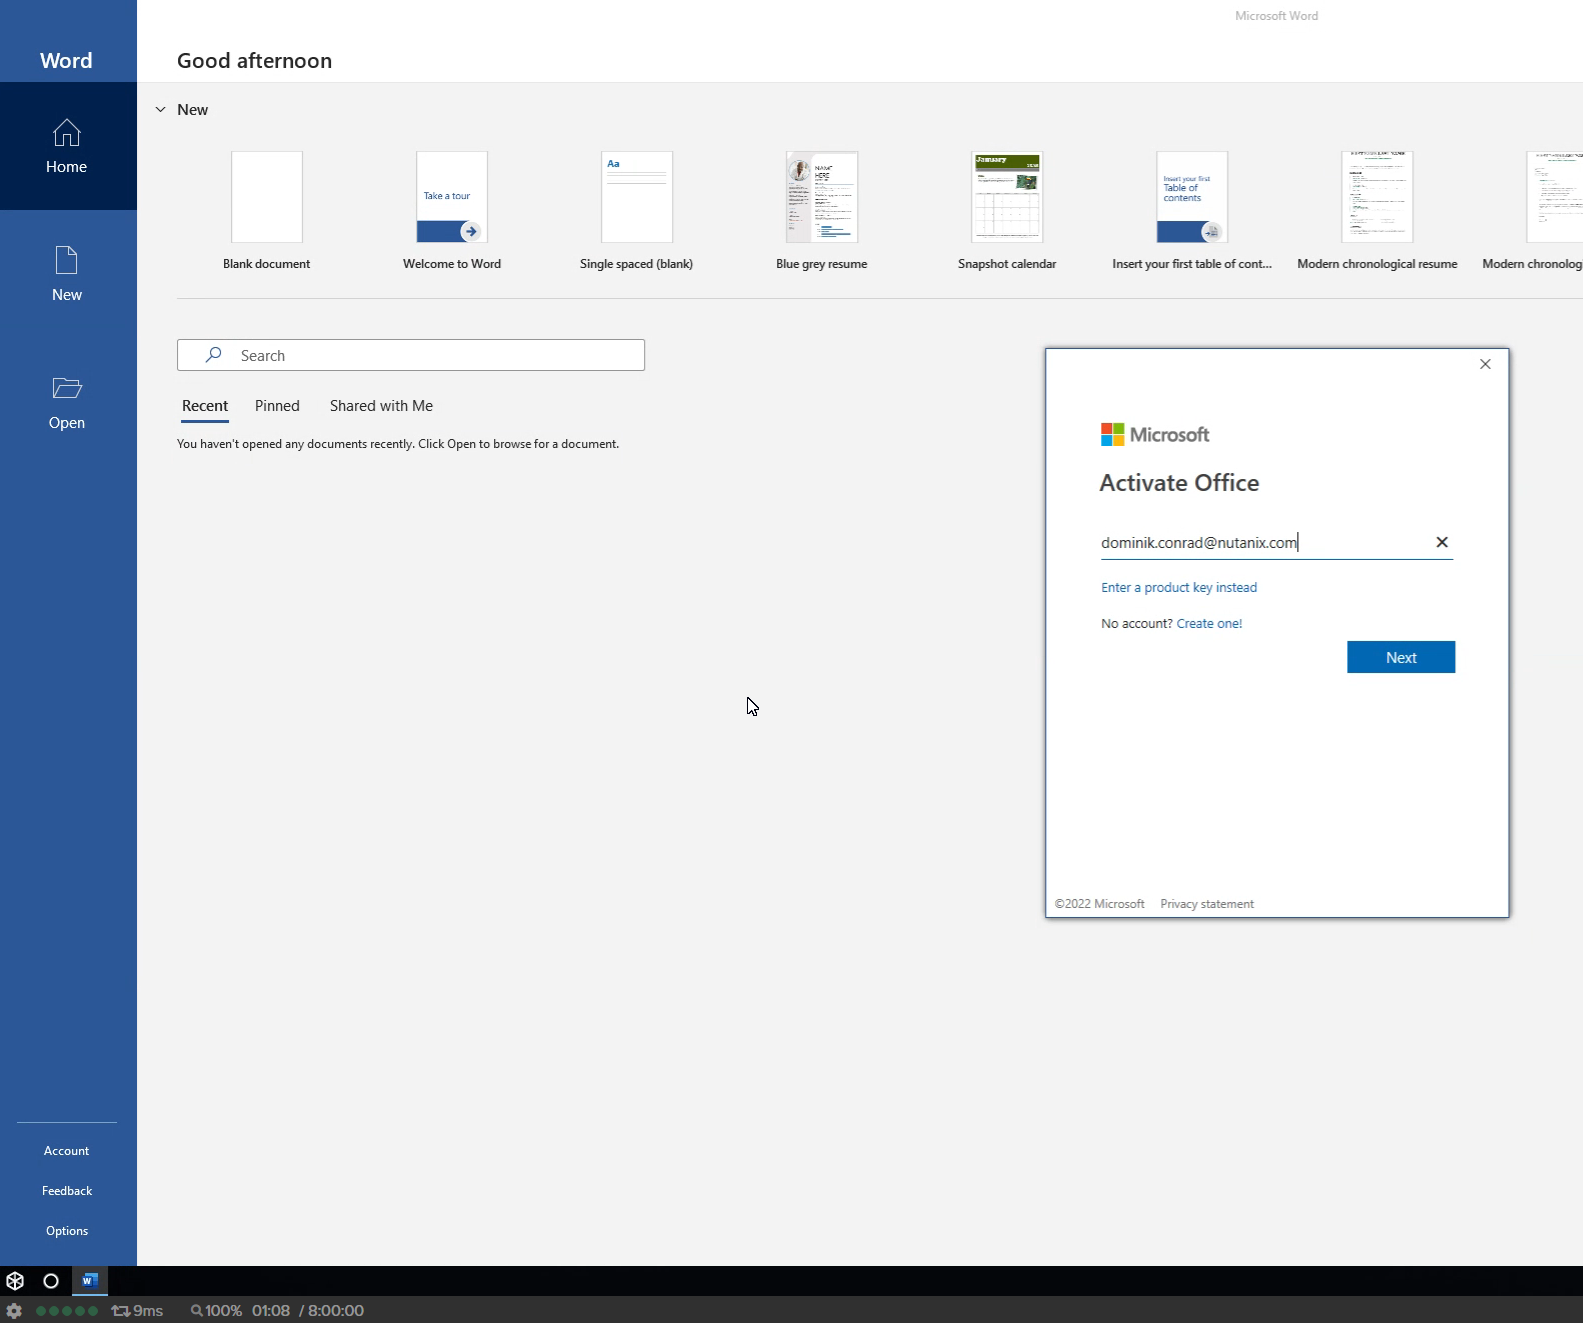
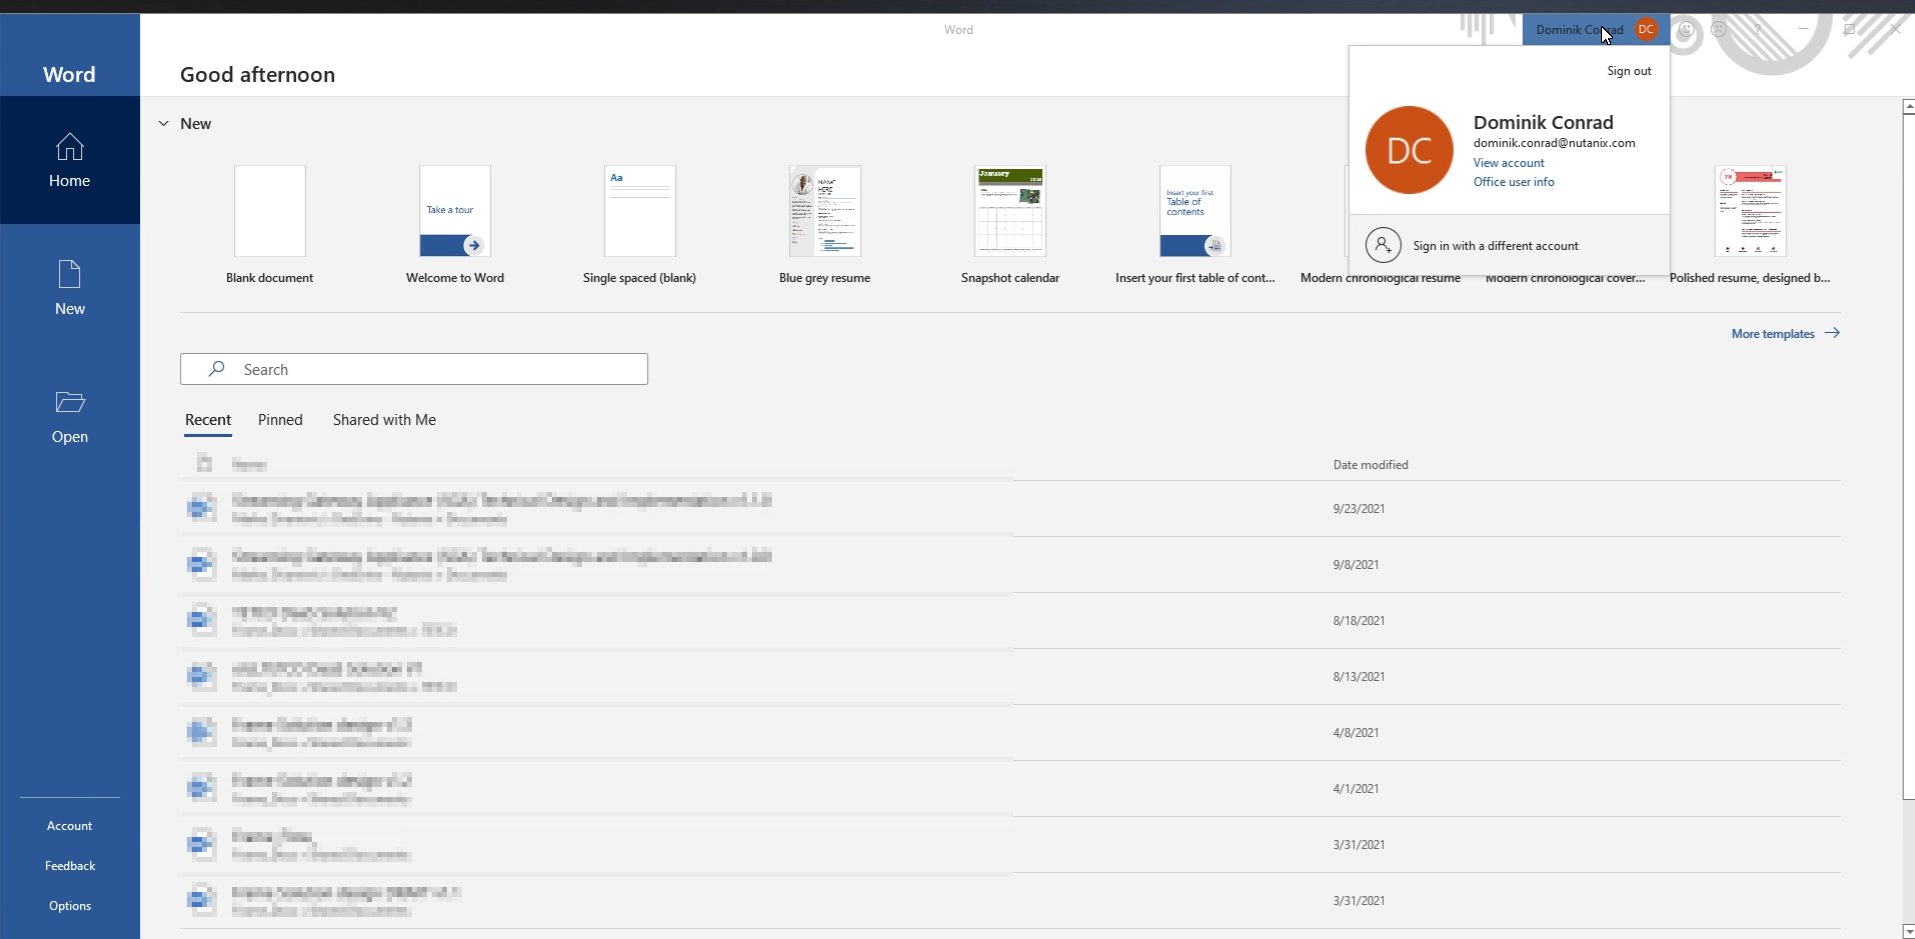
Confirm you have successfully logged into Microsoft 365 and can use your Microsoft 365 application. Then, close your Frame session. Your Microsoft 365 activation information will be saved to your enterprise profile disk upon Frame session close.
Start a new Frame session and open any Microsoft 365 App. Office should pick up your Microsoft 365 activation information and indicate that you have a valid Microsoft 365 license.
Conclusion
The installation and configuration of Microsoft 365 in a non-persistent DaaS environment requires the enablement of Microsoft's shared computer activation feature. Once the user has authenticated to Microsoft with the first Microsoft 365 App, Frame Enterprise Profiles or a third-party profile solution, such as FSLogix or Liquidware ProfileUnity, can be enabled to persist the user's Microsoft 365 activation information between Frame sessions.
