Navigating Frame
It is time to move on to the main event: Navigating your Frame account. While there are many variables you can encounter with your Frame account, there are some universal basics that need to be understood first. In this guide we will review how you may access your session, basic session characteristics, basic account management, how to understand session performance, and much more.
Use the table of contents listed on the right side of this guide to navigate through different sections of this guide. ➡️
Launch your Session
As we defined it in the glossary of the previous guide, the Launchpad refers to the end-user-facing part of the Frame interface where users can go to launch and manipulate applications. There are a couple of different ways your administrator may have given you to access your Frame environment. After signing in, you will likely be taken to your Application or Desktop Launchpad.
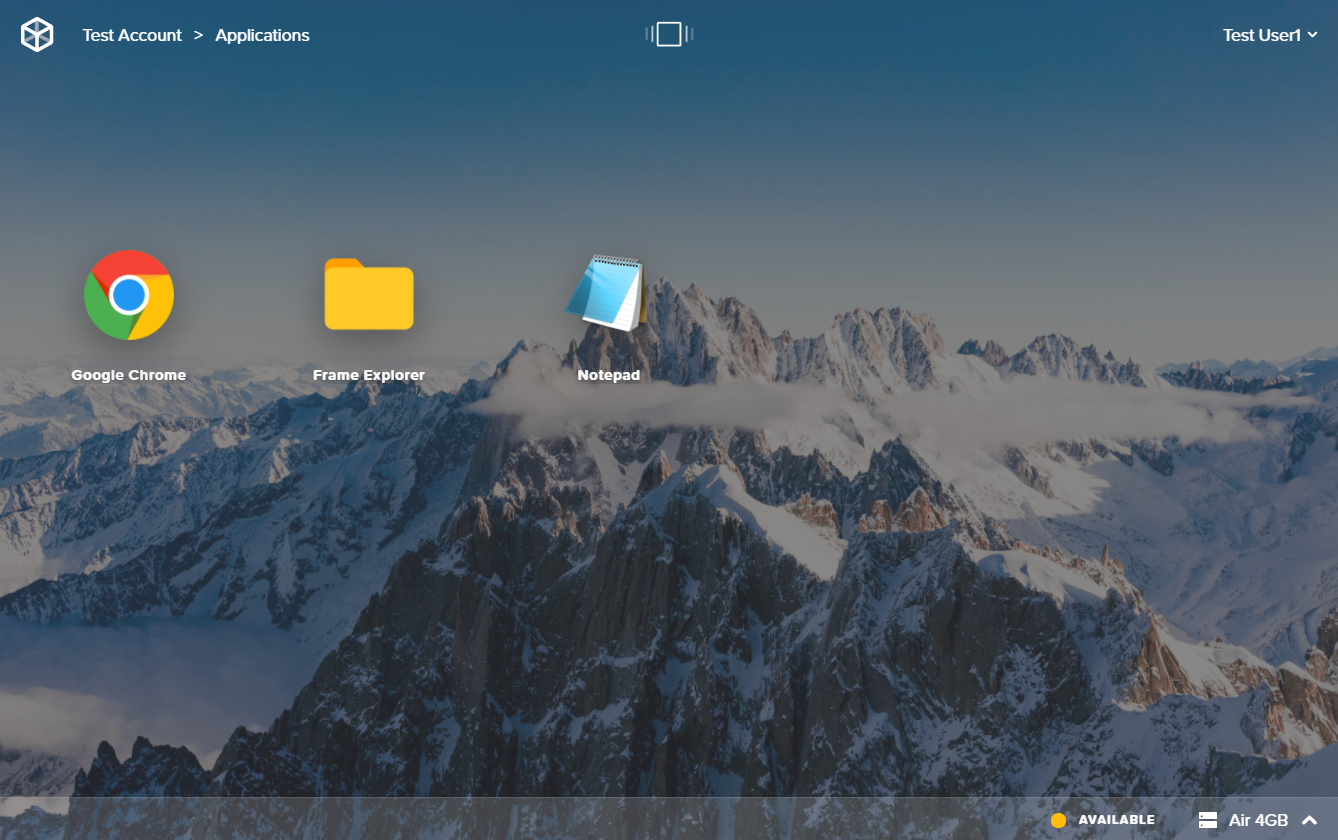
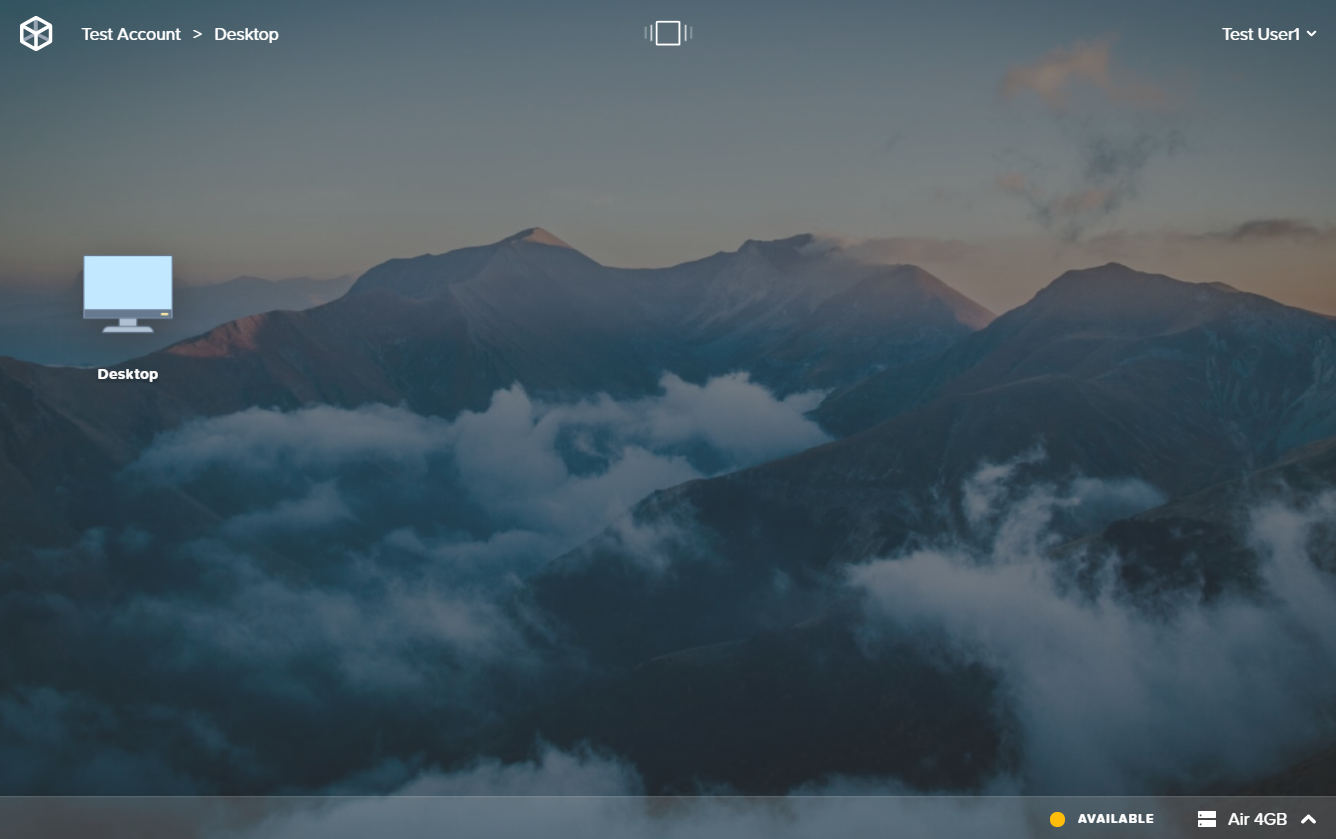
To start a session, simply click on the application you would like to launch. If your Launchpad shows only the "Desktop" icon, you will launch the entire desktop environment and can access all of your apps within the session. If you see individual applications, simply click on the app you would like to run. Application Launchpads only allow end users to run the application selected from the Launchpad. For Application Launchpad users, closing the application window within the Frame session will disconnect you and take you back to your Launchpad. When a session is disconnected, it will still be running and accessible from the Launchpad.
System Indicators
The system status indicator is located in the bottom right corner of your Launchpad. The indicator color and status lets you know the state of your session:
| Status Indicator Color | Meaning |
|---|---|
| Green | Green indicates that a virtual machine is powered on and available. Your Frame session will start in seconds, as the resources are already available. |
| Yellow | Yellow indicates that a virtual machine is available, but will take a couple of minutes to power on for you to use. |
| Red | Red indicates that there are no virtual machines available for you to use. If you cannot access a virtual machine, you will need to contact your account administrator. |
Multiple Launchpads
Your administrator may have provided you with access to multiple Launchpads. Switching between Launchpads is simple. Click on the Launchpad icon in the top center of your browser window.
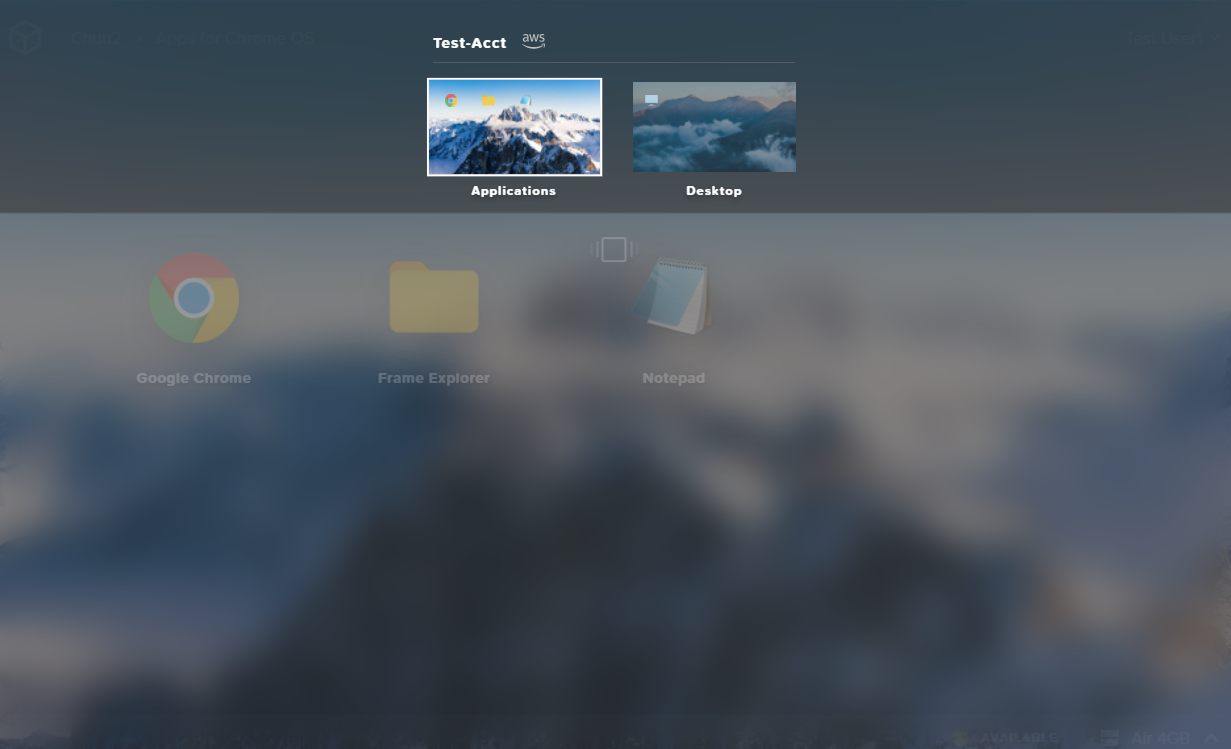
Your Launchpad selector displays the account name, IaaS provider, and Launchpad name for each Launchpad.
You can verify you are using the correct Launchpad by referencing the breadcrumbs in the upper left corner of your window.

As shown here, we're using the "Applications" Launchpad of our test account.
Switch your System Type
If your administrator has granted you access to more than one system (instance) type, you can switch system types based on the needs of your application. For example, you may normally work on text-based applications like Word and Excel, but occasionally need access to 3D design apps like Autodesk Maya. Text-based applications will do well with an Air 4GB instance type; however, if you need to access to a GPU to run a graphically-intensive app, you can switch to a Pro 16GB system with 4 CPU cores and an NVIDIA GRID GPU.
To switch your system type from your Launchpad, click on the arrow next to your current system type in the bottom right portion of your screen.
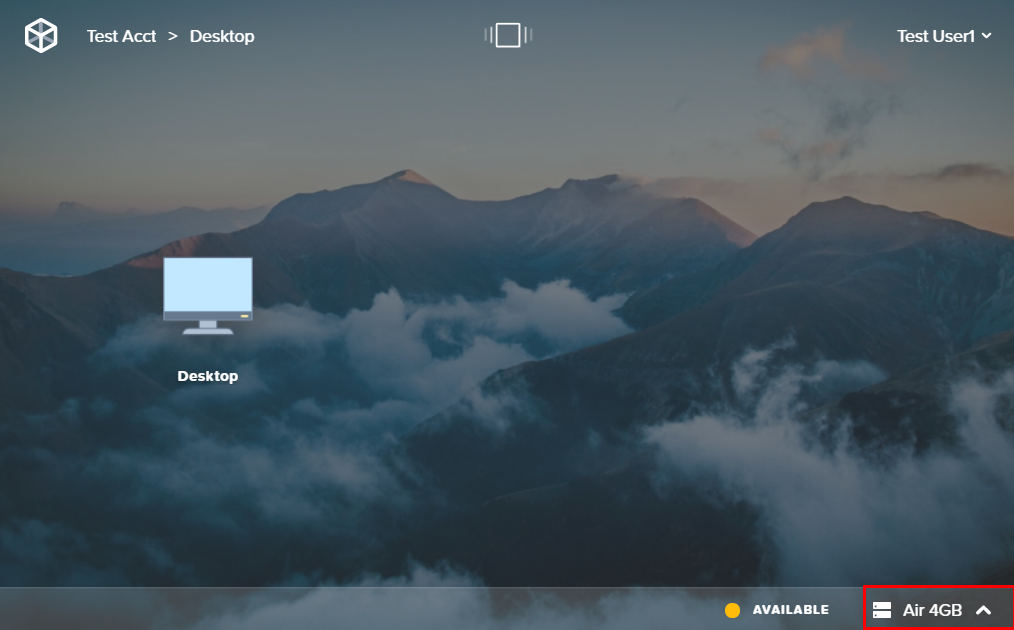
A list of available system types will appear, select the desired system type.
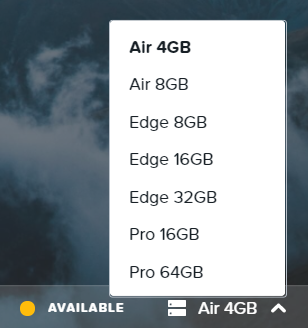
Whether you are launching to a desktop environment or launching an app, your session will start with the most recently selected system type.
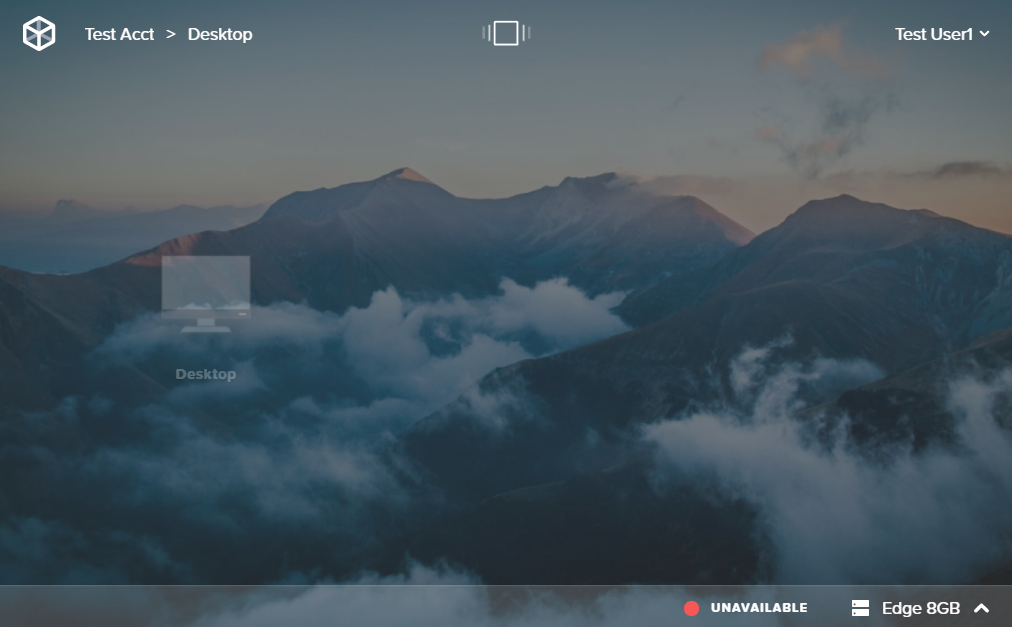
If your Launchpad appears “grayed out” (see below) and the system status is listed as “unavailable” after switching, your administrator may not have set up capacity for that system type. Contact your administrator if you feel this is an error.
Session Basics
In this section, we will outline how to perform basic actions and how to interpret the UI elements in your session. You will likely see some additional details not covered here. Don't worry! The next guide will go into more detail about some of the session settings and features that your administrator may have enabled for your account. For now, we'll start with the basics.
Start your Session
As mentioned in the section above, launching a session is as simple as clicking on an icon on your Launchpad. Once you have selected your application/desktop session, your session will launch in a couple of minutes or a couple of seconds, depending on your system status.
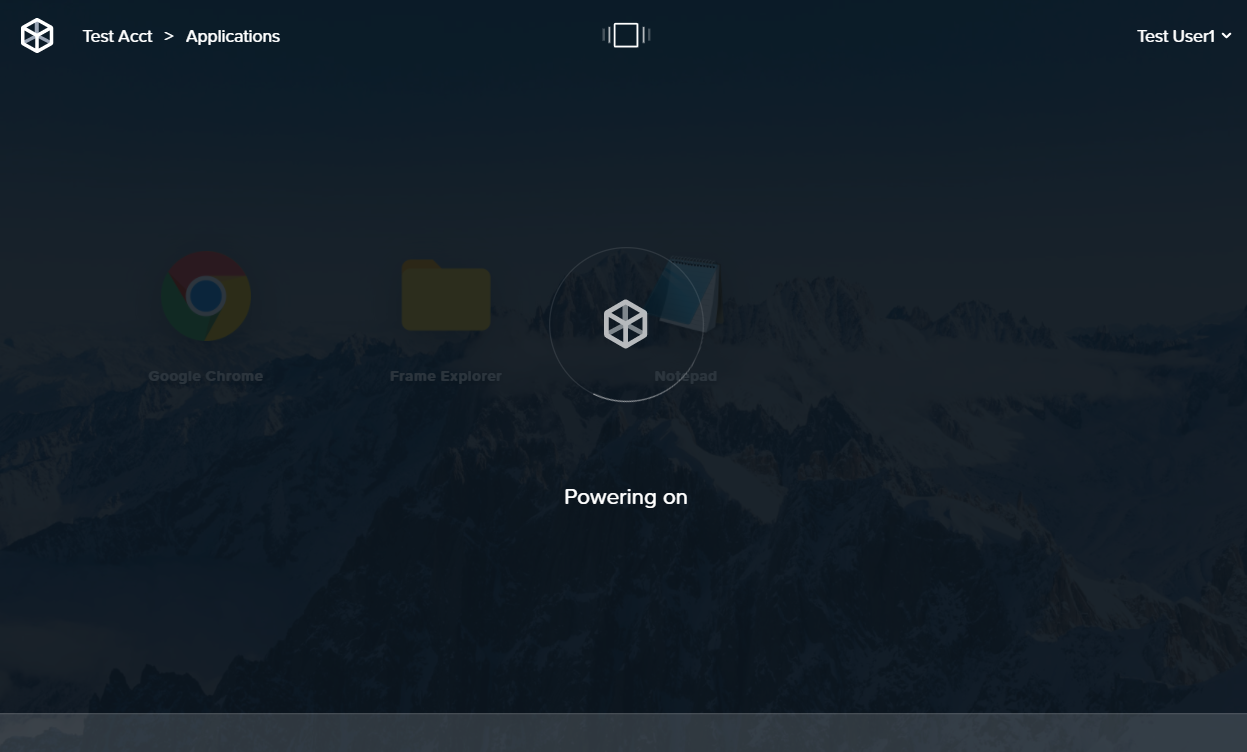
Our session is "powering on" which means that backend resources are powering on to create a session for us.
For this example, we launched Chrome from our Application Launchpad. After a minute or two, we can now use Chrome in our Frame session.
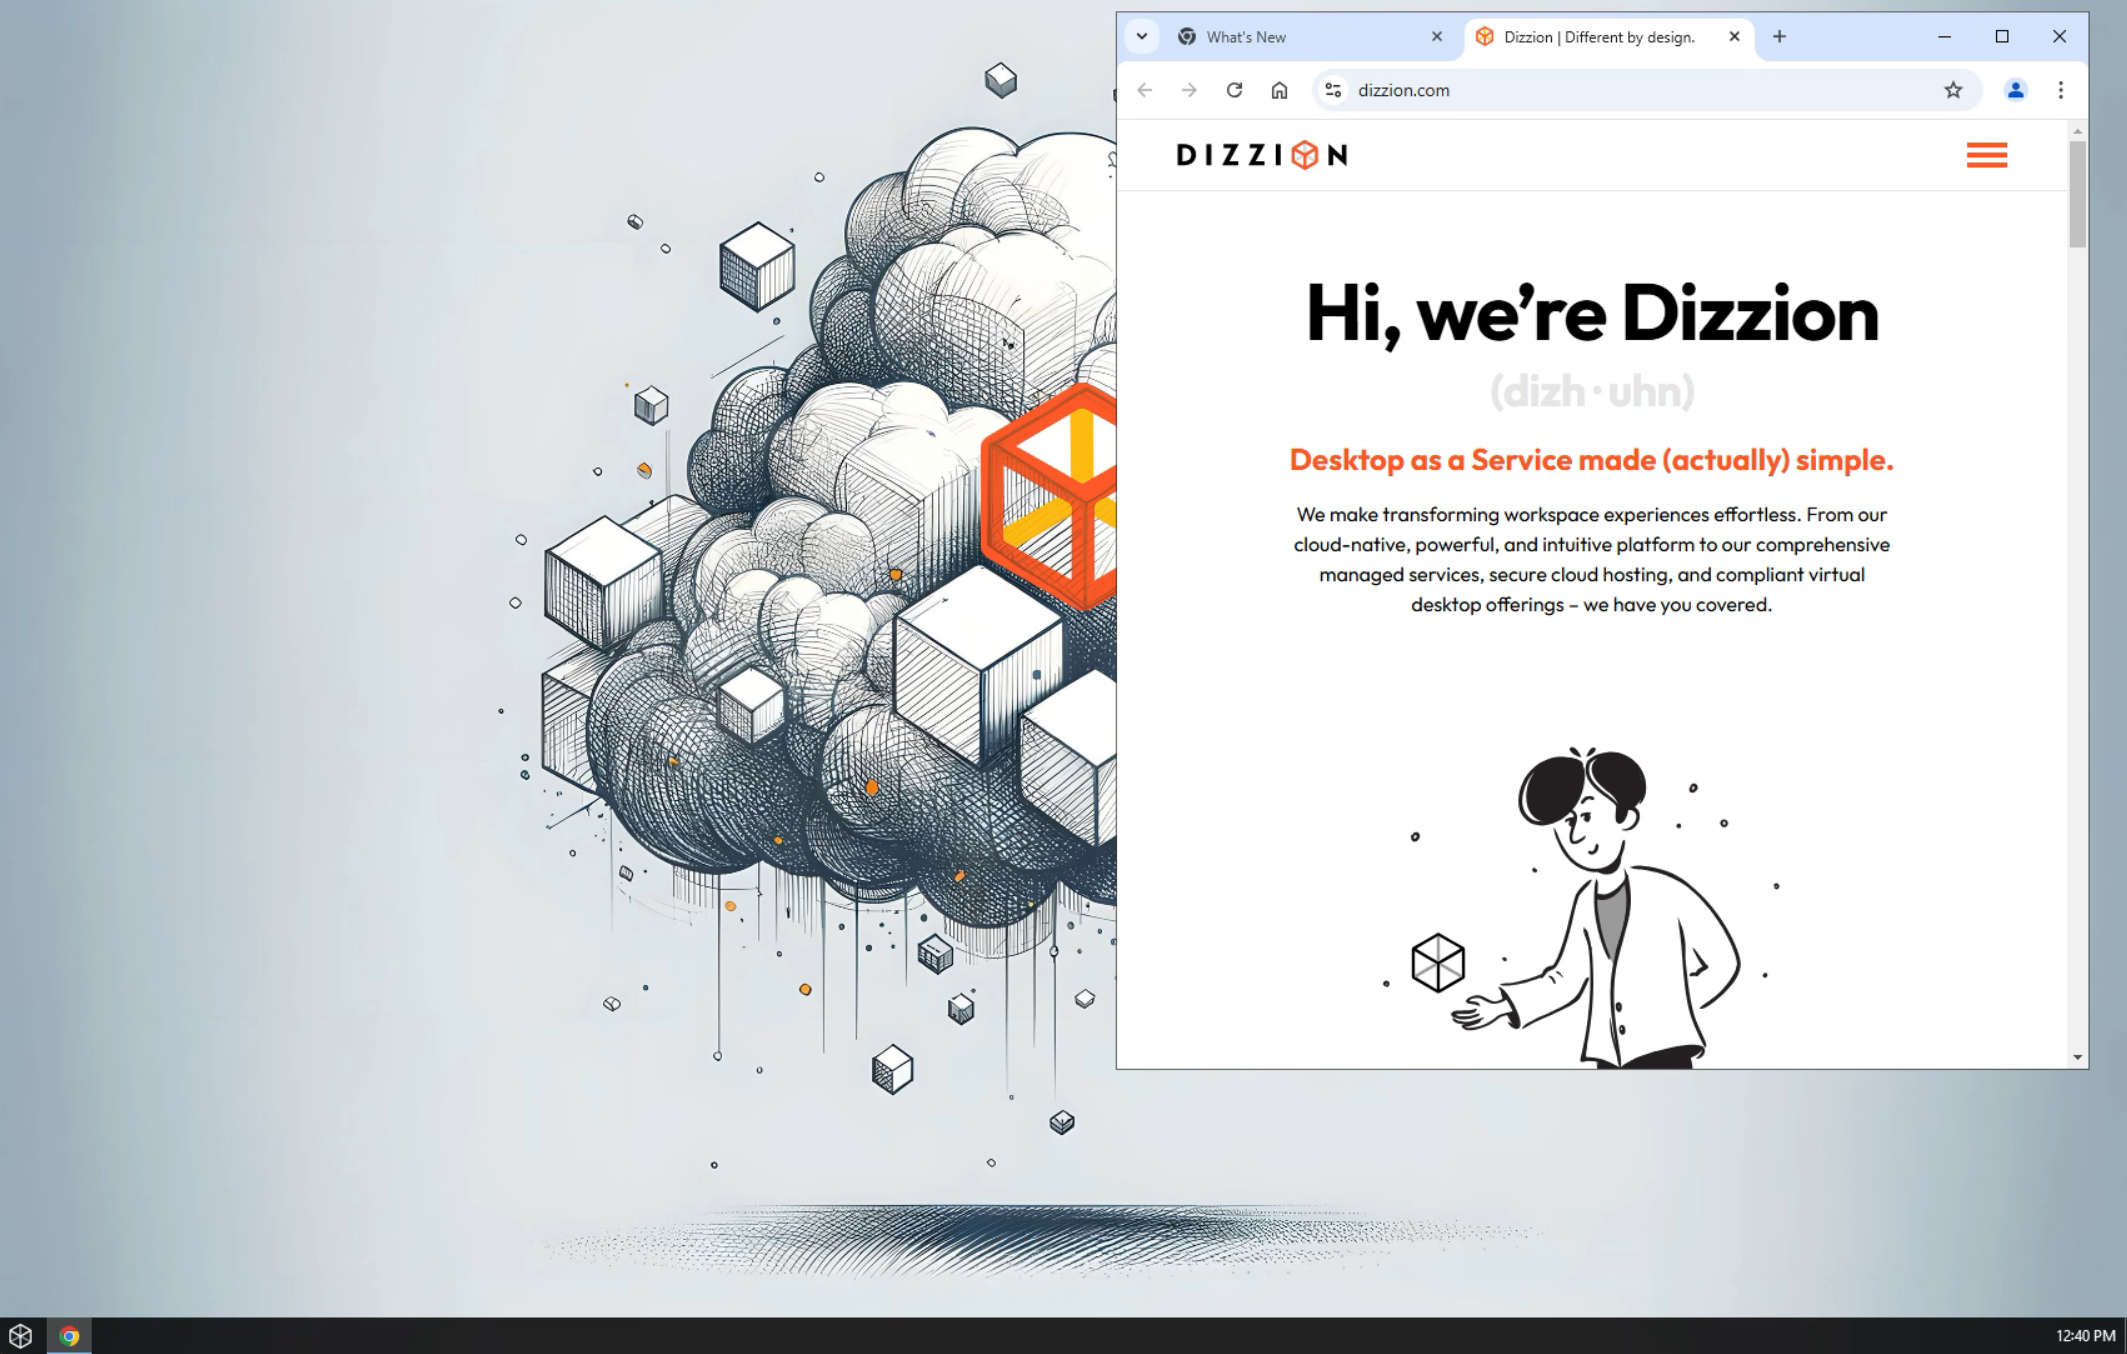
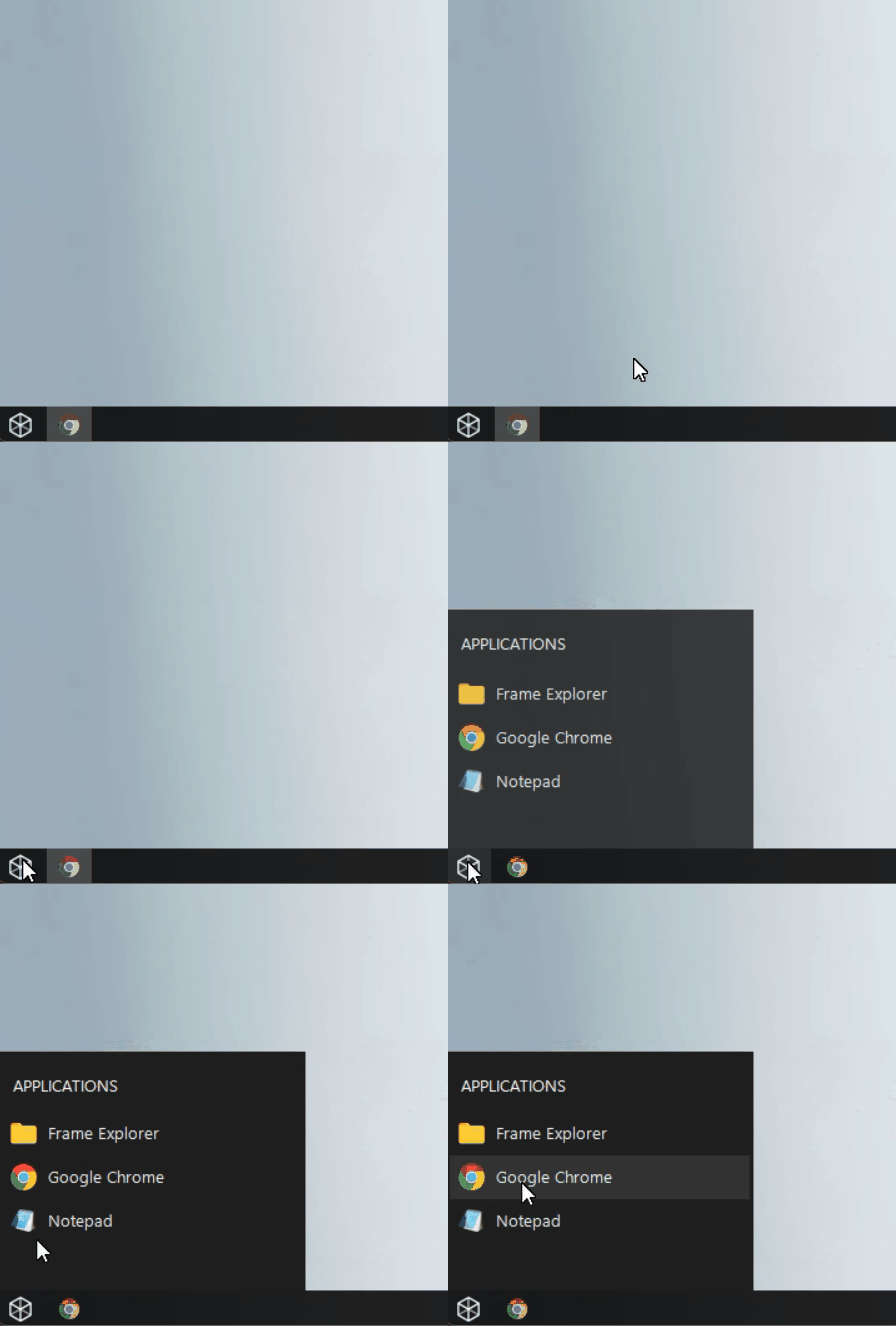
Frame Start Menu
Put simply, end users may open any applications that are available to them from the Frame Start Menu.
Frame Menu
End users can adjust their Frame session (or "terminal") settings by hovering their cursor over the top center portion of the window.

| Icon | Name | Function |
|---|---|---|
| Quit | Closes your session and ends it completely. Unlike Disconnect, this fully terminates the session. Only use after saving your work. | |
| Disconnect | Takes you back to your Launchpad but leaves the session running in the background. Similar to turning off your monitor while your computer continues running. | |
| Settings | Launches a new window within your session where you can manipulate streaming variables and other session configuration options. Refer to Terminal Settings for further details. | |
| Displays | Allows you to manage your Frame displays on one or more physically-attached monitors if using Chrome, Chromium-based Edge, or Frame App. | |
| Sound | Controls audio settings for your Frame session. | |
| Language | Language selection for your session interface. | |
| Clipboard | Manages clipboard functionality between your local system and the Frame session. | |
| Upload | Allows you to upload files from your local system to the Frame session. | |
| Stats | Toggles the display of session statistics. Shows current bitrate in the bottom right corner of the status bar, with additional details available when clicked. More details listed below. | |
| Full Screen | Toggles the Frame session to display in fullscreen mode, utilizing your entire monitor. |
Session Stats
Session stats provide an abundance of useful information to help you navigate and use your session. Here are the default icons you will see on your Frame Status bar and how to interpret them.

| Stat | Description |
|---|---|
| Latency | Displays how many milliseconds (ms) of time it takes for a packet of data to travel from your browser to the virtual machine. Lower values (like the 84 ms shown) indicate better responsiveness of your session inputs. |
| Window Scaling | Reflects the percentage of the window that the session display area is utilizing. 100% indicates the Frame session is using the full allocated display area. |
| Bandwidth | Displays the current data transfer rate (3 kbps shown) of your session. Lower values indicate less network usage, which may be suitable for static content, while higher values occur during video playback or graphically intensive applications. |
| Frame Rate | Shows how many frames per second (fps) are being displayed in your session. Higher values provide smoother visual experience, while 0 fps may indicate the display is static or there are connection issues. |
| Session Time | Displays the elapsed time of your current session (37:40 shown). This helps track how long you've been connected to your Frame session. |
| Show more | Expands the stats panel to display additional detailed session statistics. |
See some icons on your Frame Menu that are missing here? We'll cover the additional Frame features that may be enabled for your account in the next guide.
Terminal Shortcuts
Terminal shortcuts can be used in the session to perform various actions via your keyboard.
| Windows key combo | Mac key combo | Action |
|---|---|---|
| Alt + R | Option + R | Displays resolution menu |
| Alt + S | Option + S | Displays settings menu |
| Alt + Q | Option + Q | Brings up dialog to disconnect session |
| Alt + C | Option + C | Brings up dialog to quit session |
| Alt + ~ | Option + ~ | Toggles active application windows within the session |
End your Session
Disconnect and Resume Session
Using the "Disconnect" option will keep the instance running in the background and return you back to your Launchpad. You can resume your session at any time as long as it is within your "idle timeout" window. The idle timeout setting refers to the amount of time (in minutes) that a session will remain active after an authenticated user disconnects from the session. The default duration for this setting is 10 minutes, although your administrator may have specified a different value.
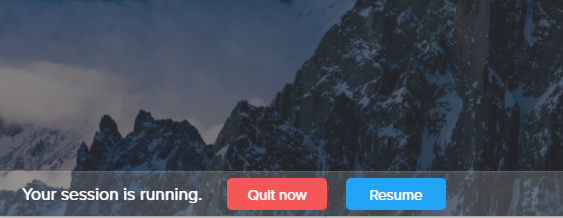
If you are accessing your session from an application Launchpad, closing the application within the session will disconnect you. The instance will remain active in case you decide you would like to launch another application from your Launchpad.
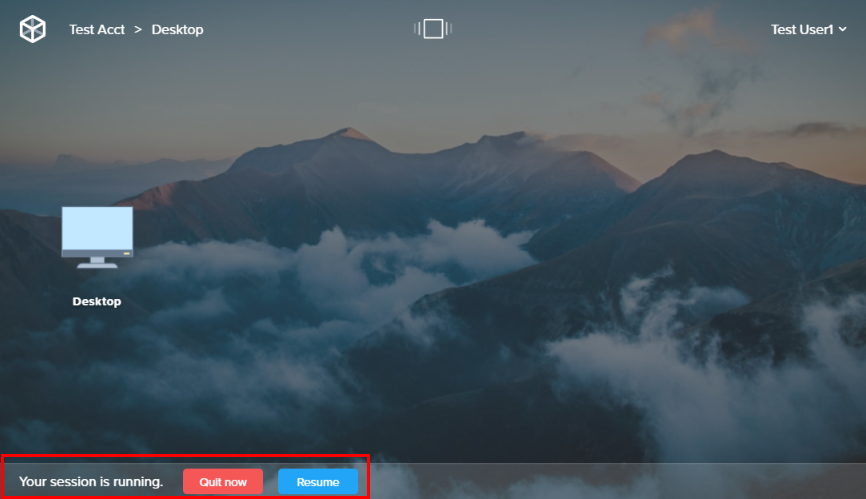
You can resume your session by clicking the "Resume" button at the bottom of your Launchpad.
If you close your browser window or quit Frame App while you're in a session, your session will continue to run. You can resume the session by following the instructions listed above. If you would like to completely close the session, please see the section below.
Close Session
“Close session” will end your session. This is the equivalent to using the “Shut Down” option in Windows. Any unsaved data will be deleted and the instance will be returned to a “known good state” or the same state it was in when you first started the session.
When you're ready, click on the Gear menu in the bottom left corner of your window:
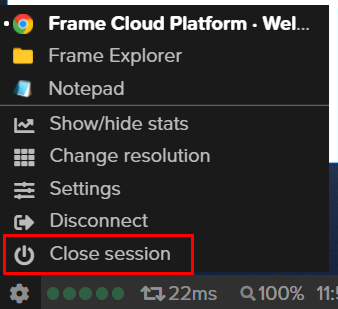
As a best practice, do not use the Windows Power Down or Reboot options. Use the gear menu as described above, the Frame platform will handle the power cycling of your virtual machine.
Reconnect to a Session
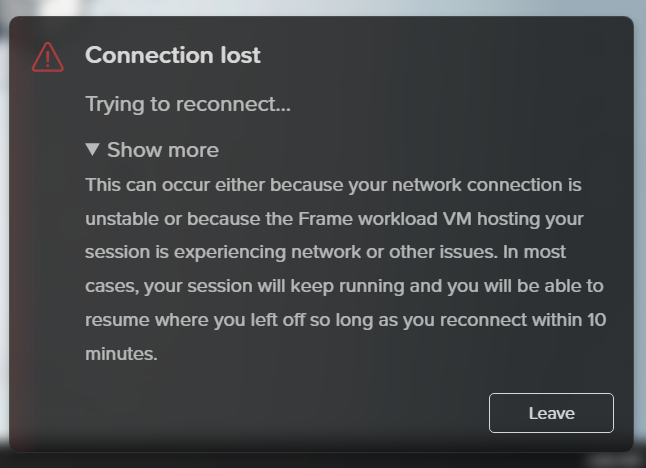
If you're disconnected from your Frame session due to network issues, you'll see a blurred image of your last session state with a yellow status box. The system will automatically attempt to reconnect.
Three possible scenarios:
- Attempting reconnection: Shows "Trying to reconnect..." with a "Leave" option
- Reconnection failed: Shows "Unable to reconnect..." with both "Reconnect" and "Leave" options
- Network offline: Shows "Unable to reconnect, it seems that you are offline..." with only a "Leave" option
Clicking "Leave" returns you to the Launchpad where a "Resume" button will be available once your connection returns (if the VM is still running). For faster reconnection when network issues resolve, use the "Reconnect" button instead of waiting for automatic attempts.
My Profile
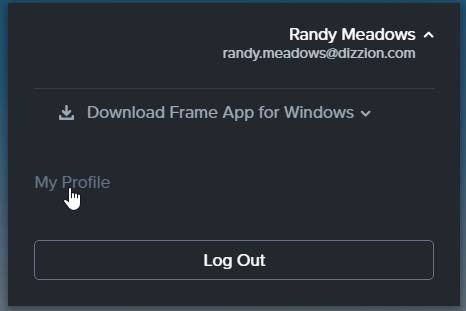
The user profile section consists of multiple components that allow you to view and manage your account preferences, storage provider options, and Personal Drive backups (if enabled). This page can be found by clicking on your user name in the upper right corner of your Launchpad and clicking “My Profile.”
General
View and edit your account information including name, password, and email. This section displays your Frame account details and lists the Frame environments where you have access.
Customize your Frame experience with these options:
- Desktop Auto Launch: When enabled, skips the Launchpad and sends you directly to your desktop session.
- Time Display: Choose between UTC or your local browser time zone for all timestamps in the platform.
Hover over the Launchpad name under "Roles" for additional access details.

Hover over the Launchpad name under "Roles" for more details.
Preferences
The next tab down is the “Preferences” tab where you can toggle certain account preferences.

-
Desktop Auto Launch: If enabled, the Desktop Auto Launch feature sends users directly into their desktop session, skipping the Launchpad completely. This eliminates the requirement for the user to have to click on the sole “Desktop” icon of their desktop-only Launchpad.
-
Time Display: Date/time will be displayed in UTC or the local time zone of your browser, except for administrators viewing Frame Console Analytics.
Persistent Desktop Backups
If your administrator has enabled the ability for you to manage your own persistent desktop backups, you will see the “Persistent Desktop backups” page in your profile. On this page, you will see any backups created by your account administrator, as well as any backups you have created. From this page, you can filter your backups by name, creation date/time, and backup type.
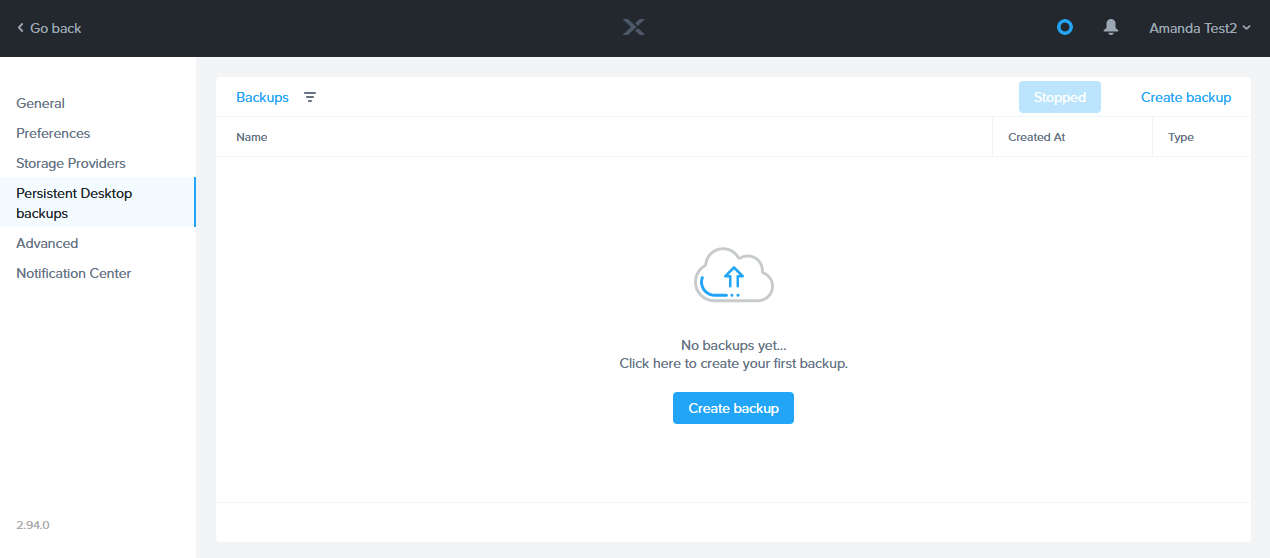
To create a manual backup, simply click on the blue "Create backup" link in the upper right corner of the page. A new window will appear prompting you to enter a name for your backup. Once you have named your backup, click "Create" in the bottom right corner of the window.
You must ensure that your instance is in a “stopped” state before creating a backup. The ability to backup will be disabled until you click the “Stop Server” button in the upper right corner next to “Create backup.”
You will see a warning informing you that your Persistent Desktop will be powered off for a few minutes. Click “Confirm” to proceed. -->
Advanced
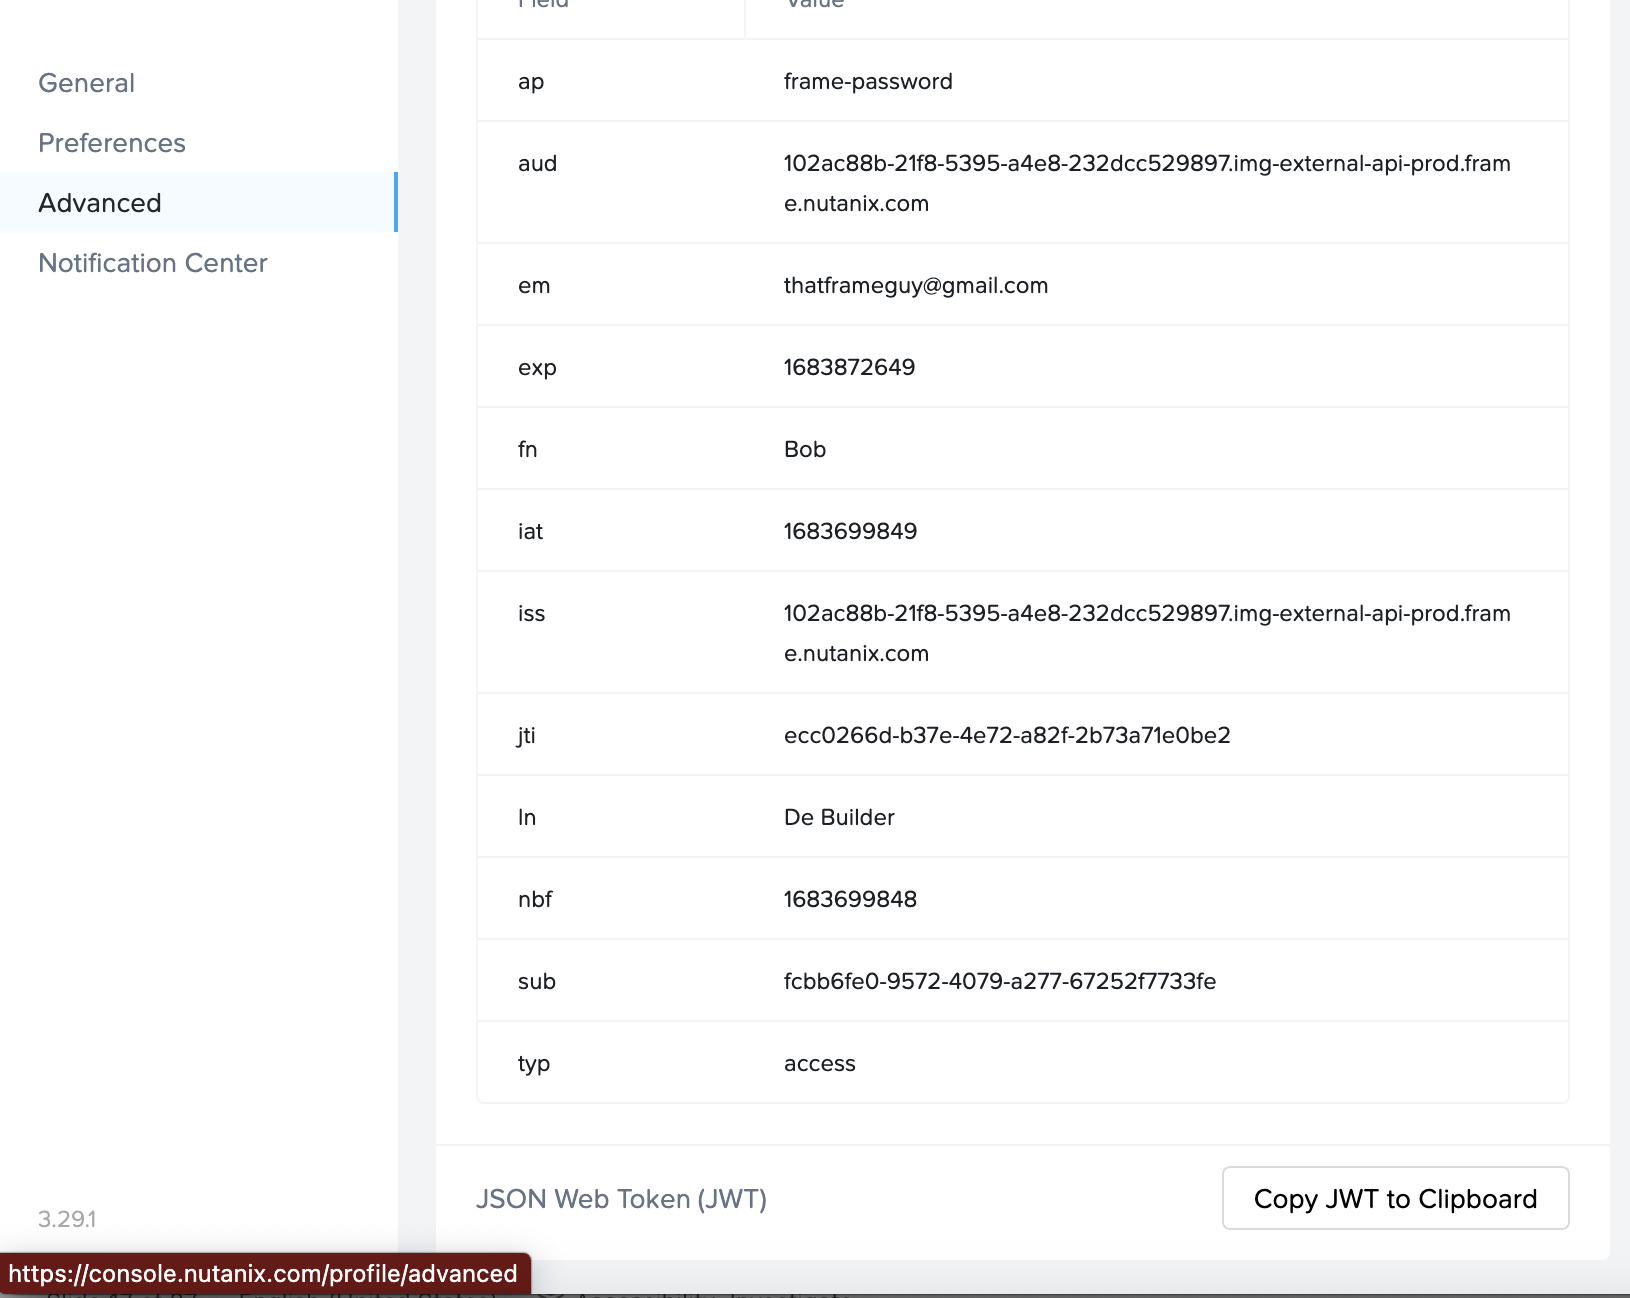
The "Advanced" tab provides detailed information about your authentication assertions. Your administrator may ask you to access this page for debugging or assessing validation problems with your account.
Notification Center
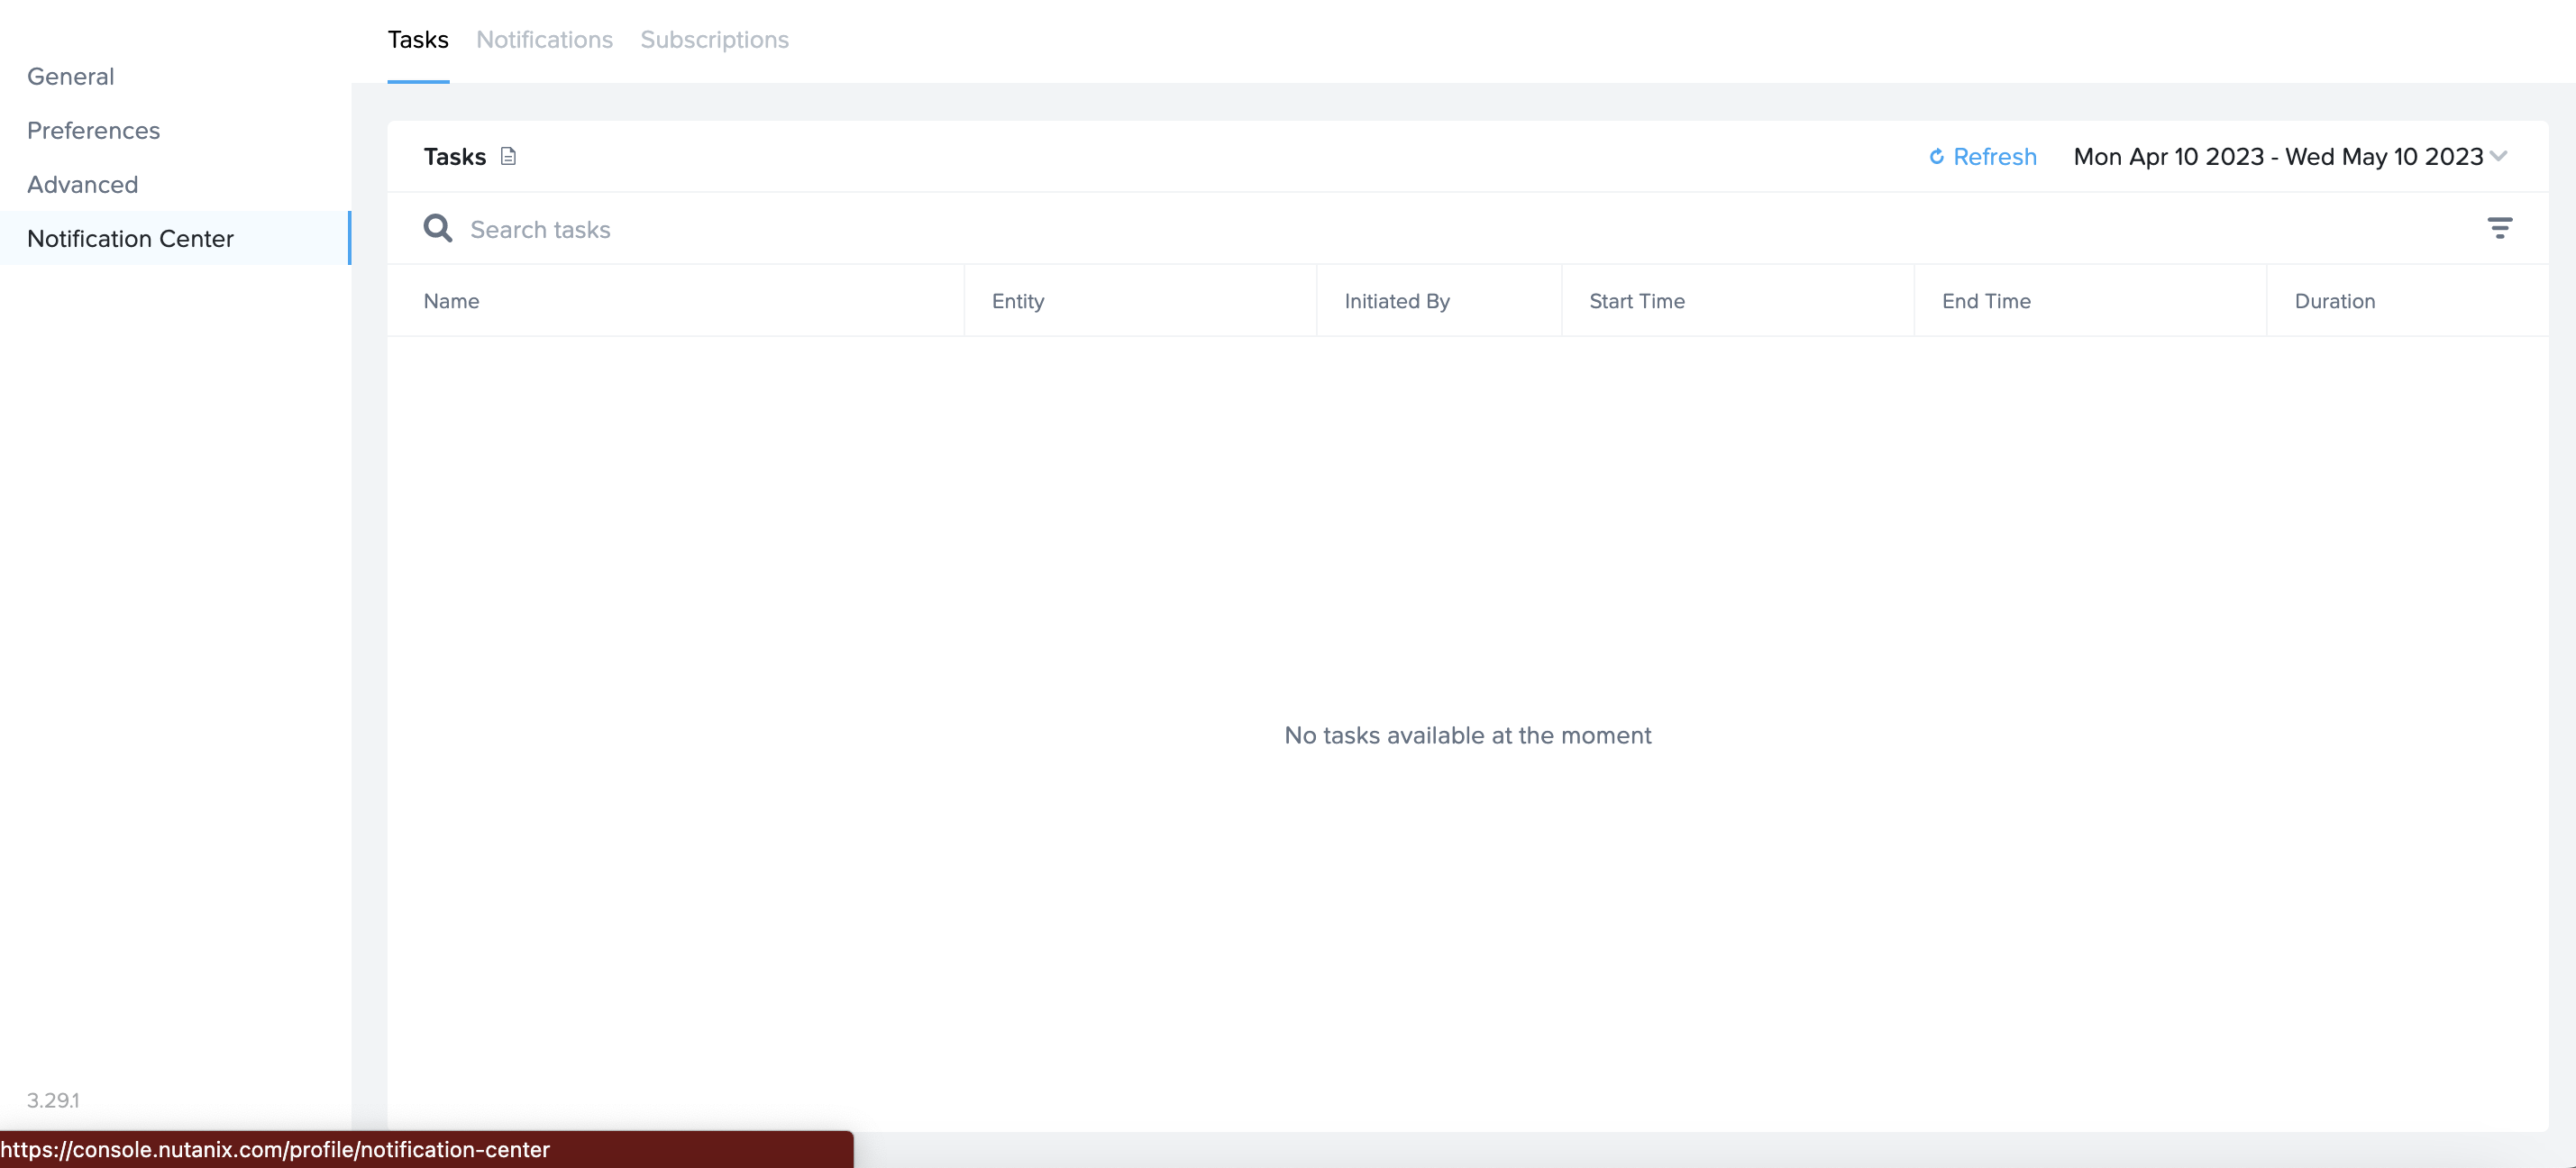
Lastly, the “Notification Center” tab allows you to check on and subscribe to account activities. If you are an administrator for any of your accounts and would like to know more, you can check out our Notification Center documentation for more information.
Administrator Menu
When a user has been granted account admin rights, the user will see a list of accounts they have access to in the drop-down menu.
Admin users can switch between Frame accounts by selecting an account from the drop-down menu. Alternatively admin users can use the search field to type the name of the account to switch to. This is useful when users have access to multiple accounts.
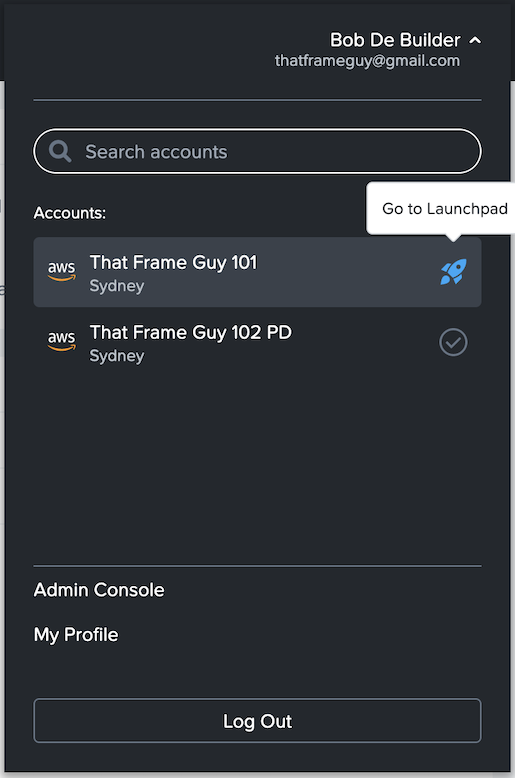
The check icon indicates the account currently being accessed.
The rocket icon next to an account indicates the user has access to one ore more Launchpads tied to that account.
Logout
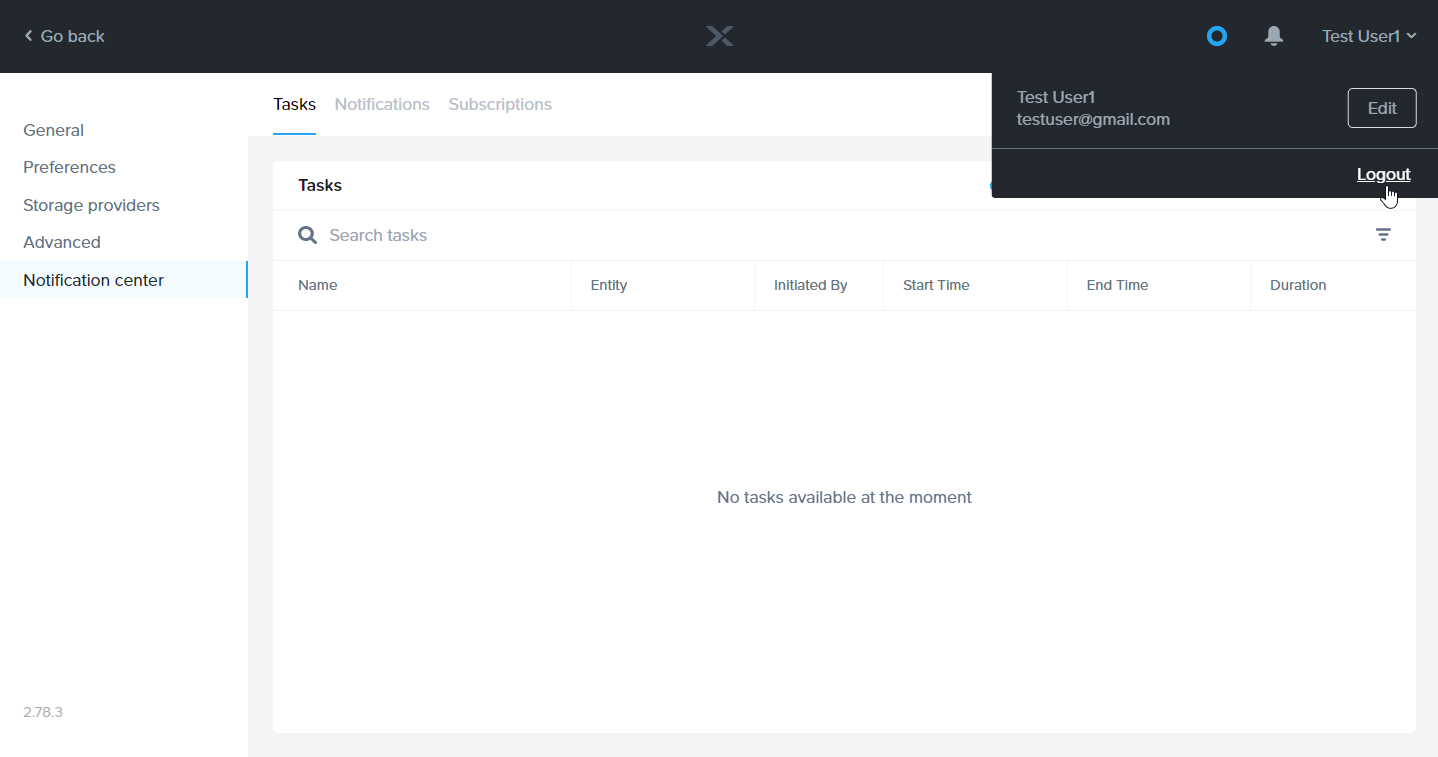
If you would like to log out of your Frame account, simply click on your name in the upper right corner of the page and select “Logout.”
End User Troubleshooting
General
As an end user, you will likely need to reach out to your organization's IT help desk for any issues you may run into with your Frame account. If you are presented with an "Oops!" error, please copy the "Event ID" provided to you in the dialog:
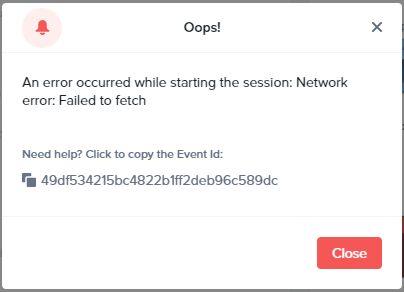
To ensure the highest efficiency, please report the time the issue occurred and the Event ID to your organization's IT help desk representative along with the description of the problem.
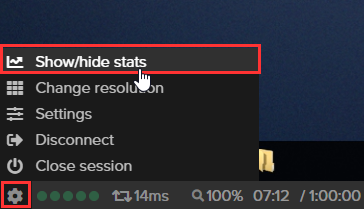
You may also help your IT help desk by providing them with your “Session ID.” Simply click on the gear menu in the bottom left corner of the session and select “Show/hide stats” as shown below:
Next, click the "Session stats" text on the right side of the status bar. Your session stats will display as shown below:
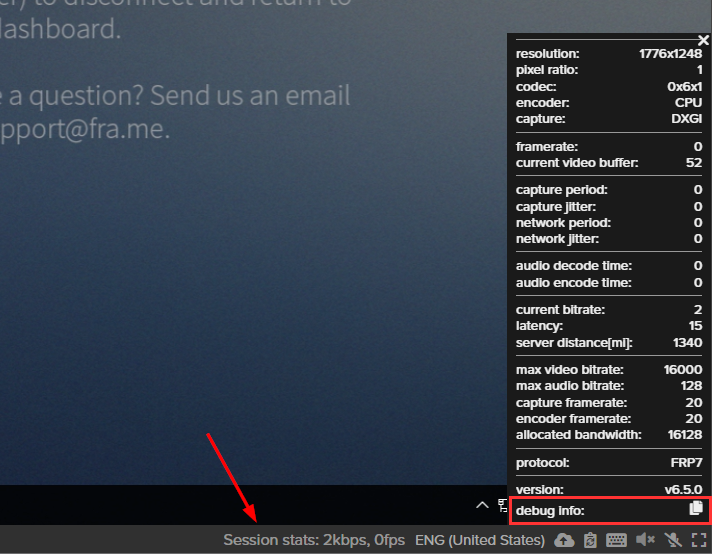
At the bottom of the stats window, click the copy/paste icon adjacent to “debug info.” Your Session ID will be the first line of information in the debug info when you paste it.
Network
If you notice network performance issues in your Frame sessions, the Frame Support team recommends evaluating a few things before creating a support case. While connected to a session, there are a couple of data points that can help diagnose connection issues: the bandwidth indicator and network latency data.
Bandwidth Indicator
The Bandwidth Indicator (5 dots next to the gear menu of the Frame status bar) represents how much bandwidth is being used by your connection to the Frame session. Network bandwidth is the volume of data per unit of time that an internet connection can handle. For Frame, your “downstream” bandwidth is most important, especially if you are working with apps that have a lot of graphical motion and changes and/or you are using a large monitor with a high resolution (which results in more data needing to be streamed). Upstream bandwidth, however, also affects performance - and while it does not need to be as much as your downstream bandwidth, being as close to a “balanced” connection as possible is best. In general, we recommend a downstream bandwidth of at least 3 Mbps and at least 1 Mbps up.
If your connection's bandwidth is adequate, you should see four or five green dots. If the bandwidth is less than desirable, the dots will reflect this with fewer dots and turn orange, and ultimately red (one dot, which is a very poor connection). The dots translate to Mbps per below:
- 1 dot: < 1 Mbps
- 2 dots: 1 - 2 Mbps
- 3 dots: 2 - 4 Mbps
- 4 dots: 4 - 8 Mbps
- 5 dots: > 8 Mbps
You can initiate a new bandwidth measurement any time by clicking on the Bandwidth Indicator.
If you would like to see your local network's bandwidth, you can visit SpeedTest.net to see what you have to work with.
Network Latency
The Network Latency indicator shows how many milliseconds of time it takes for a packet of data to travel one way from one point to another.
In our case, this affects the responsiveness of your session to your inputs. For example, when you click your mouse - that information is sent to our remote servers, the movement is interpreted, and the change in the screen is sent back to you. Lower is better; if you experience high latency, there may be something affecting the routing of the packets to the server. Here are a few possible issues you may consider:
-
Network congestion: Network congestion can happen on under-powered shared Wi-Fi connections or networks that are shared by too many users at a time (schools, coffee shops, airports, etc.). Network congestion can also be caused by excessive data usage (i.e. large file uploads/downloads or multiple users streaming videos at once).
-
Poor network routing: On occasion, ISPs or networks will have rules that cause the physical route of the data to travel farther than desired which can result in excess network latency.
Connectivity Issues
If you find that you are unable to connect to a Frame session at all, we recommend you visit WebSocketsTest.com to ensure that your network and browser supports HTML5 WebSockets. Your browser and network must pass each test in order to be compatible with the Frame service.
If you continue to have issues, please reach out to us by creating a support case.
Ready to learn about some of the optional features that may be enabled for your Frame account? Continue on to the next guide to see what neat things you can do!