Management
SGA Management Console
Once you have completed the installation and configuration of your SGA, SGA management portal can be accessed using an HTML5 browser. Open a new browser tab and enter the internal IP address and port number (8888, by default) of SGA. When the login screen appears, enter the administrator credentials which were set in the SGA Configuration file.
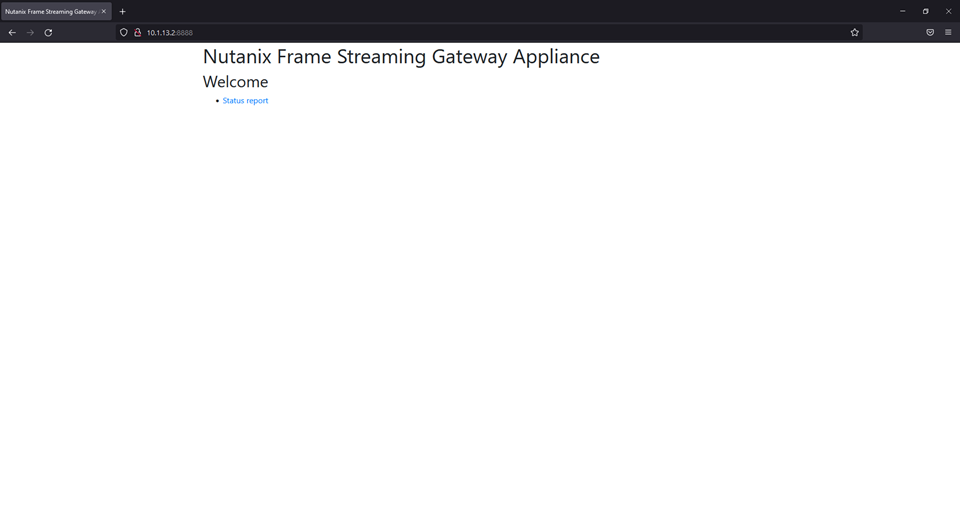
Access to the SGA management portal should only be allowed from the private network (and not from the Internet).
Use the tabs below to navigate through the features of the SGA 3 Management Console:
- Status
- Metrics
- Logs
- Tools
- Data Export
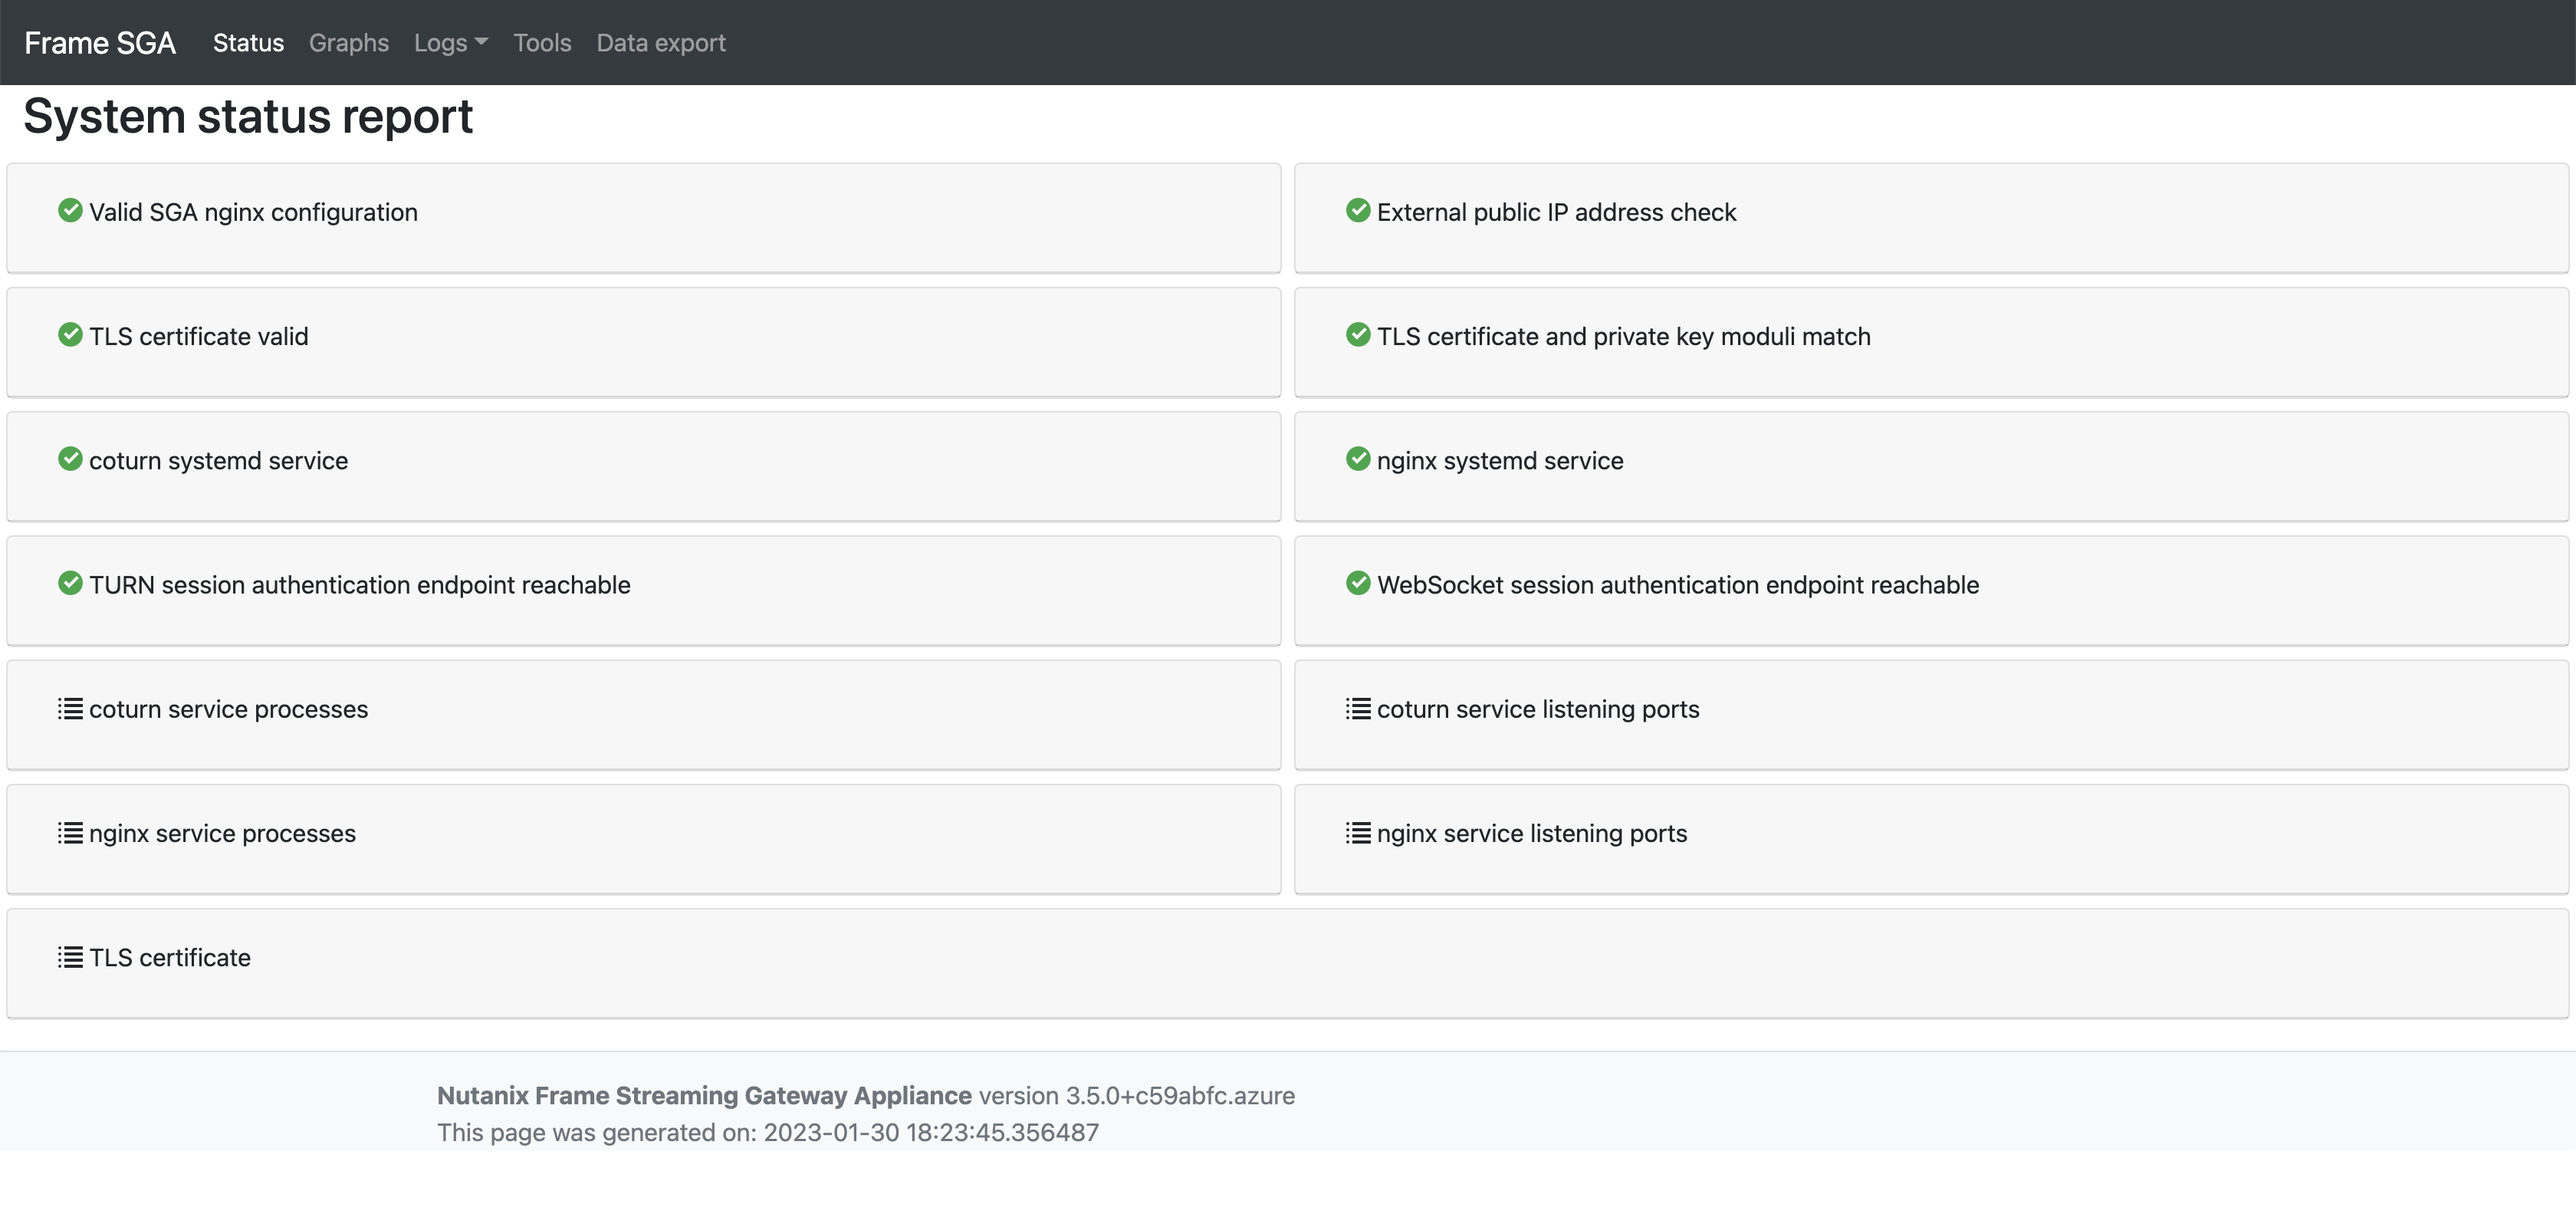
The SGA Management Console gives you access to a variety of options and functionality. Click the “Status report” link under the Welcome header to ensure all required services are operational.
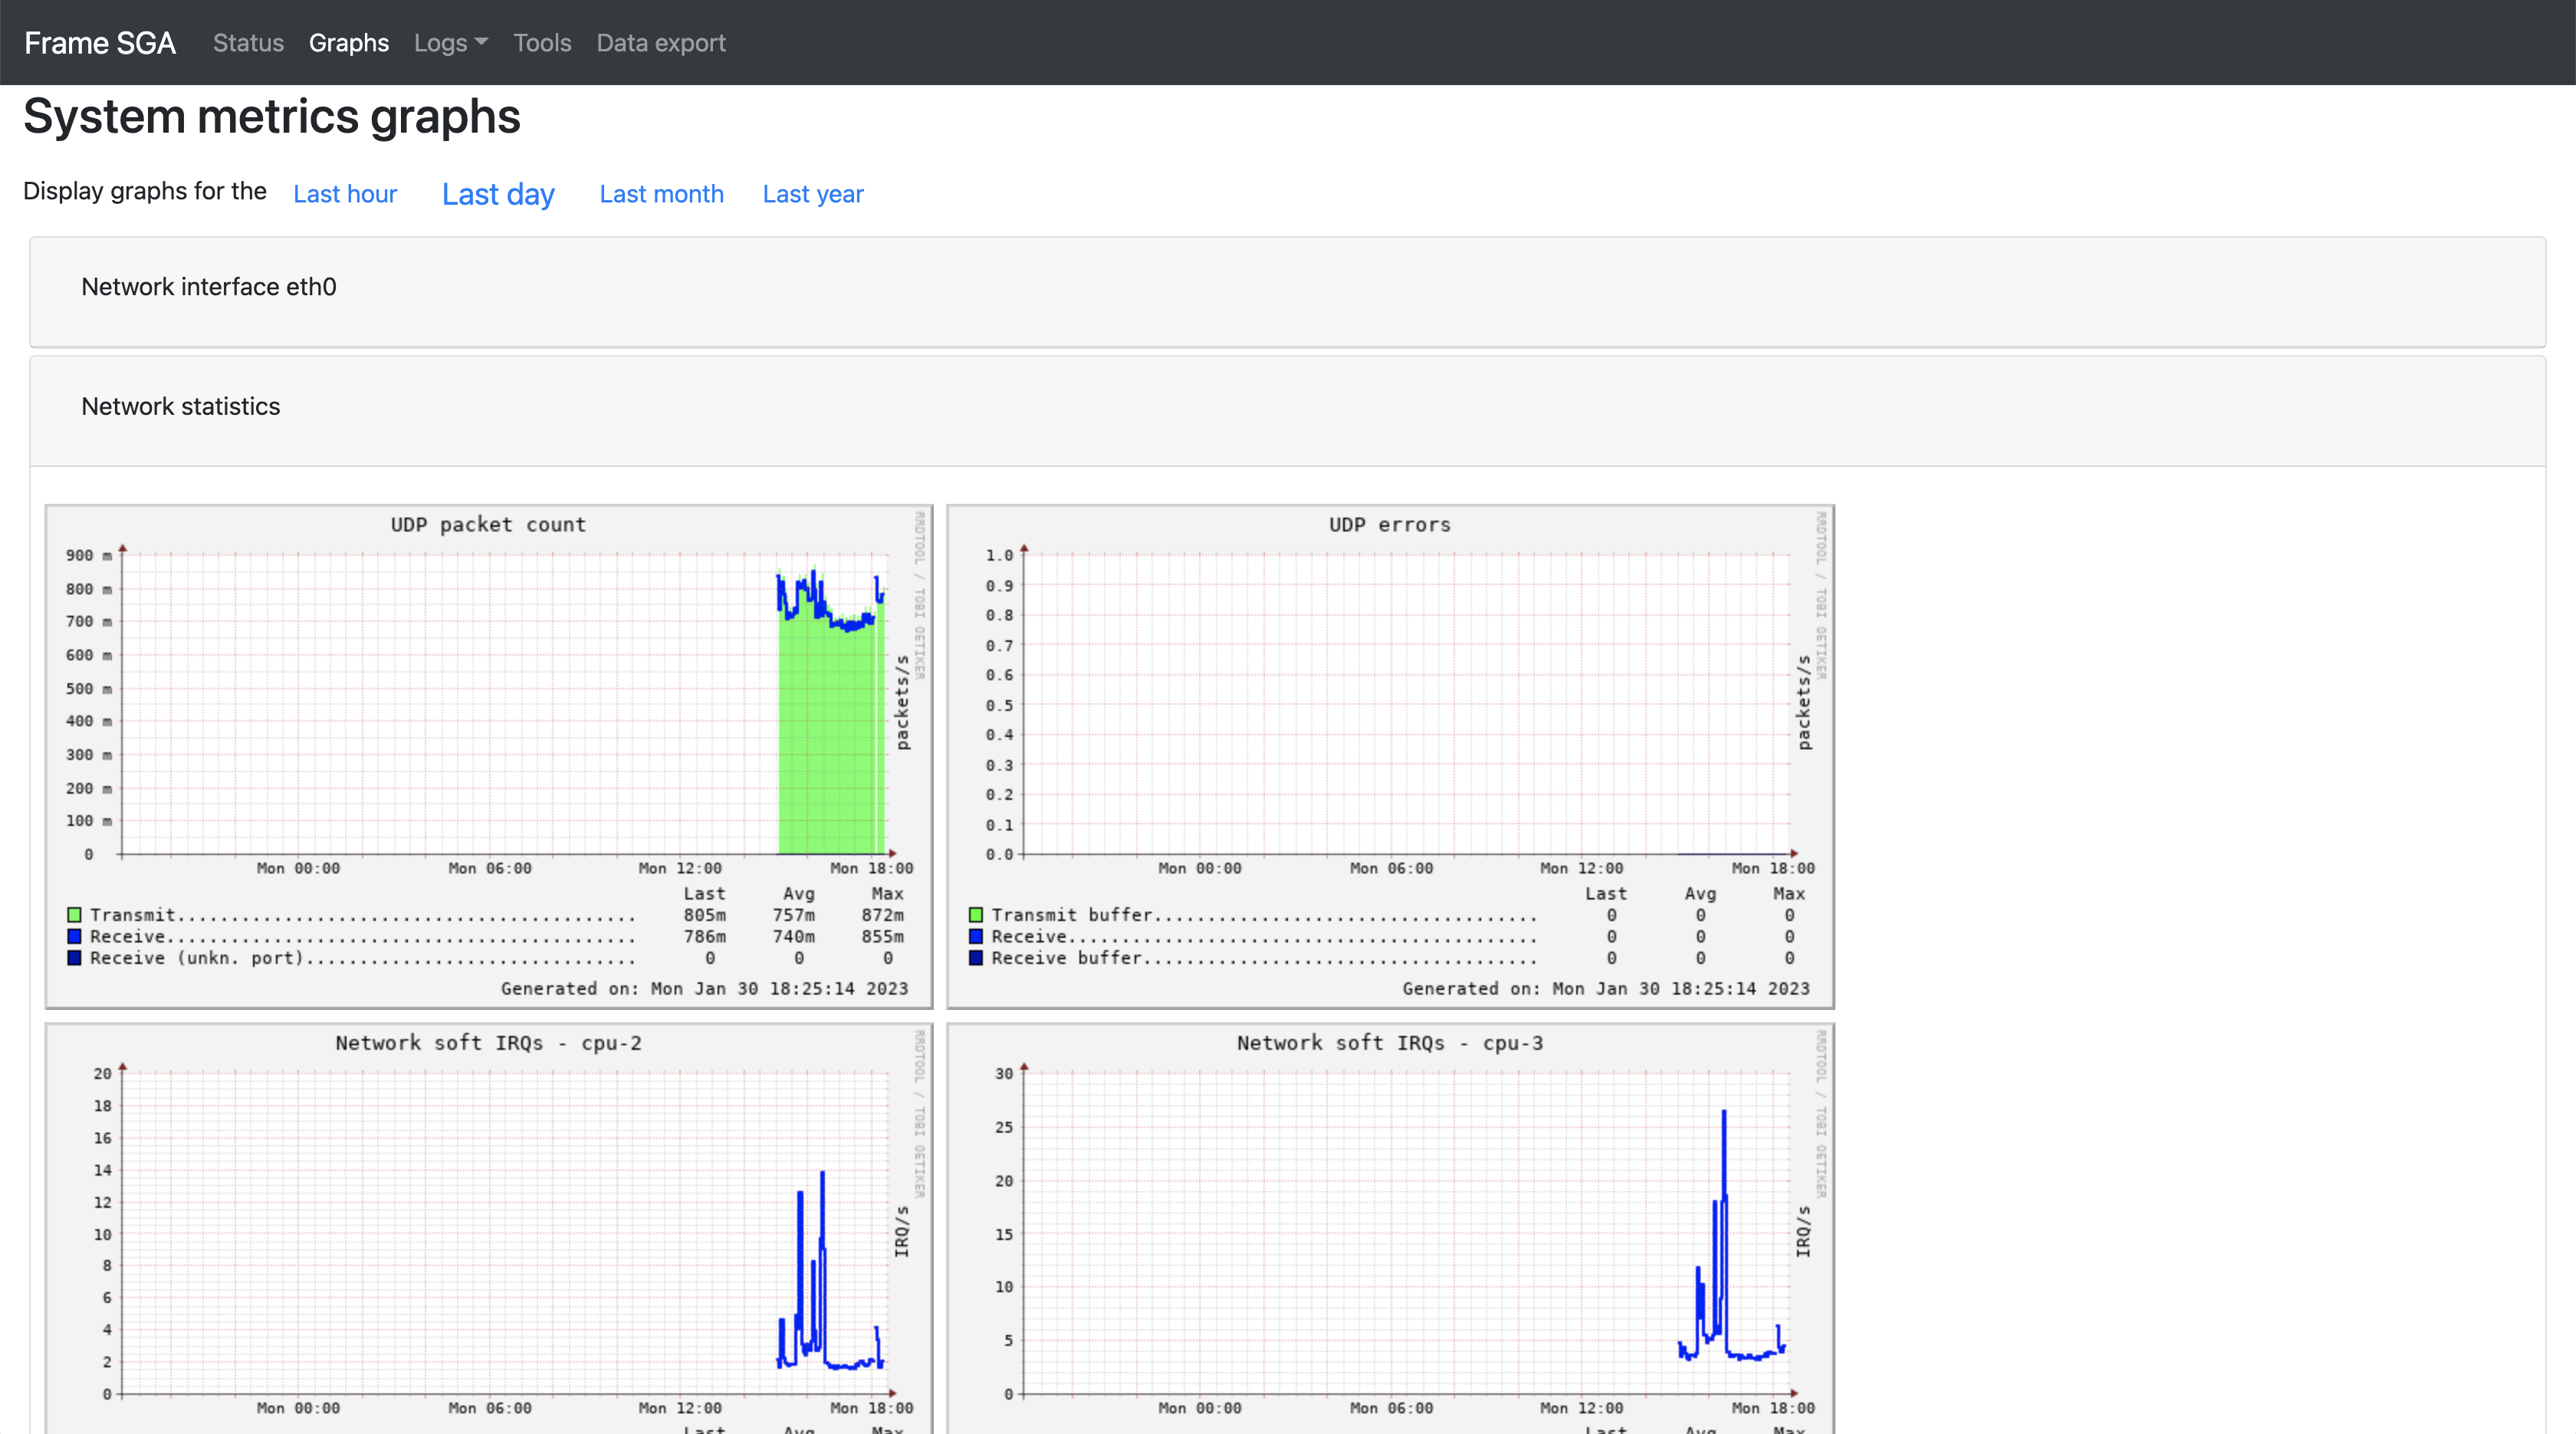
Clicking on "Graphs" within the SGA Management Console will display an assortment of system metrics including network interface details and SGA VM traffic. Use the blue links under the header to select the desired time frame for your metrics.
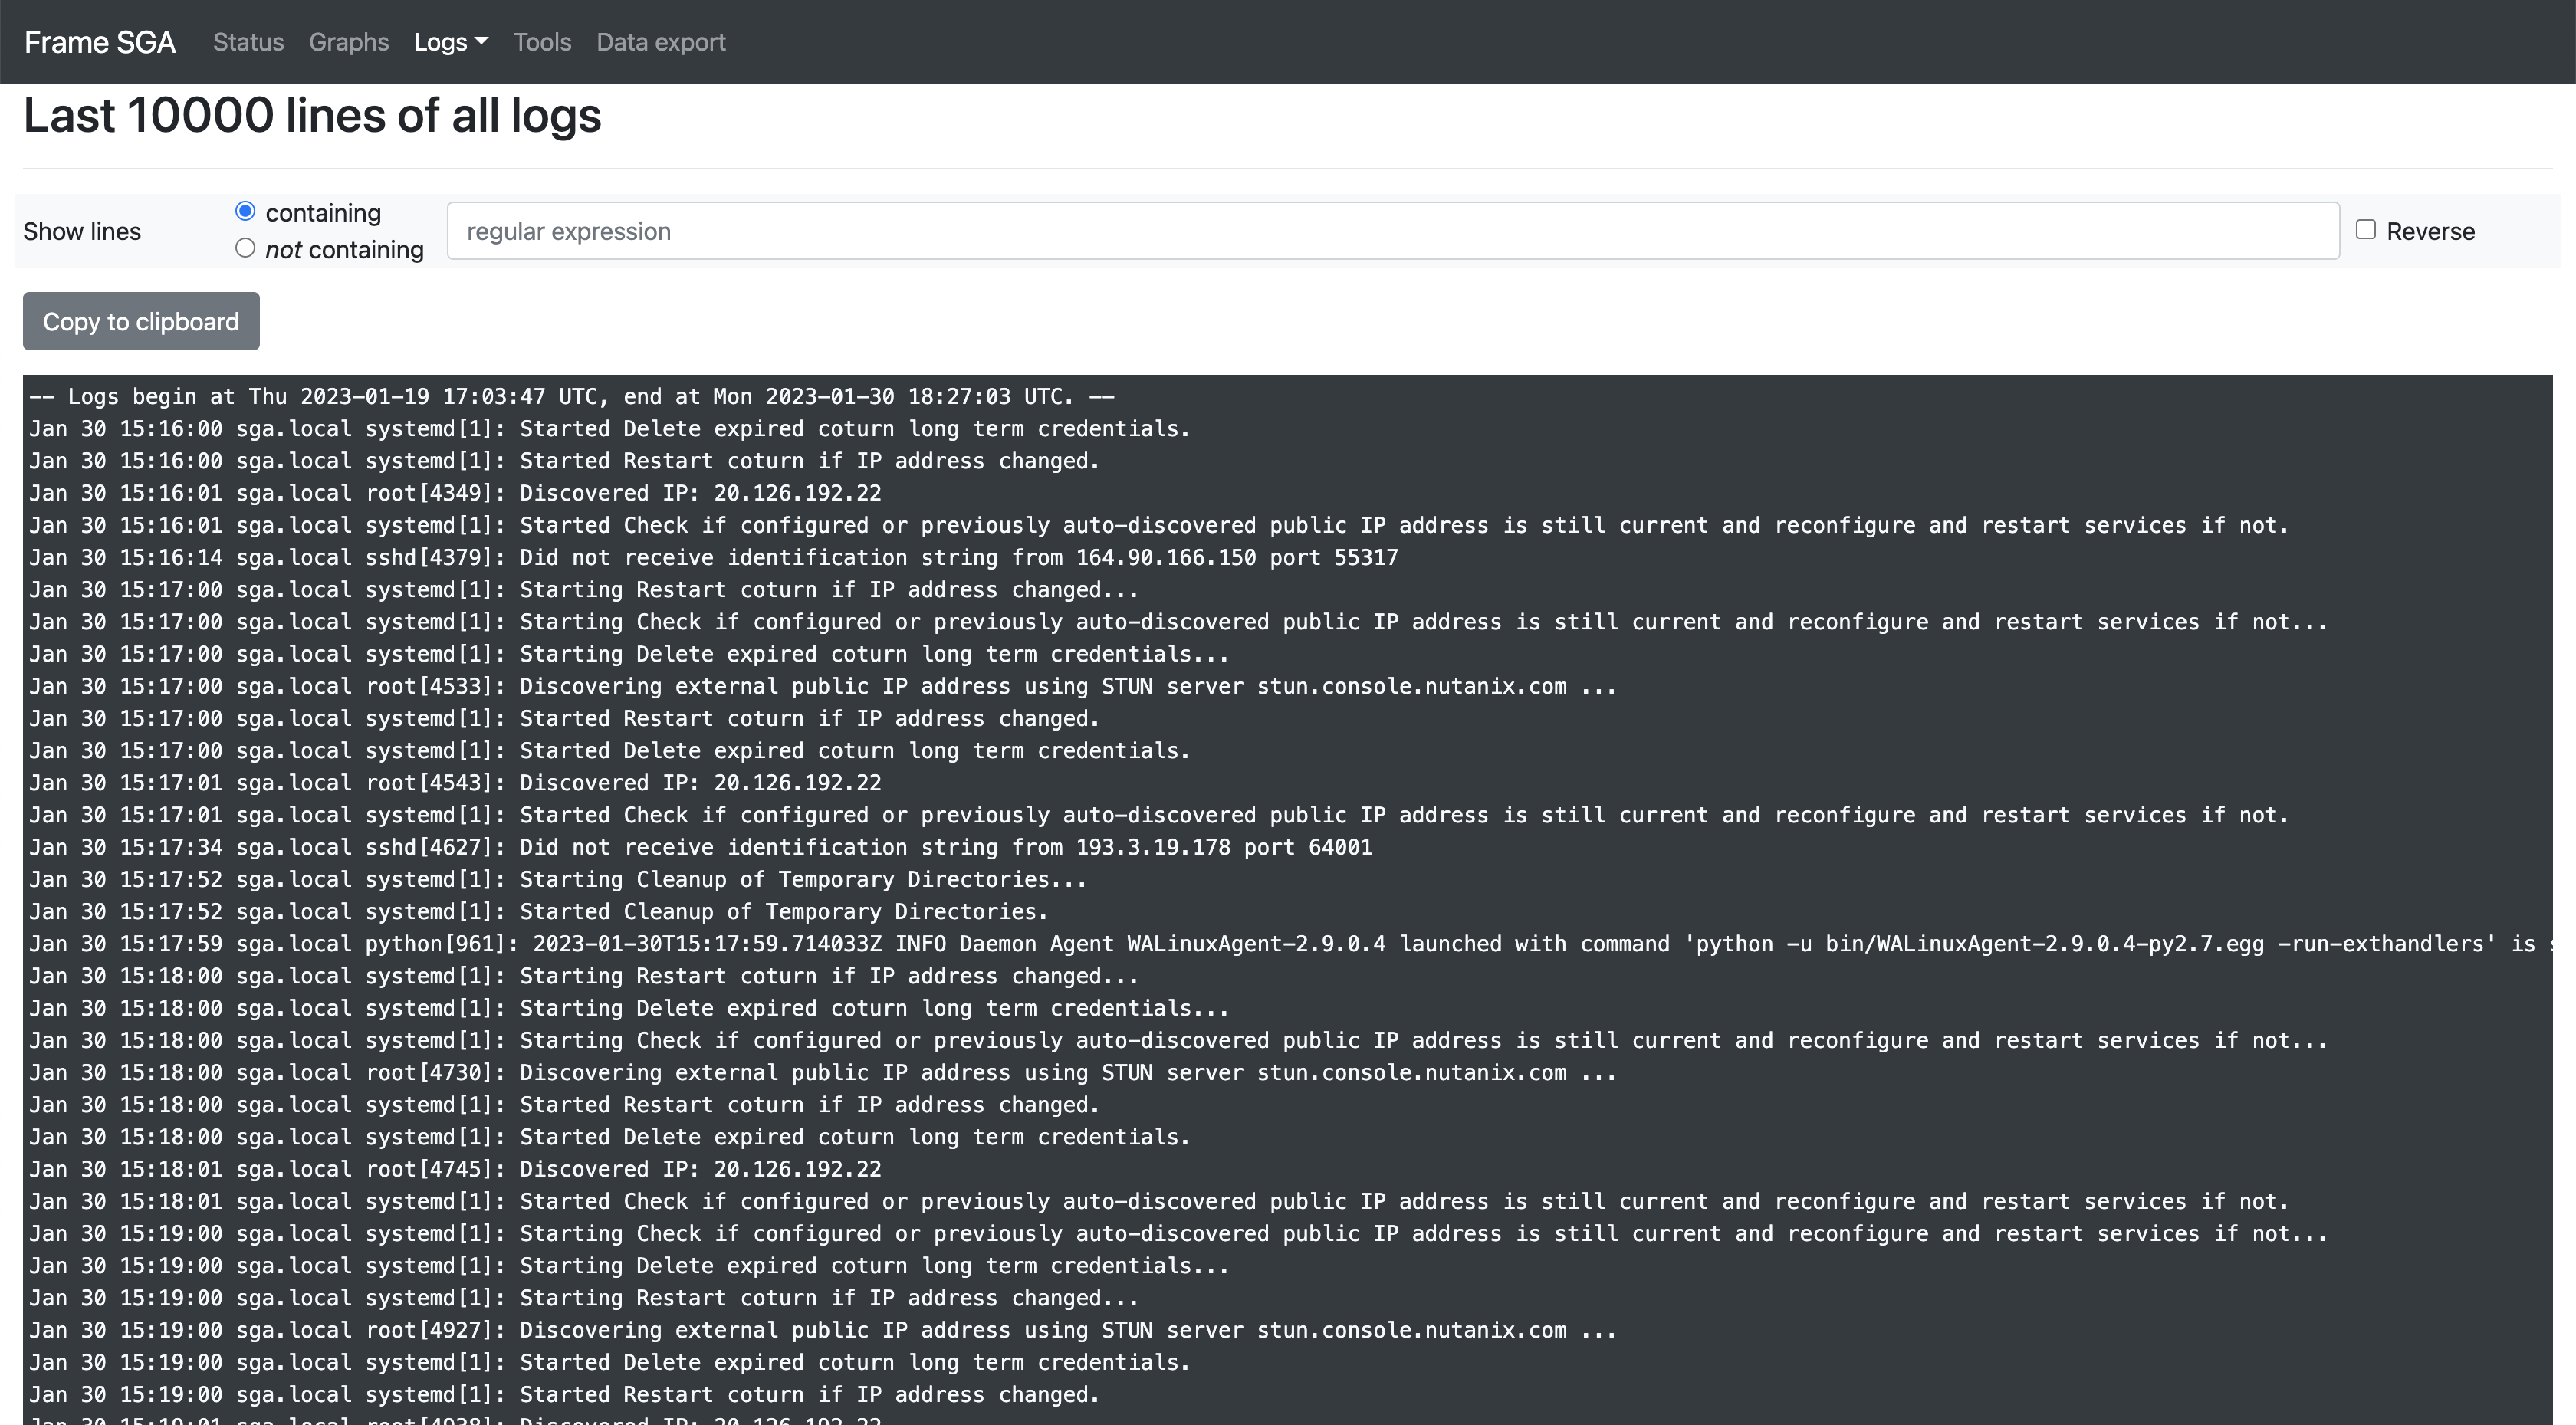
Administrators troubleshooting their SGA can download log files generated by the SGA VM by clicking on "Logs" from the management console and selecting the desired data set.
Administrators can use the Tools feature to execute specific troubleshooting operations.
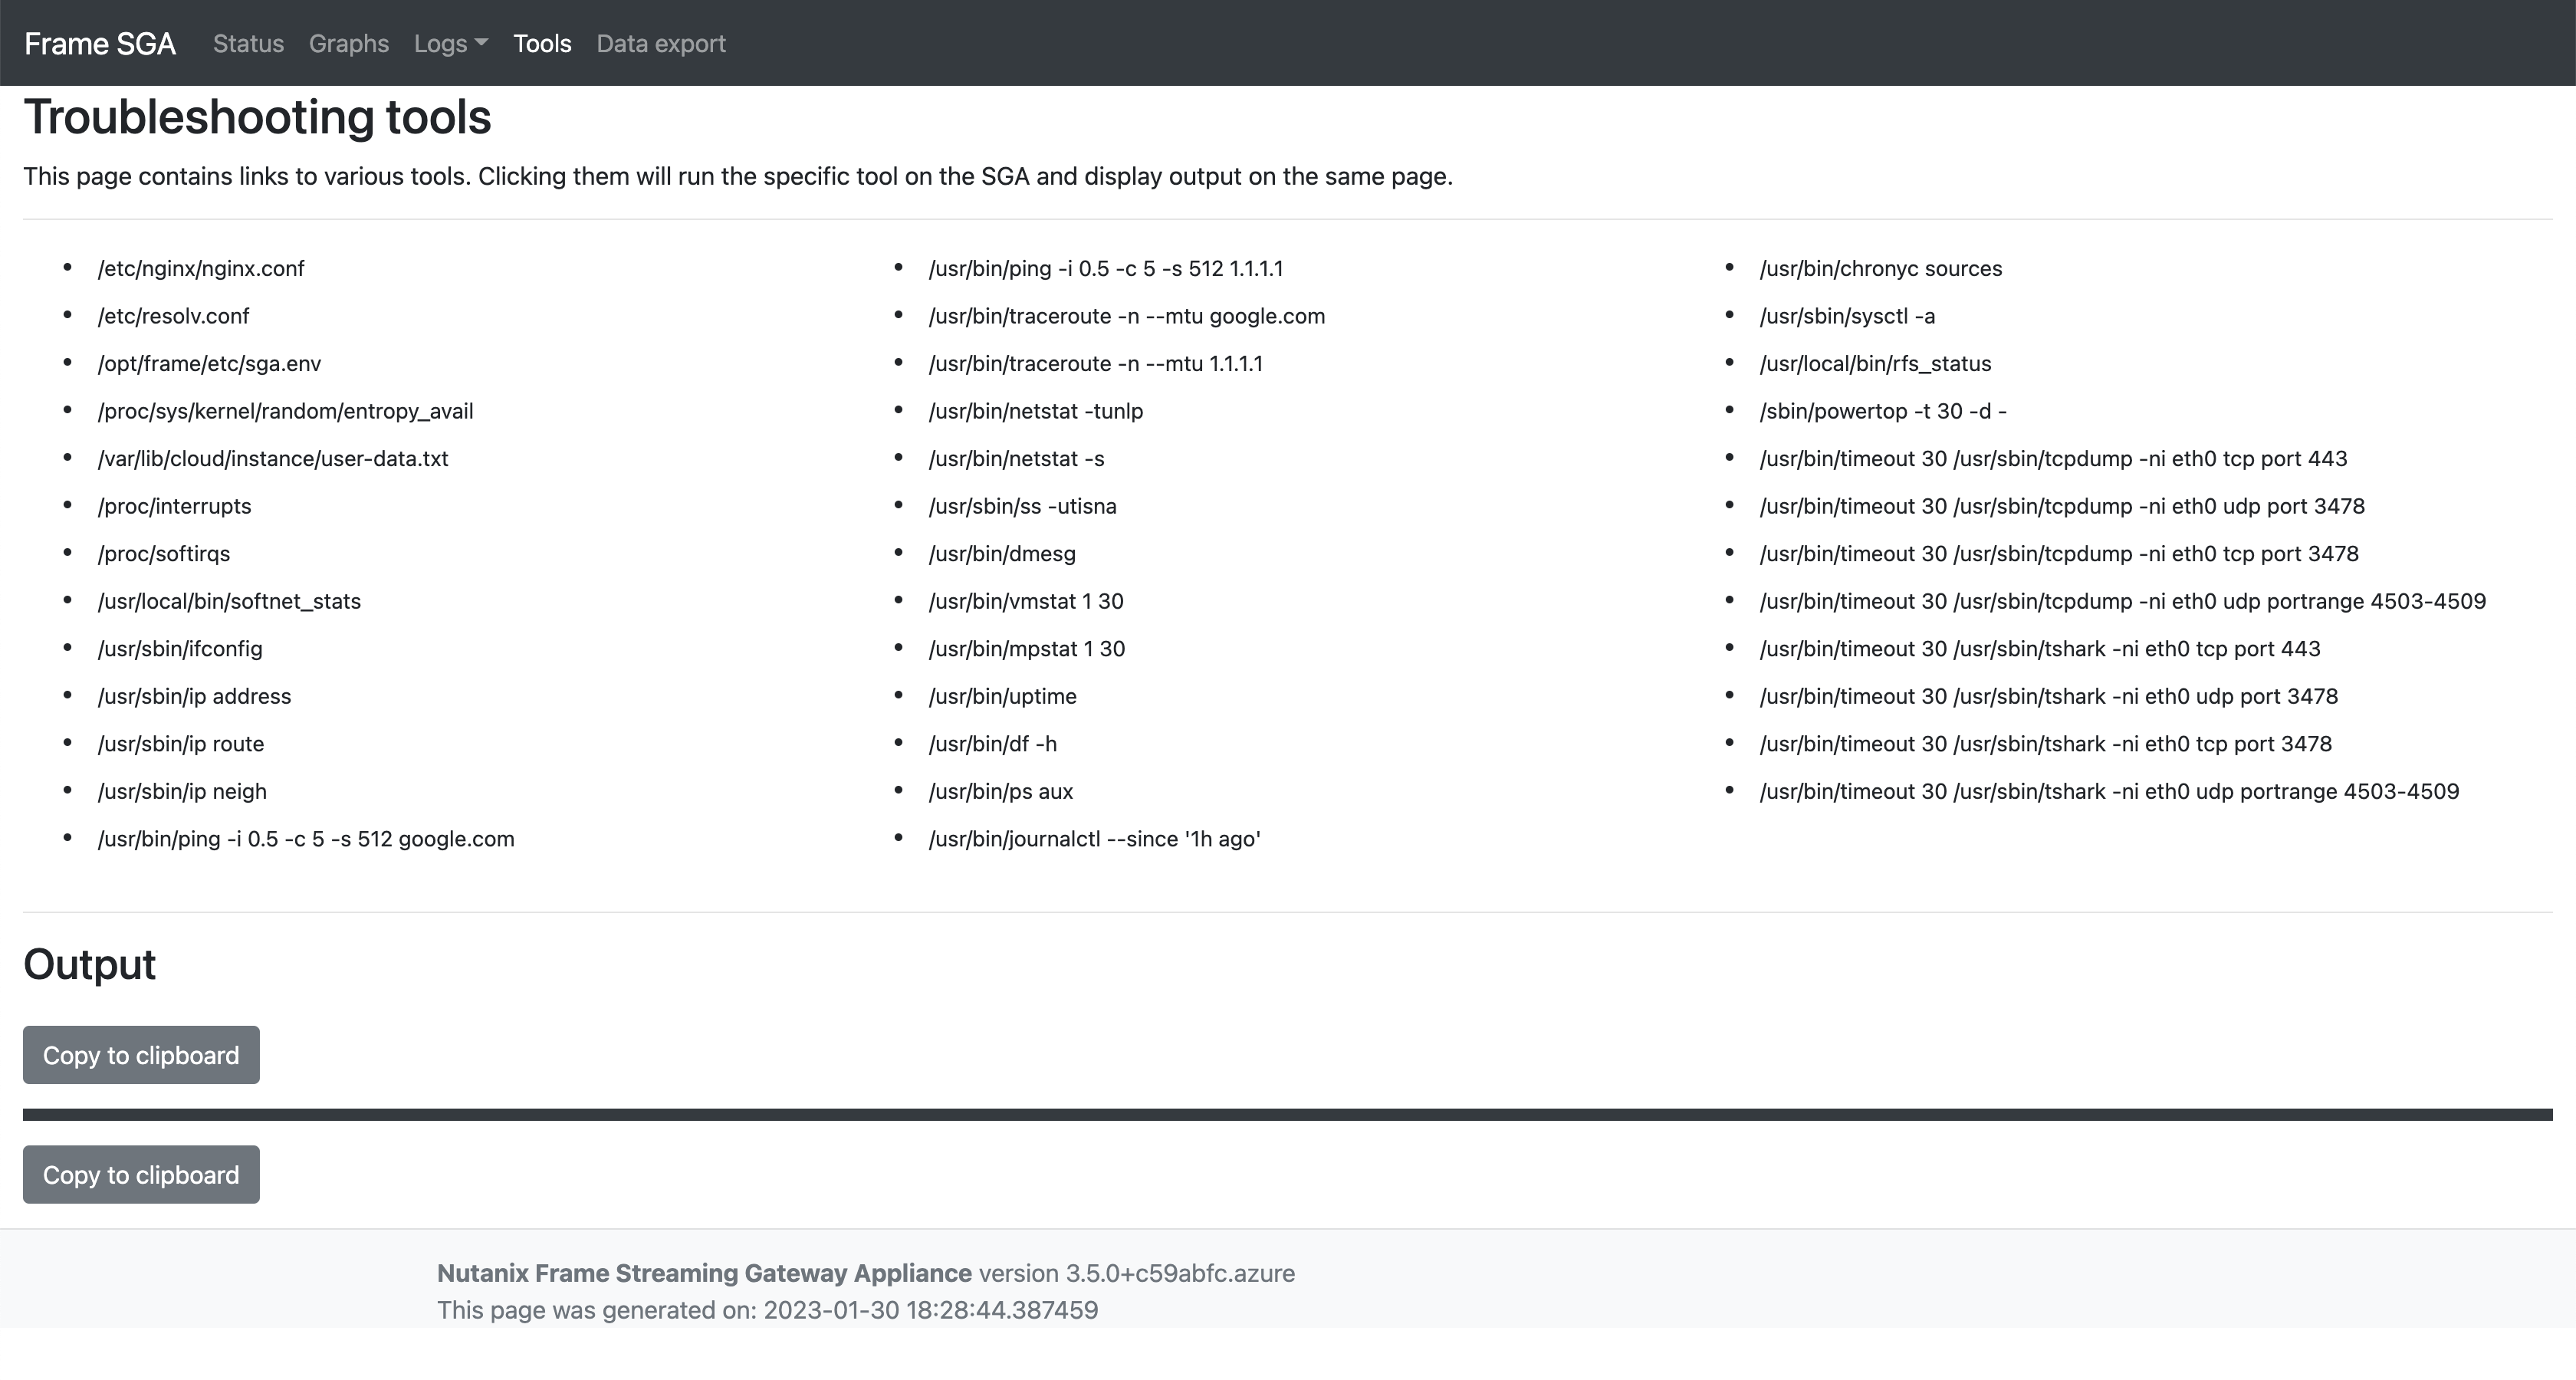
With SGA 3.5, administrators can use the Data Export feature to export a Zip archive that contains all relevant diagnostic information available in the Graphs, Logs and Tools tags for further troubleshooting.

Monitoring
Health Check URL
Customers can configure their load balancer to query the following internal endpoint to check the health of the SGA. It is highly recommended to use external access controls (firewalls, security groups) to restrict access to this service to trusted sources only.
http://<sga hostname or IP>:8888/_frame_sga_health
The endpoint will return a HTTP response status code of 200 if SGA instance is healthy or 500 if there are any issues with the SGA.
Version URL
Customers can query the following internal endpoint to obtain the version of the SGA. It is highly recommended to use external access controls (firewalls, security groups) to restrict access to this endpoint to trusted sources only.
http://<sga hostname or IP>:8888/_frame_sga_version
The endpoint will return the product name and version. For example,
{
  "prod_name": "Frame Streaming Gateway Appliance",
  "prod_version": "3.0.0-RC1+e48adcb.aws"
}
Renew Your SSL Certificate
SGA 3.5
SGA 3.5 allows you to update your SGA SSL certificate without the need to create a new SGA VM. To update your SGA 3.5 SSL certificate (or to replace both the SSL private key and public key certificate), you can follow the following steps:
-
Prepare the definition.yml file with the new SSL public key certificate, certificate chain, and private key. You can do this by one of two options:
- Use the SGA Toolbox to produce the definition.yml file or
- Execute
sga_config show externalon the SGA VM command line (as root) to display the current definition of your SGA. Copy that to a file you can edit.
-
SSH into your SGA VM and become root:
sudo bash -
Next, on the command line, execute the following command and copy the contents of your updated definition.yml file from Step 1 when prompted. Be sure to save your local configuration file by typing
CTRL+Don a new line.sga_config set
SGA - Set Local Configuration -
On the command line, switch from the external configuration file (which was provided when the SGA VM was initially created) to your local configuration file:
sga_config source local
SGA - Switch to Local Configuration -
You can verify that the local configuration has been updated by executing:
sga_config show local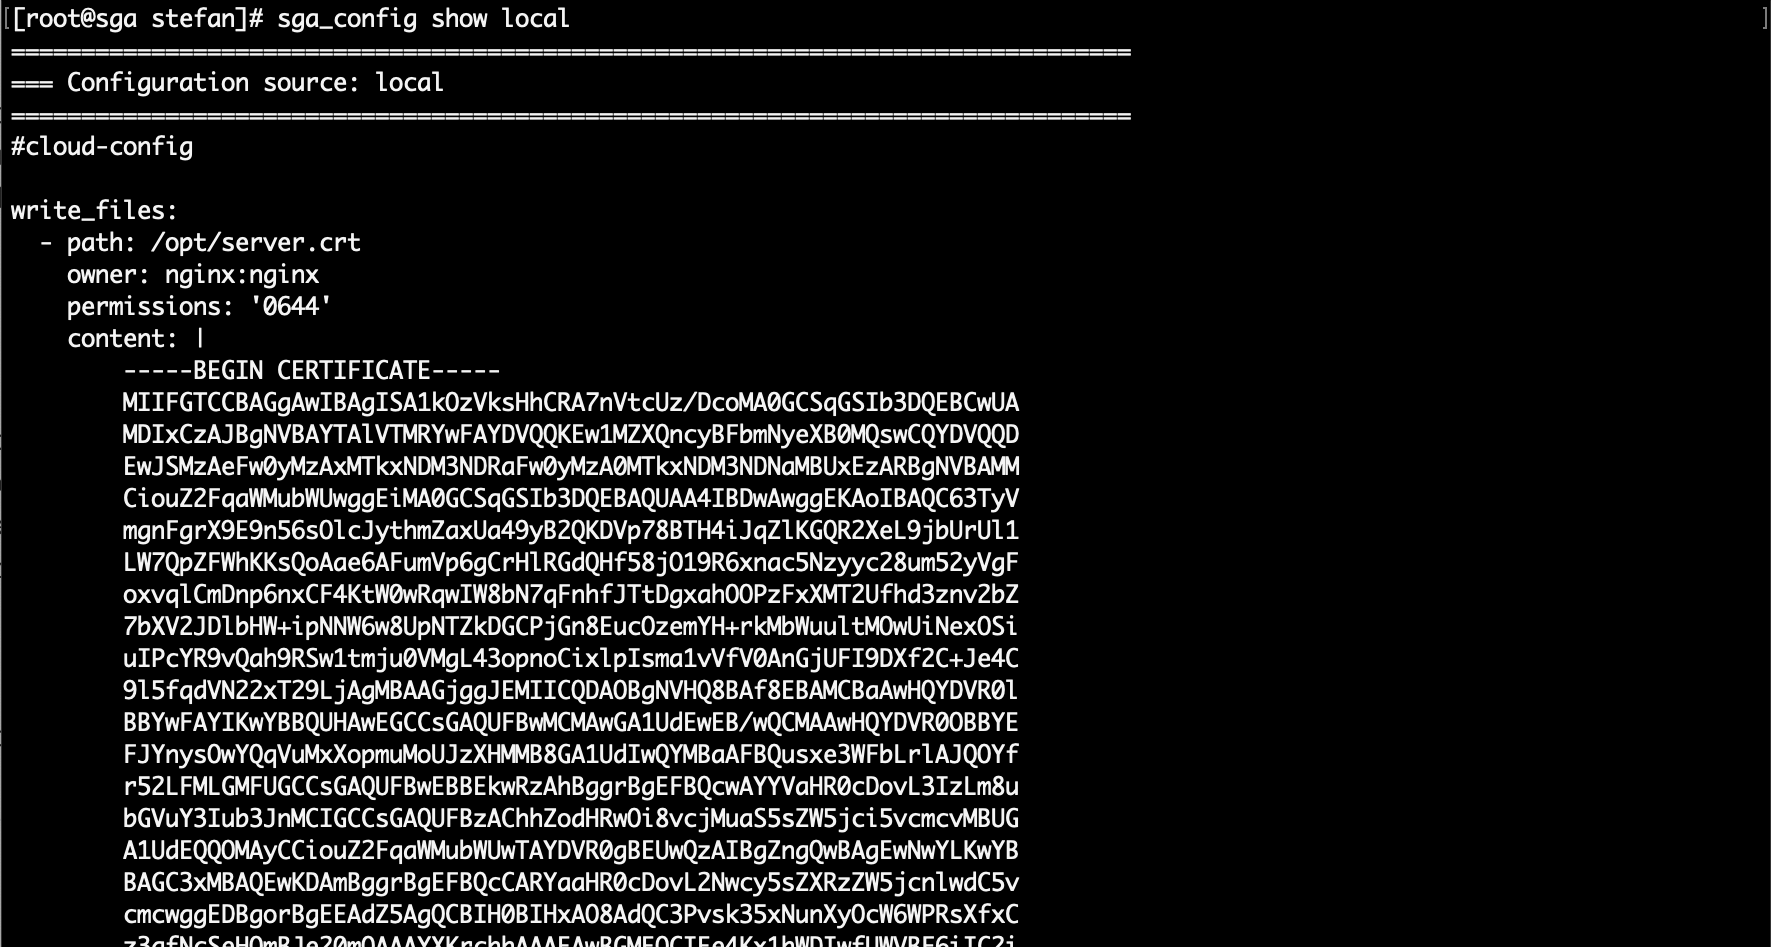
SGA - Show Local Configuration -
When you are ready to apply your local configuration, execute:
sga_config apply
SGA - Apply Local Configuration -
Once you have verified that the local configuration has been applied, close your elevated bash session/terminal.
This step will close any active FRP7 sessions and may take some time (depending on the CIDR range(s) you specified) so execute this step only during a scheduled maintenance window.
If you need to switch back to the external configuration, you can execute the following in sequence:
sga_config source externalsga_config apply
SGA 3.4 and earlier versions
With SGA versions 3.0 to 3.4, prior to your SSL certificate expiring, follow the instructions in steps 2 through 5 of the Manual SGA 3 Installation documentation page to create a new SSL certificate, update the configuration file, and create the new SGA VM. The process is as follows:
- Update/create the new YAML file (with the SSL public key certificate, certificate chain, and private key).
- Create a new SGA VM using the new YAML file.
- Shut down the old SGA VM.
- Configure the new SGA VM with the same network settings as the previous SGA VM.
- Reboot the new SGA VM.
Modify Your SGA Configuration
Starting with SGA 3.5, you can modify the SGA configuration parameter values without needing to replace your existing SGA VM with a new SGA VM. Follow the Renew Your SSL Certificate procedure to switch to the local configuration and update the value of the appropriate SGA configuration parameter.
The configuration parameters and their new values are specified under the bootcmd: block of the SGA configuration file. The parameters and their values are formatted as:
bootcmd:
  - set_sga_var BASE_DOMAIN sga-1233.dev.fra.me
  - set_sga_var CIDR 172.16.0.0/24
Additional CIDR Blocks
For customers wishing to add additional CIDR blocks (for FRP7 only) to their existing SGA VM, they can create an updated SGA configuration file with the SGA configuration variable CIDR set to one or more CIDR blocks separated by spaces.
For example, below the bootcmd block of the SGA configuration file, a second CIDR block is added:
bootcmd:
  - set_sga_var CIDR 172.16.0.0/24 172.18.0.0/24
Set a Public Key for the SGA Maintenance Account
For customers who need to access the SGA VMs after the VMs are created to change security policies or view SGA logs, administrators can enable the use of SSH to access the SGA VM as the local Linux user nutanix.
If SSH access is desired, the administrator must first generate an SSH public/private key pair and then modify the SGA configuration by setting the SSH_MGMT_PUB_KEY sga variable with the SSH public key in the bootcmd block of the SGA configuration file. SSH access is most often used when an SGA VM is manually deployed by a customer, either in public cloud or on Nutanix AHV.
bootcmd:
  - set_sga_var SSH_MGMT_PUB_KEY ssh-rsa AAAAB3NzaC1yc2EAAAADAQABAAABgQDtfileuEjCuTnWkRR7KpvEQCXIg81Bl7sgmN1WbRqbRRZvNxhD5Z+9qK5vQ2XXwmn3t70RSYIHPjnK4/CGyR4urLUfTdOoNMl3zQv70/trkZ+Y1mRry2JCQEGyf7OIZE01Bw0vYgtS3KETOCQ2PYR8s04Ig0/FRc25UHxVfwKWUD3fu2sScIDmNf/LFXXSCih6bAIP5KmSxRciyt7pdKmjybGneQSc8F8rSiO58zzUb0TLbK0EY5EfCmQeGXDgTynugiwGF6jbCNbyZ68eh8uCsU1JuCjUE73b/jru2jq5Dk4zNh7LK0nth2iHMZJHOzye3+LetsPQ4gVNaW/Ee4pVG18JP4eh44C5MuGNTSJFz6wN06YI0VofdjJ8eDmtl4vkDLvQZCSEKT4C3lq77biR2GJLz76stLW+LcBfyRo4CDg/hjBlidacEf0O3yCplhmm4uC/PMef6yU4LOrVwVpRpDSMli++/tLGNOyy8jxv6ni86Jnpc55xJG2St500p+s= acct@local
You will also need to ensure that your firewall and network routes allow you to reach the SGA VM via tcp/22 (SSH port). After applying the configuration update and rebooting the SGA VM, you can SSH into the SGA VM as user nutanix using putty or an equivalent SSH client. For example, in Linux OS or macOS, you can execute on the command line interface:
ssh -i {path to your private key} nutanix@{IP of SGA}
Disable Web Management Port
For SGA 3.X, administrators of customer-managed SGA VMs can disable the SGA web management port (default: tcp/8888) using the following procedure:
- Login to the SGA VM.
- Using the command line as root or a sudoer, navigate to
/usr/local/bin/process_app_vars.pyfile. - Backup the existing file using the copy command
cp /usr/local/bin/process_app_vars.py /usr/local/bin/process_app_vars.py.bck. - Using a command line editor of your choice, edit the
process_app_vars.pyfile. - In the file, find the section that specifies:
PORTS = ["443/tcp", "3478-3479/udp", "3478-3479/tcp", "49152-65535/udp", "49152-65535/tcp", "$WEB_MGMT_PORT", "$WEB_MGMT_PORT_SECURE"]
- Modify the section to remove $WEB_MGMT_PORT string.
The section will have the text edited as:
PORTS = ["443/tcp", "3478-3479/udp", "3478-3479/tcp", "49152-65535/udp", "49152-65535/tcp", "$WEB_MGMT_PORT_SECURE"]
- Reboot the Streaming Gateway Appliance VM.
View Your SGA Configuration
Starting with SGA 3.5, you can check your SGA configuration by connecting to your SGA VM using SSH and executing on the command line as root:
sga_config show- to show the current configuration (either external or local configuration)sga_config show local- to show the local configurationsga_config show external- to show the external configuration
SGA Configuration Parameters
The following table describes the SGA configuration parameters that can be added to the definition.yml file created by the SGA Toolbox (either before deploying an SGA VM or when you wish to update the SGA VM configuration parameters).
| Configuration parameter | Definition | Default Value |
|---|---|---|
| BASE_DOMAIN | SGA subdomain resolvable by customer's external (and internal) DNS servers. | sga.company.com |
| CIDR | IP network address range in which workload VMs are located, in CIDR notation. Due to memory use and performance considerations, maximum size of network should be limited to /18. This value is used for relaying only WebSockets-based FRP implementation. | 172.16.0.0/24 |
| SSH_MGMT_PUB_KEY | SSH public key that will be used to SSH into the SGA VM as local Linux user nutanix. | |
| WEB_MGMT_USERNAME | Username used for HTTP basic authentication when accessing management web services. | nutanix |
| WEB_MGMT_PASSWORD | Password used for HTTP basic authentication when accessing management web services. | nutanix/4u |
| WEB_MGMT_PORT | Management web service listening port. | 8888 |
Adjust Your SGA VM Size
After you have created your SGA VM, you can adjust the size of the VM through the console of your infrastructure hosting your SGA VM. We do recommend the following procedure in your infrastructure console:
- Power off your SGA VM.
- Change the instance type to a smaller (or larger) instance type.
- Power on your SGA VM.
Since users will not be able to reach the workload VMs behind your SGA VM during the time that your SGA VM is unavailable, you will need to schedule a maintenance window to perform this operation if you only have one SGA VM or have more than one SGA VM in a high-availablity configuration.