AHV
Frame supports Entra joined devices Early Access on AHV for Windows 10/11 operating systems in persistent desktop Frame Accounts.
Prerequisites
- Bring Your Own (BYO) Azure subscription
- Entra ID Tenant
- New or existing Windows 10/11 persistent desktop Frame Account
Setup
-
Navigate to the persistent desktop Frame Account Dashboard within your AHV cluster in Frame Console.
-
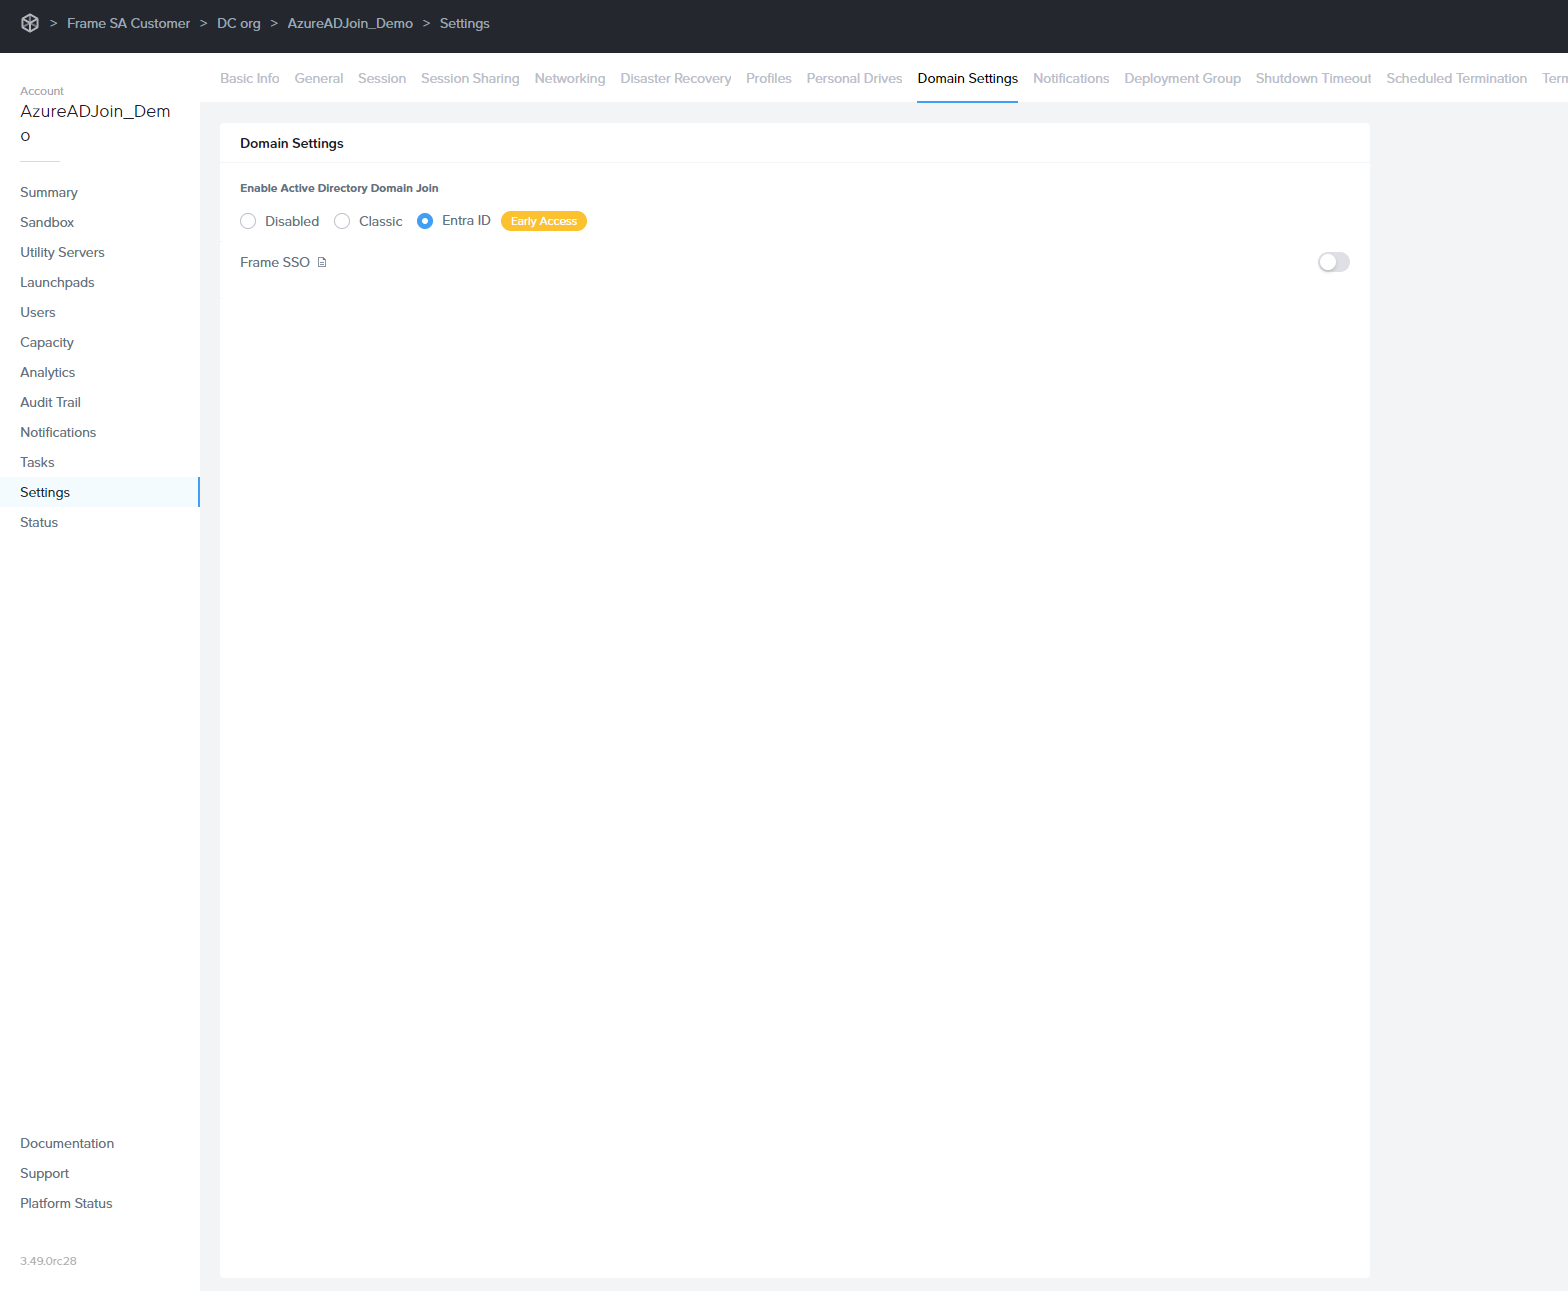
Go to the Settings page, click on Domain Settings and select Entra ID. Then, click the Save button.
 note
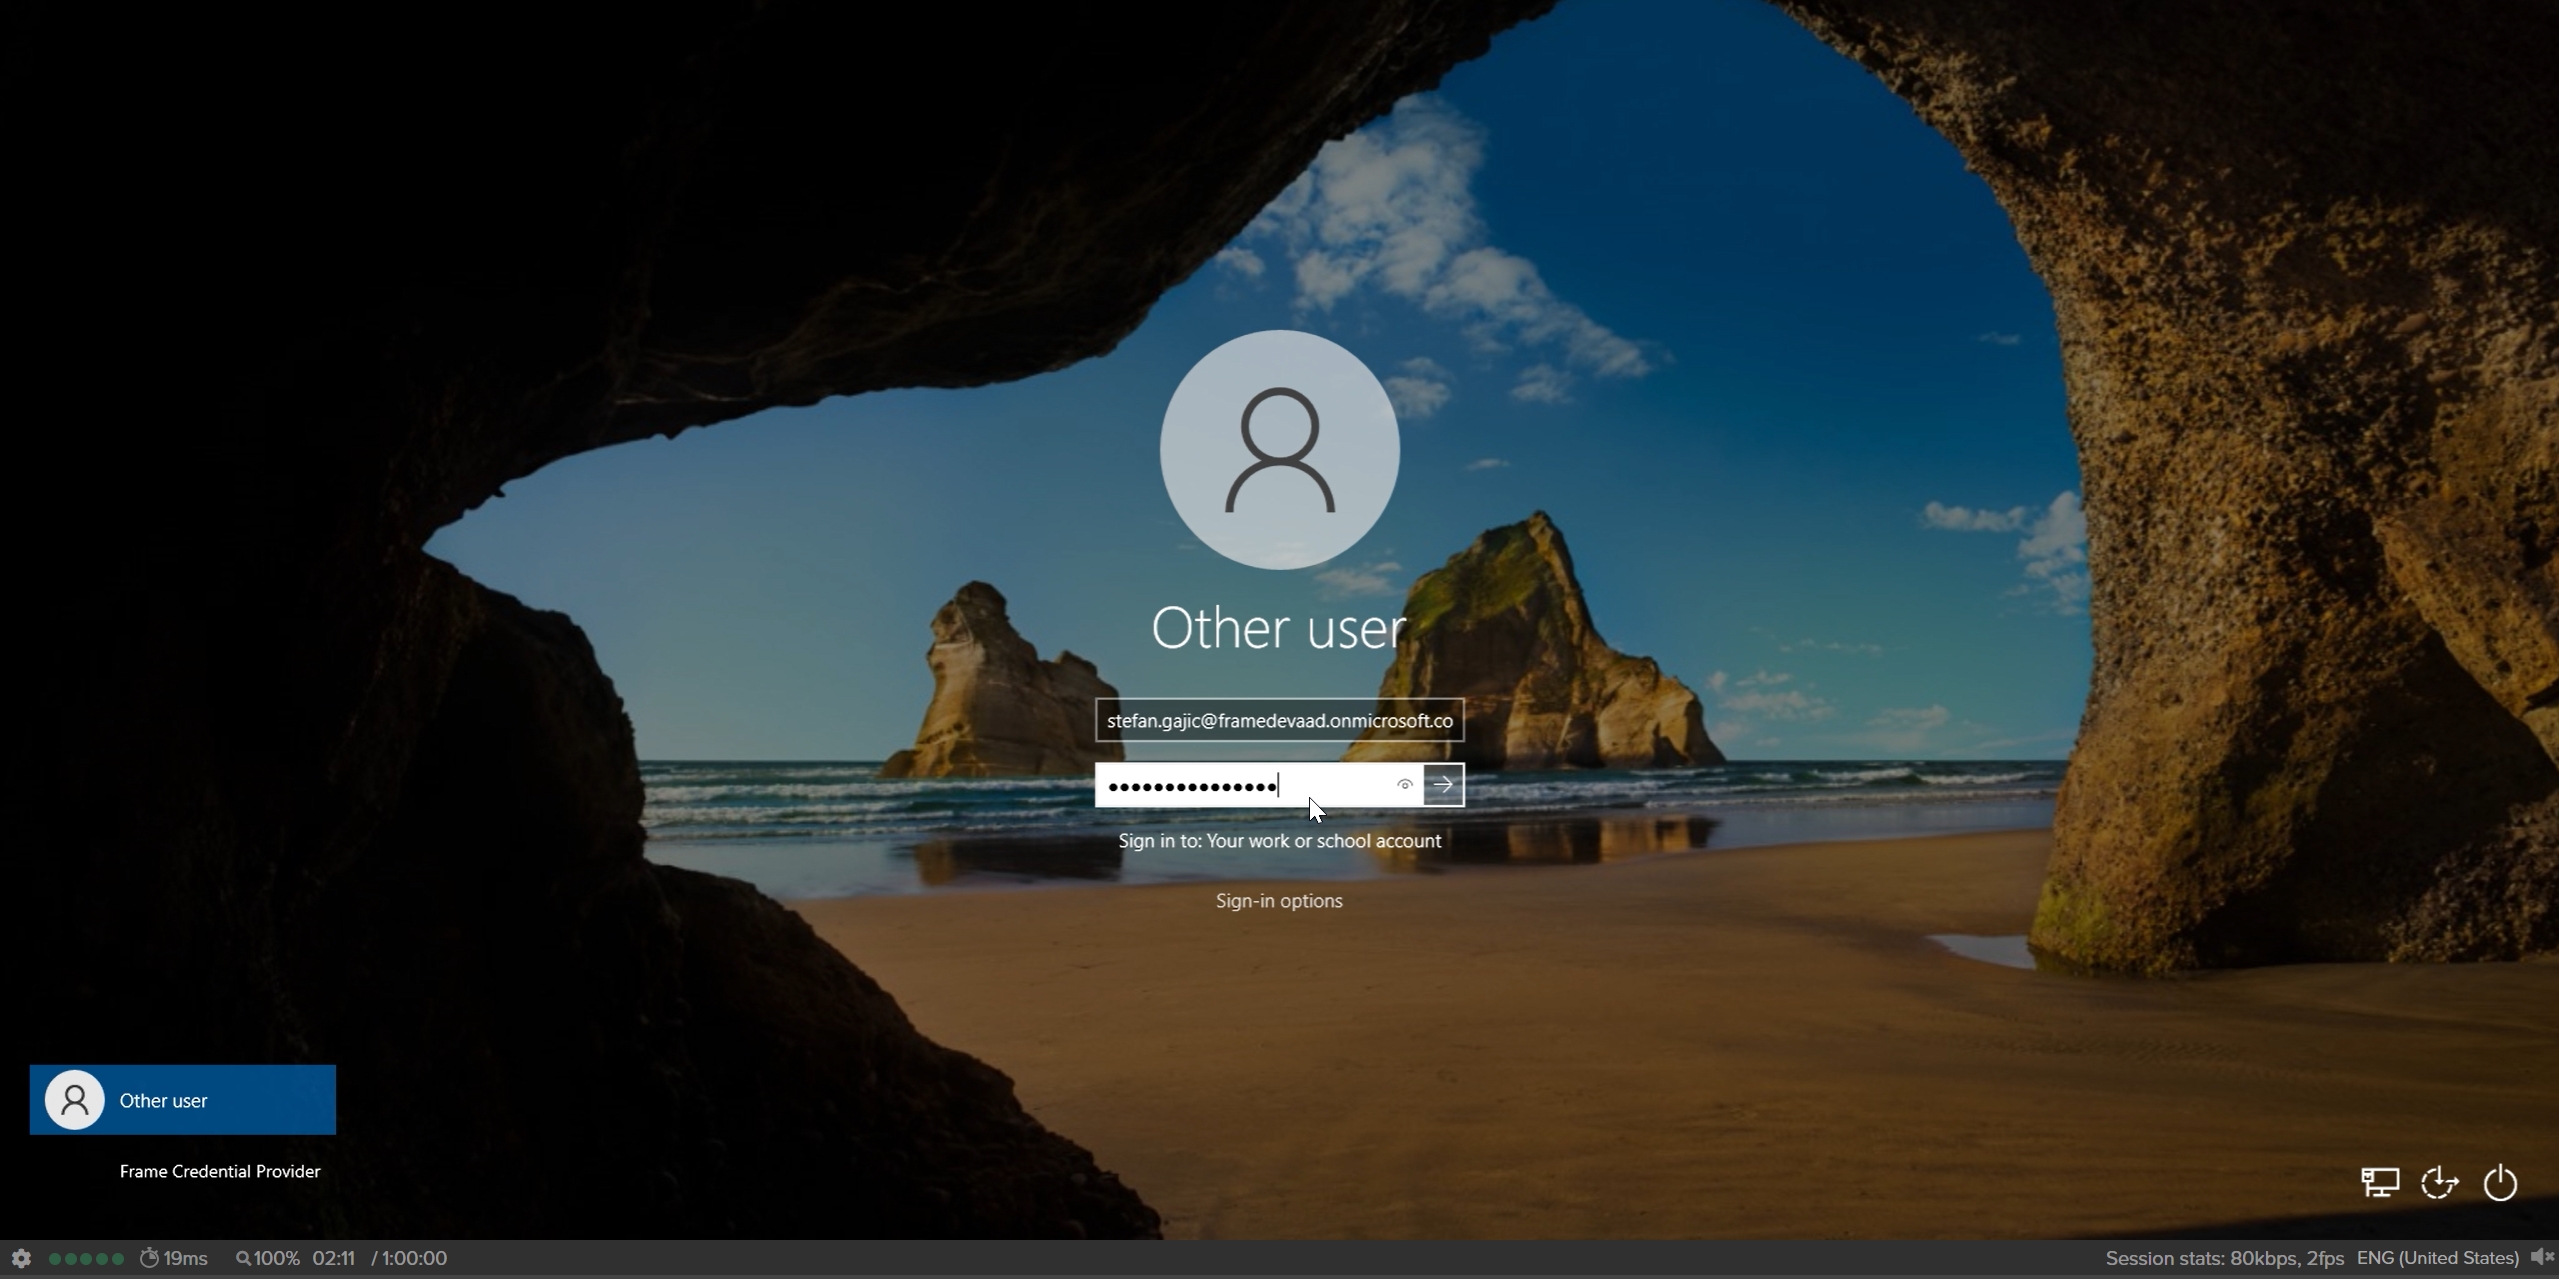
noteThe Entra joined device feature requires users to login with their Entra ID user account.
-
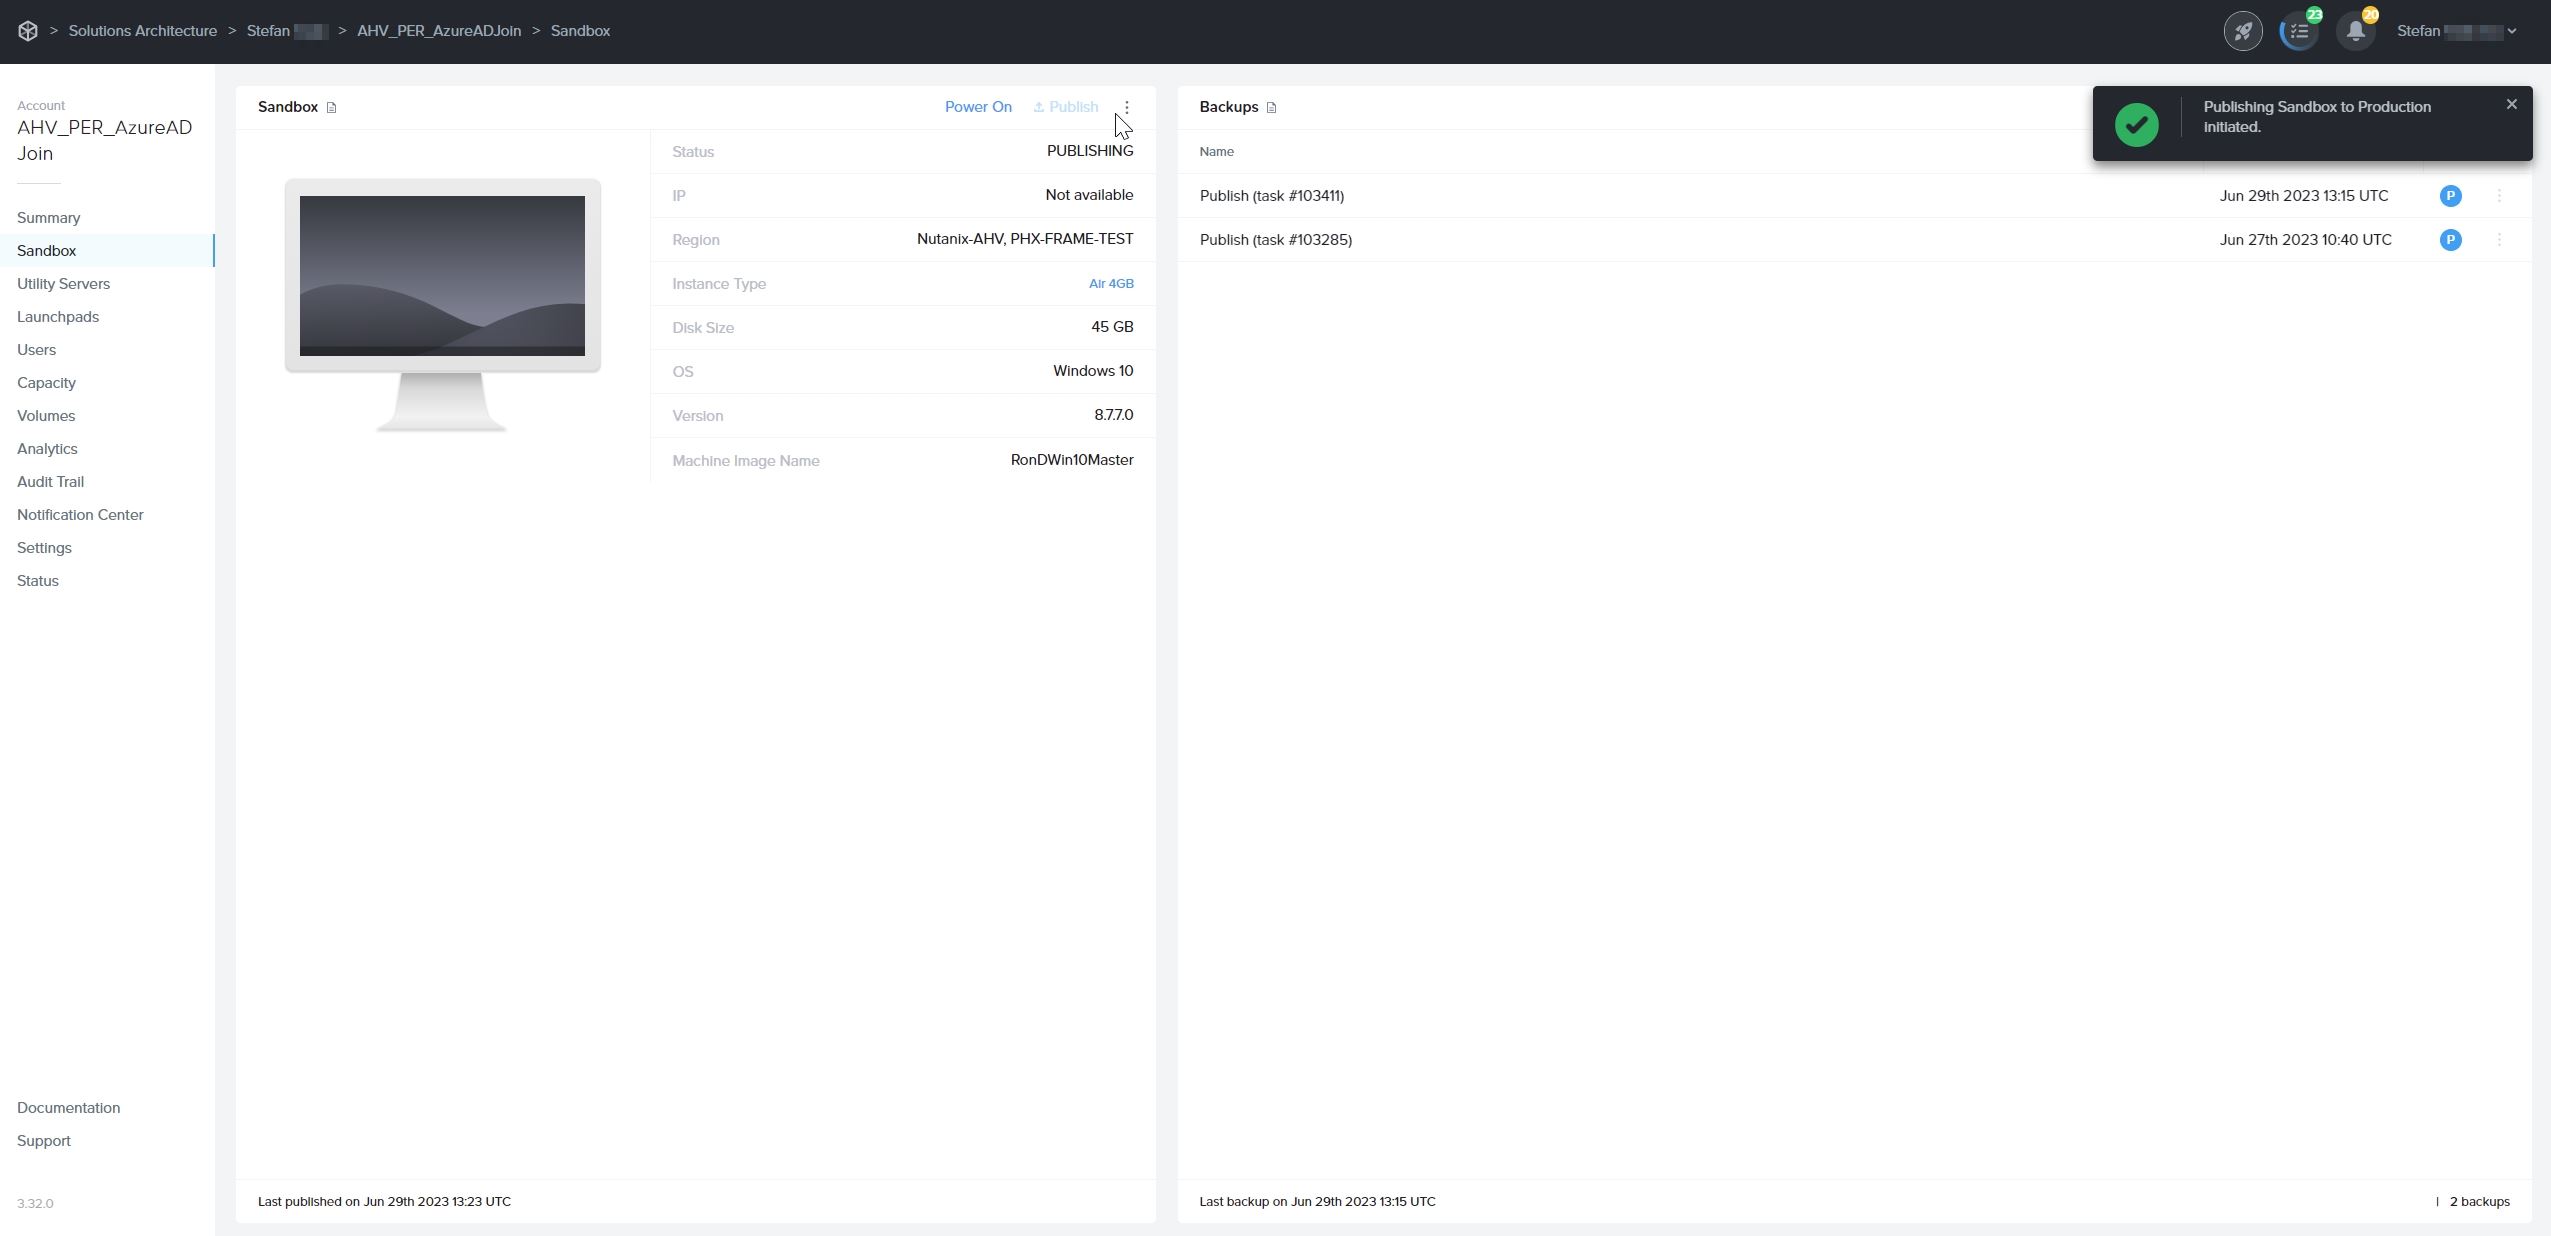
Navigate to the Sandbox page, and Publish the Sandbox.
 note
noteOnly test and production pool VMs will be Entra device joined. Sandbox and Utility server(s) will not be Entra device joined. If you wish to join your Utility server(s) to your Entra ID tenant, they must be joined manually.
warningDo not join the Sandbox to Entra ID as this action can lead to sysprep failures during the publish process.
-
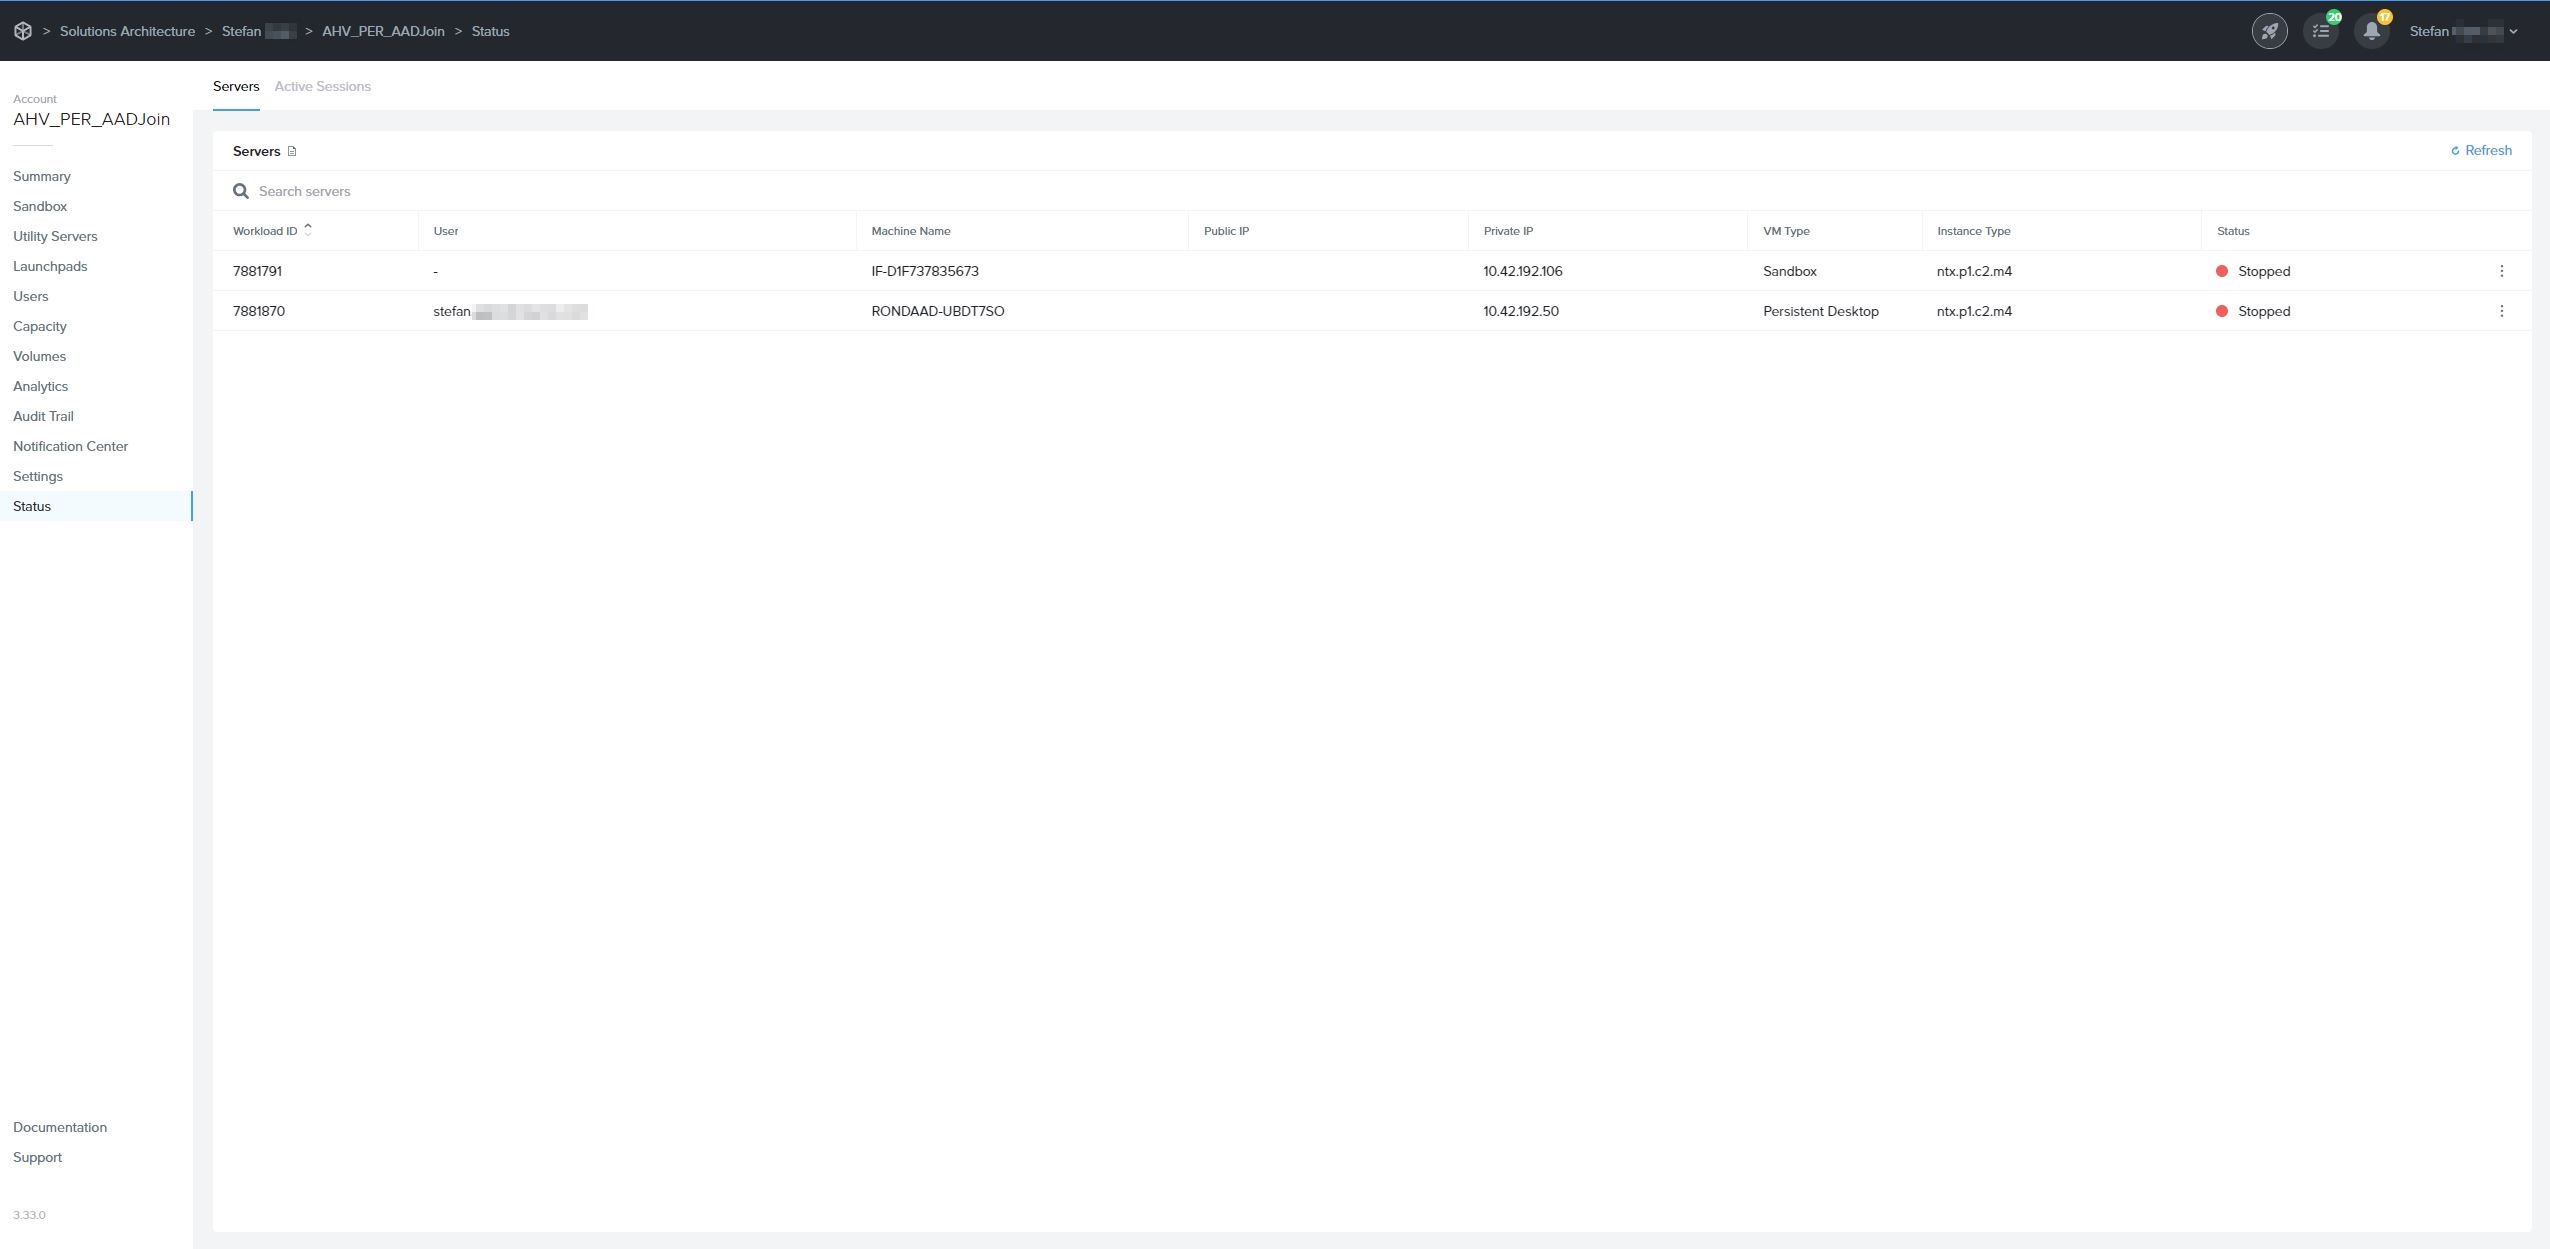
After a successful publish, navigate to the Status page to check the status of your VMs. You will notice that Entra joined devices have a prefix in their hostnames.
-
When end users log into their assigned VM, they will be asked to enter their Entra ID credentials as shown below:
Windows Hostname Prefix
The Windows hostnames for Entra joined devices on AHV will be generated once the VMs are provisioned, by concatenating a prefix of 4 characters, a string "AAD-", and a 7 alphanumeric string, following the procedure described in Microsoft's official documentation.
The prefix will be the first 4 characters of the filename of the master image used to create the Frame Account Sandbox.
Windows 10/11 OOBE
The first time a user accesses their Entra joined persistent desktop on AHV, the user will go through the Microsoft Windows Out of the Box Experience (OOBE). The experience will depend on whether the persistent desktop is Windows 10 or 11 Enterprise Edition or Professional Edition.
If you have a use case where you need to reassign an Entra joined persistent desktop to another user, confirm that your Entra ID policies will grant the new user local Windows administrator privileges (if this is required).
Enterprise Edition
-
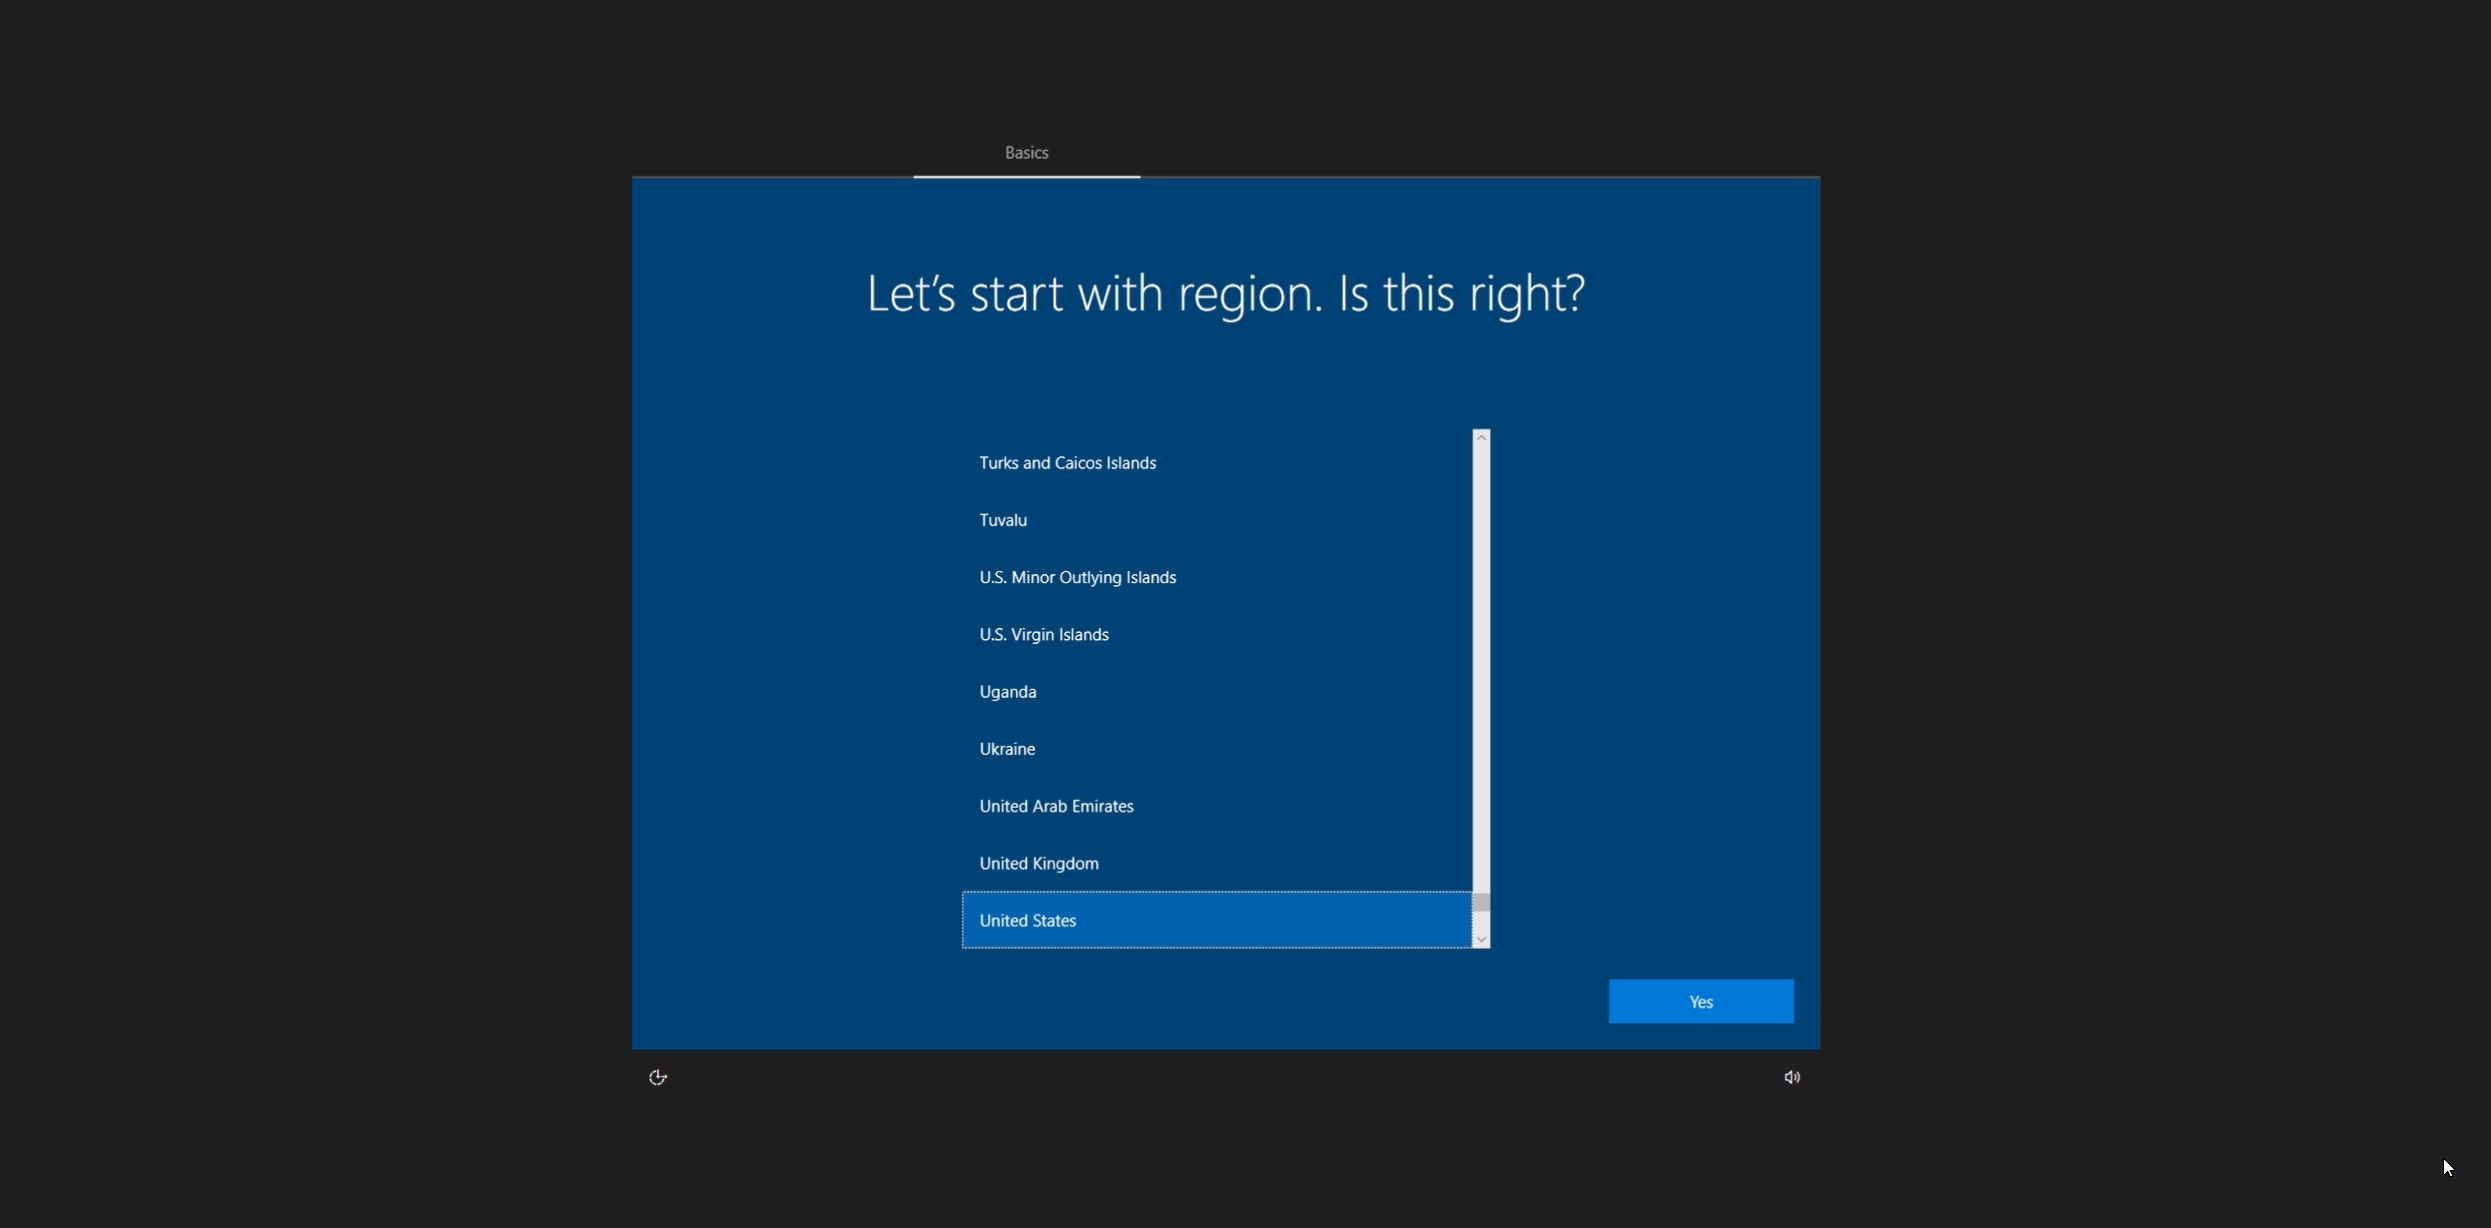
Upon accessing their persistent desktop for the first time, the user will be prompted to choose a region.
-
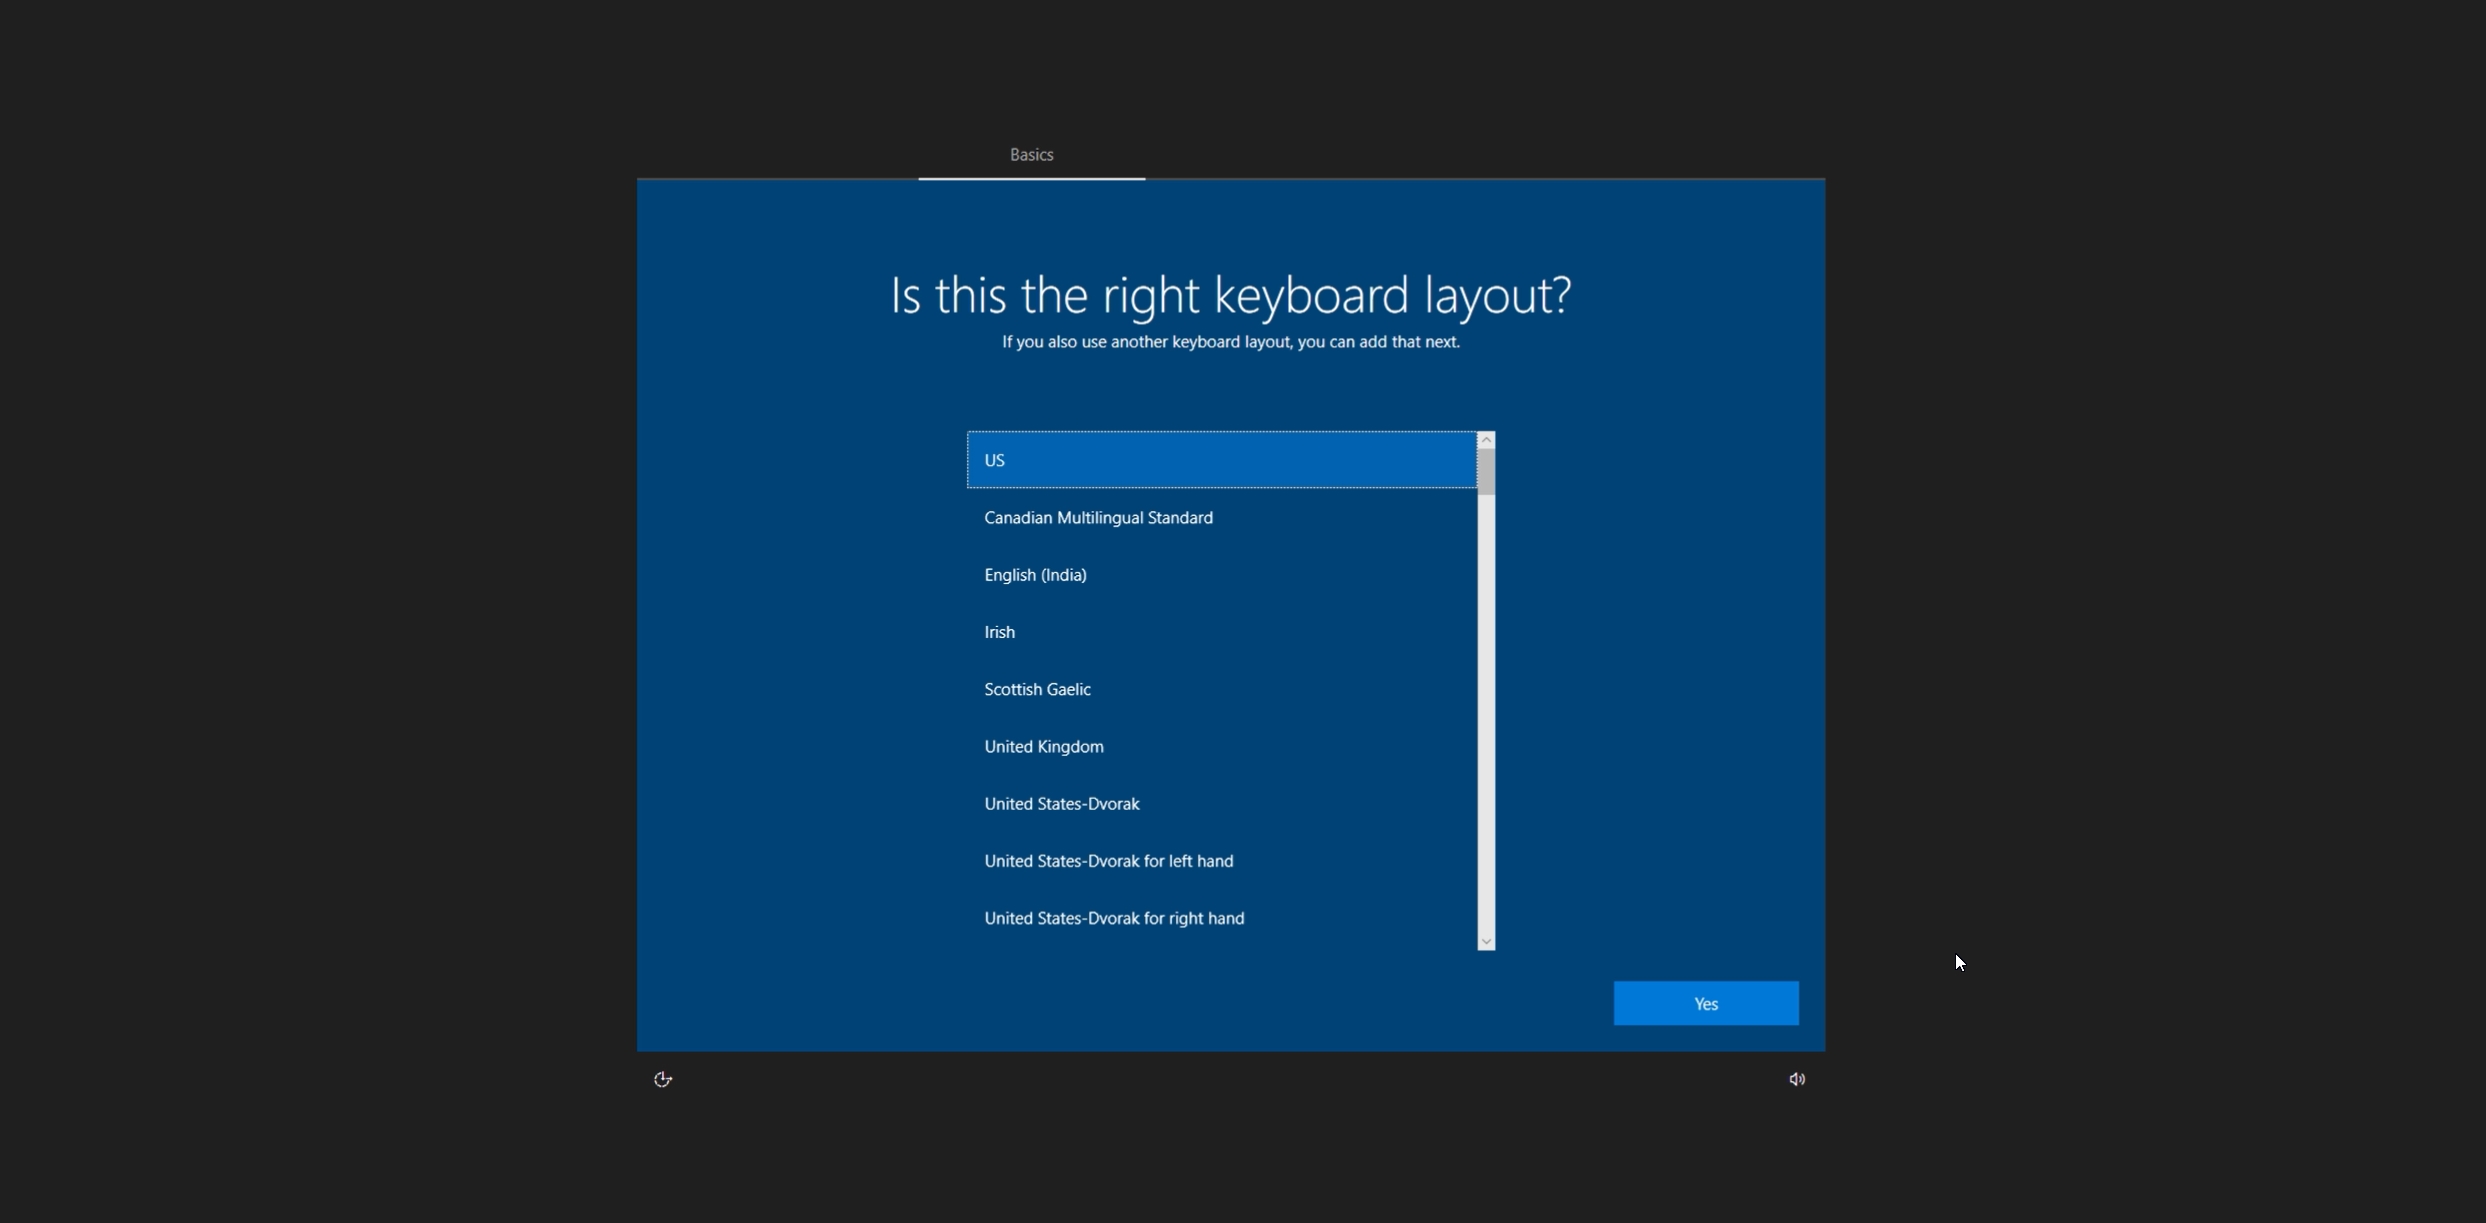
Next, select a keyboard layout.
-
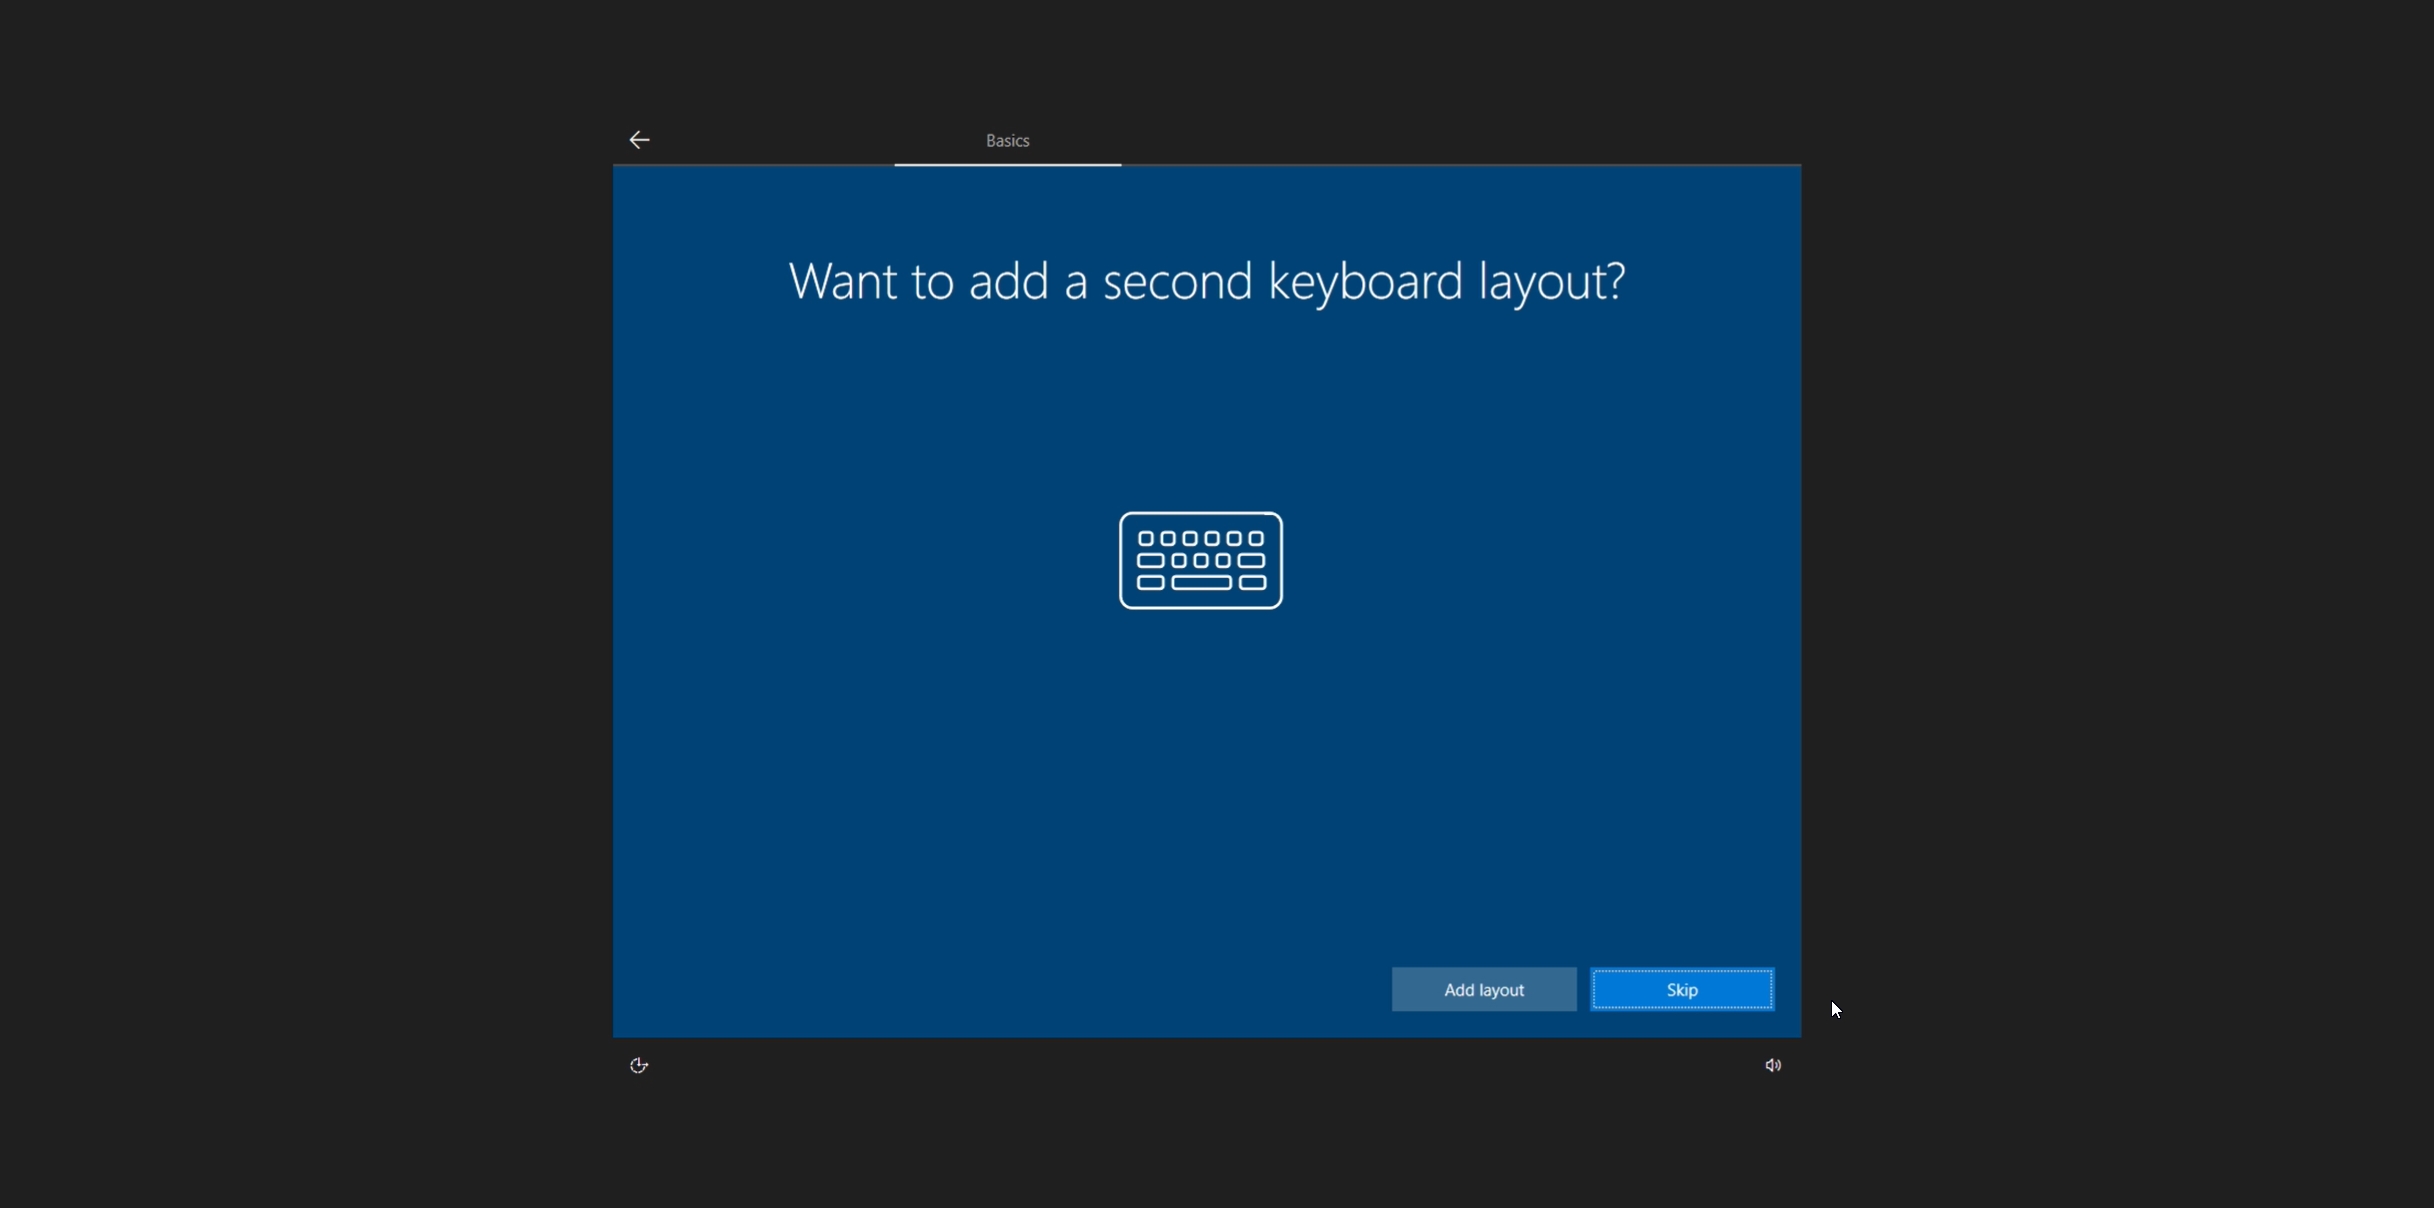
Optionally add a second keyboard layout.
-
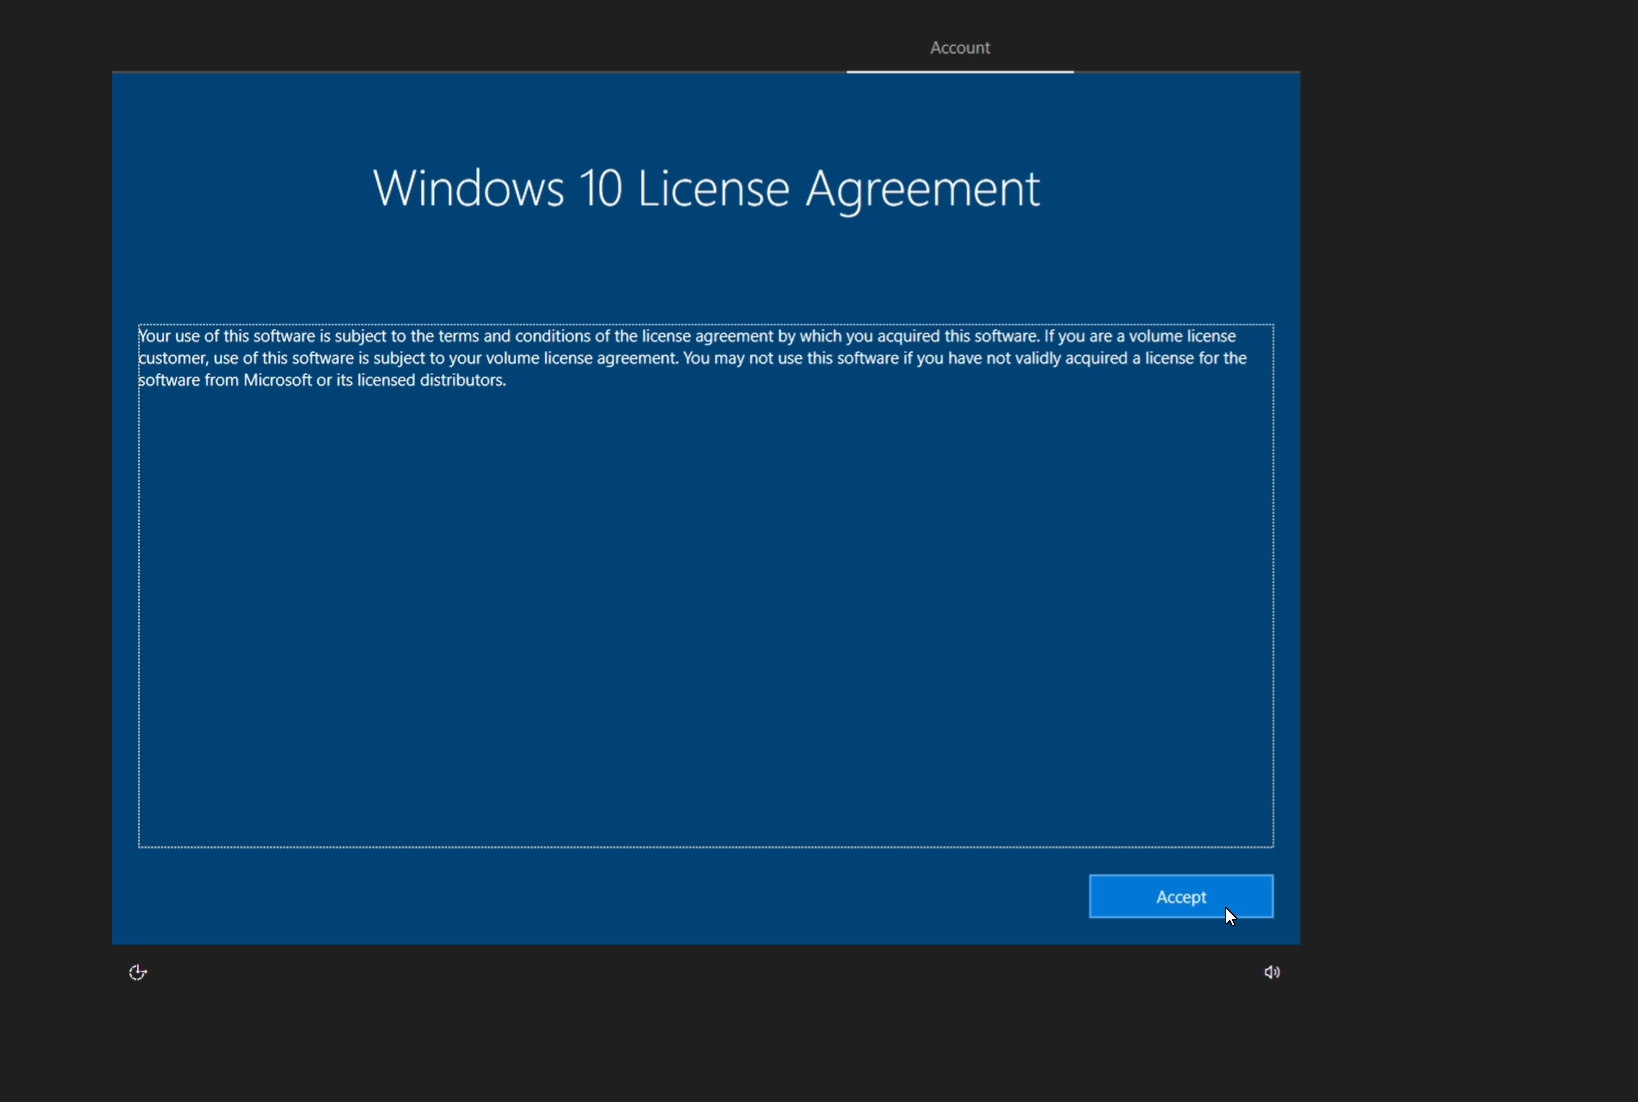
Review and accept the OS license agreement. By accepting the agreement, the user agrees to comply with its terms.
-
Next, the user will need to set up their user account by entering their Entra ID username.
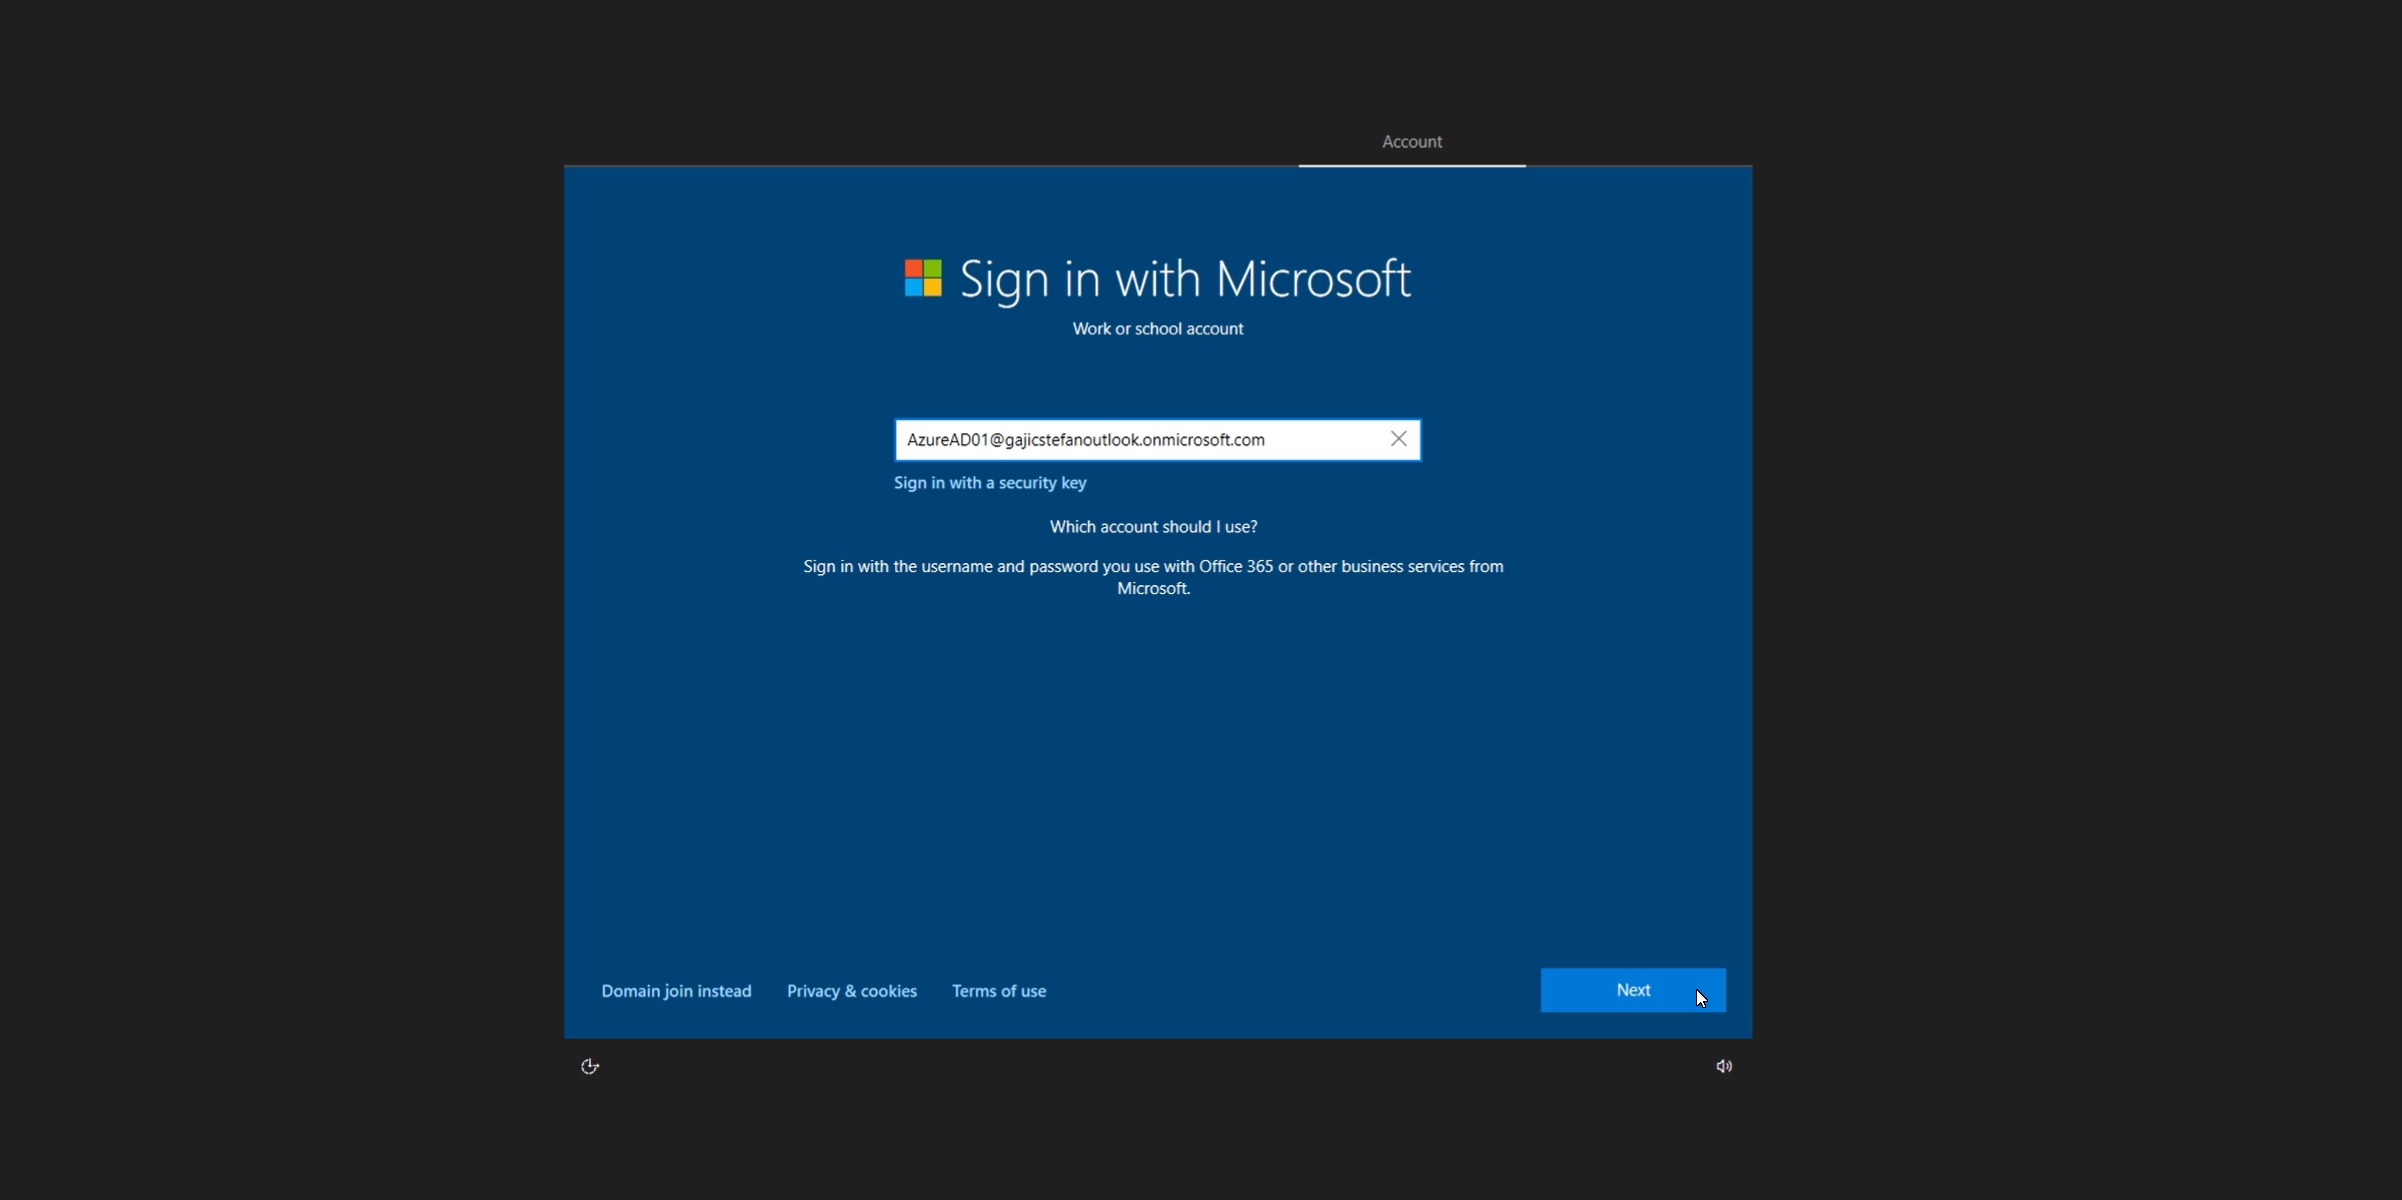
-
On the next page, they'll be prompted to enter their Entra ID password.
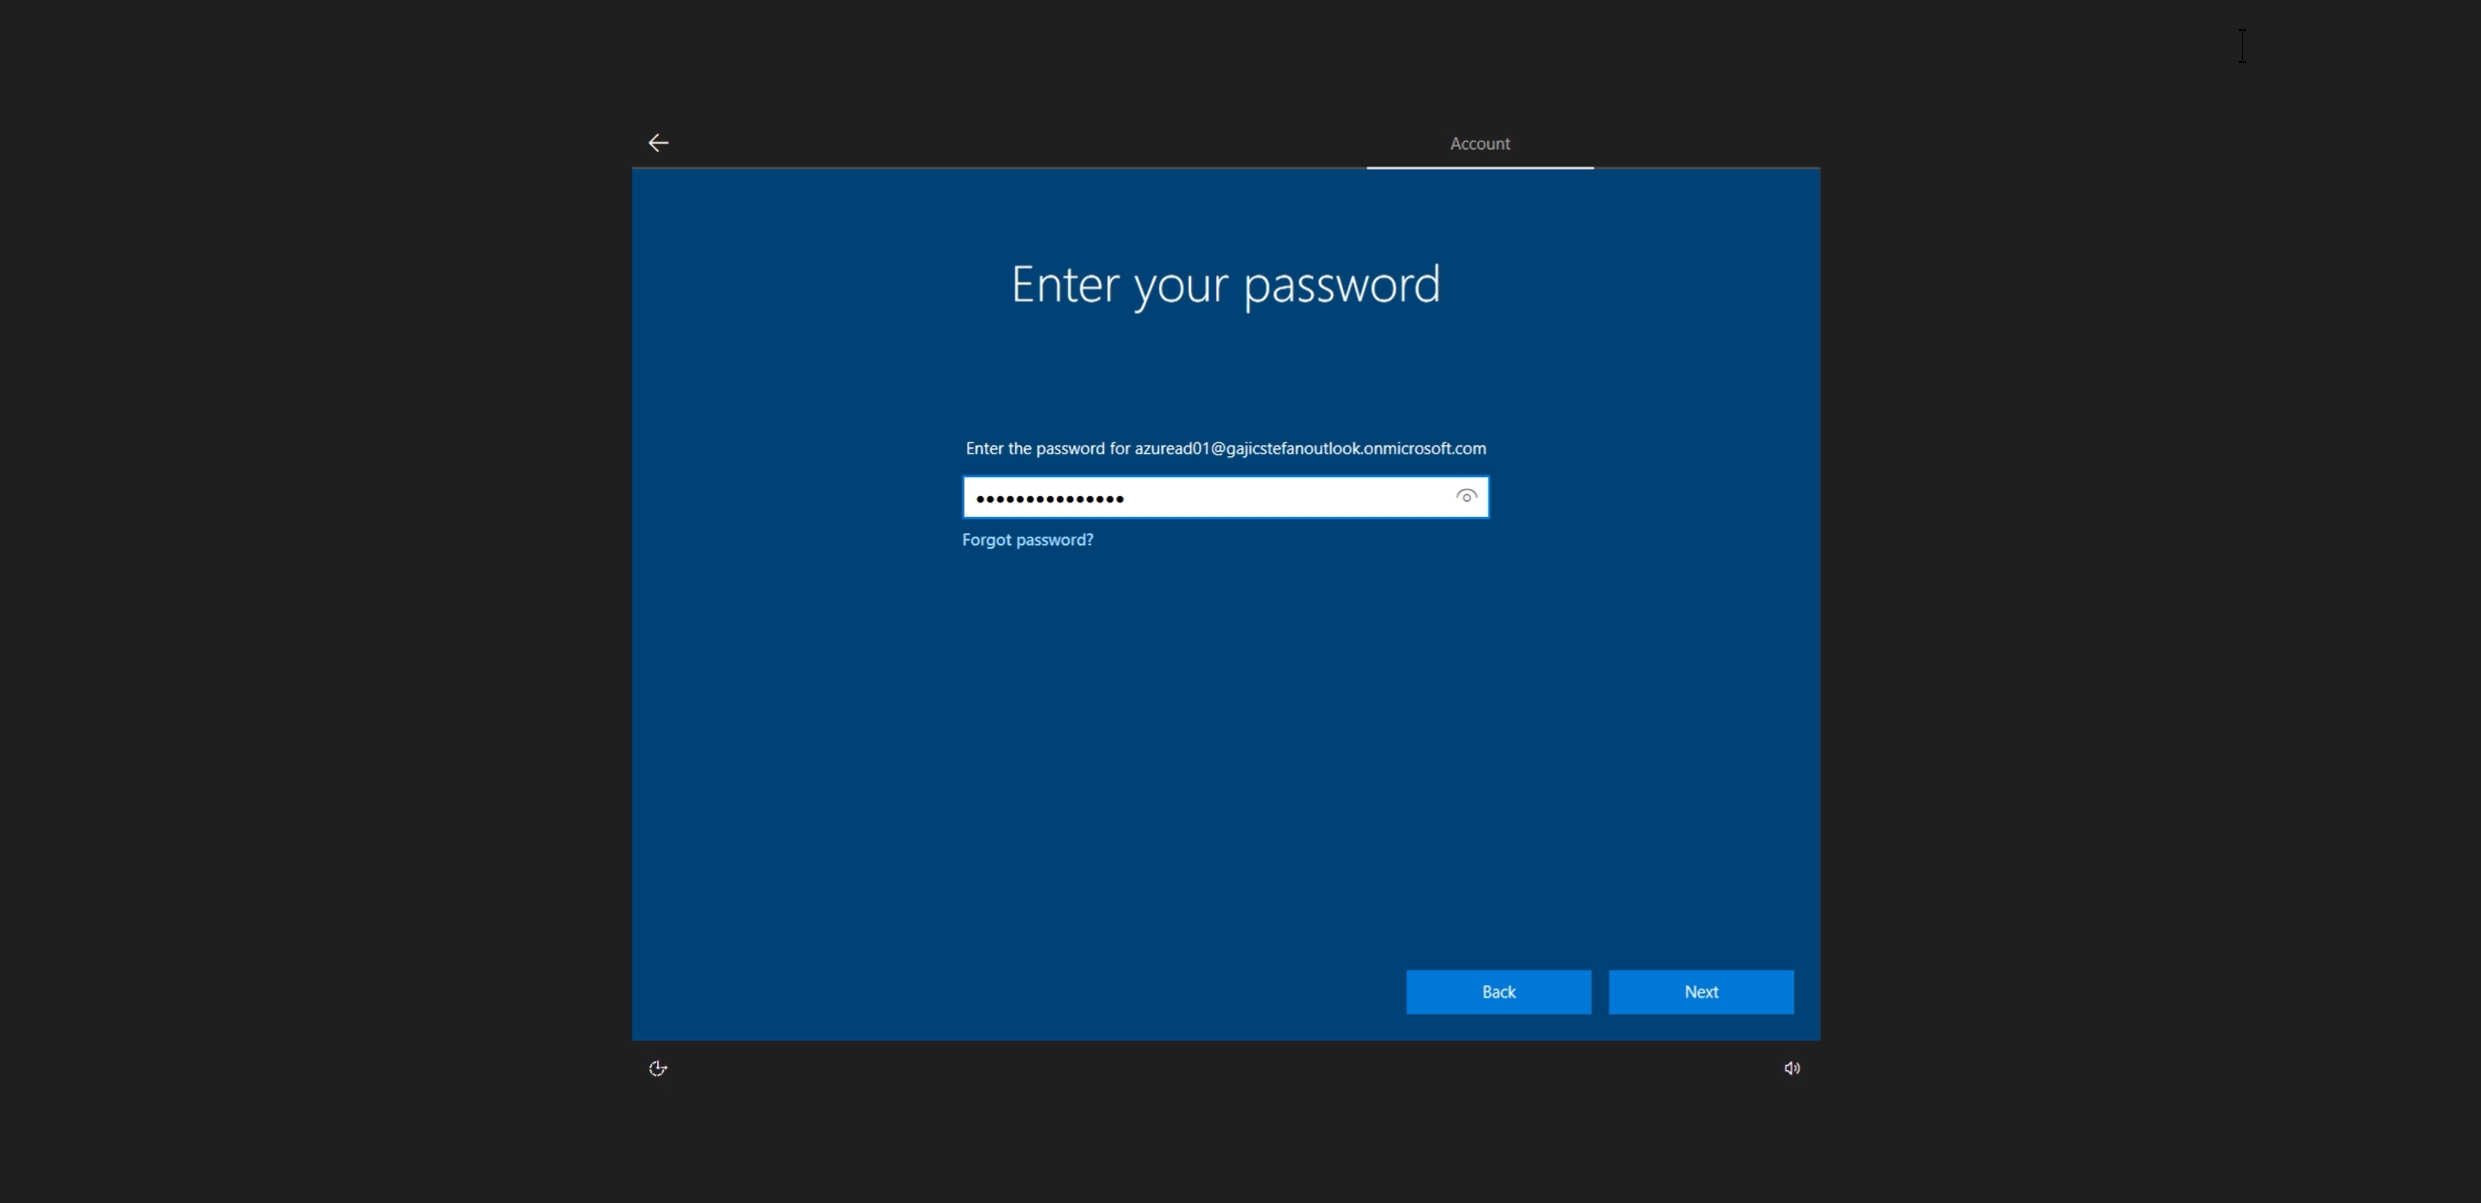
-
Choose their privacy settings.
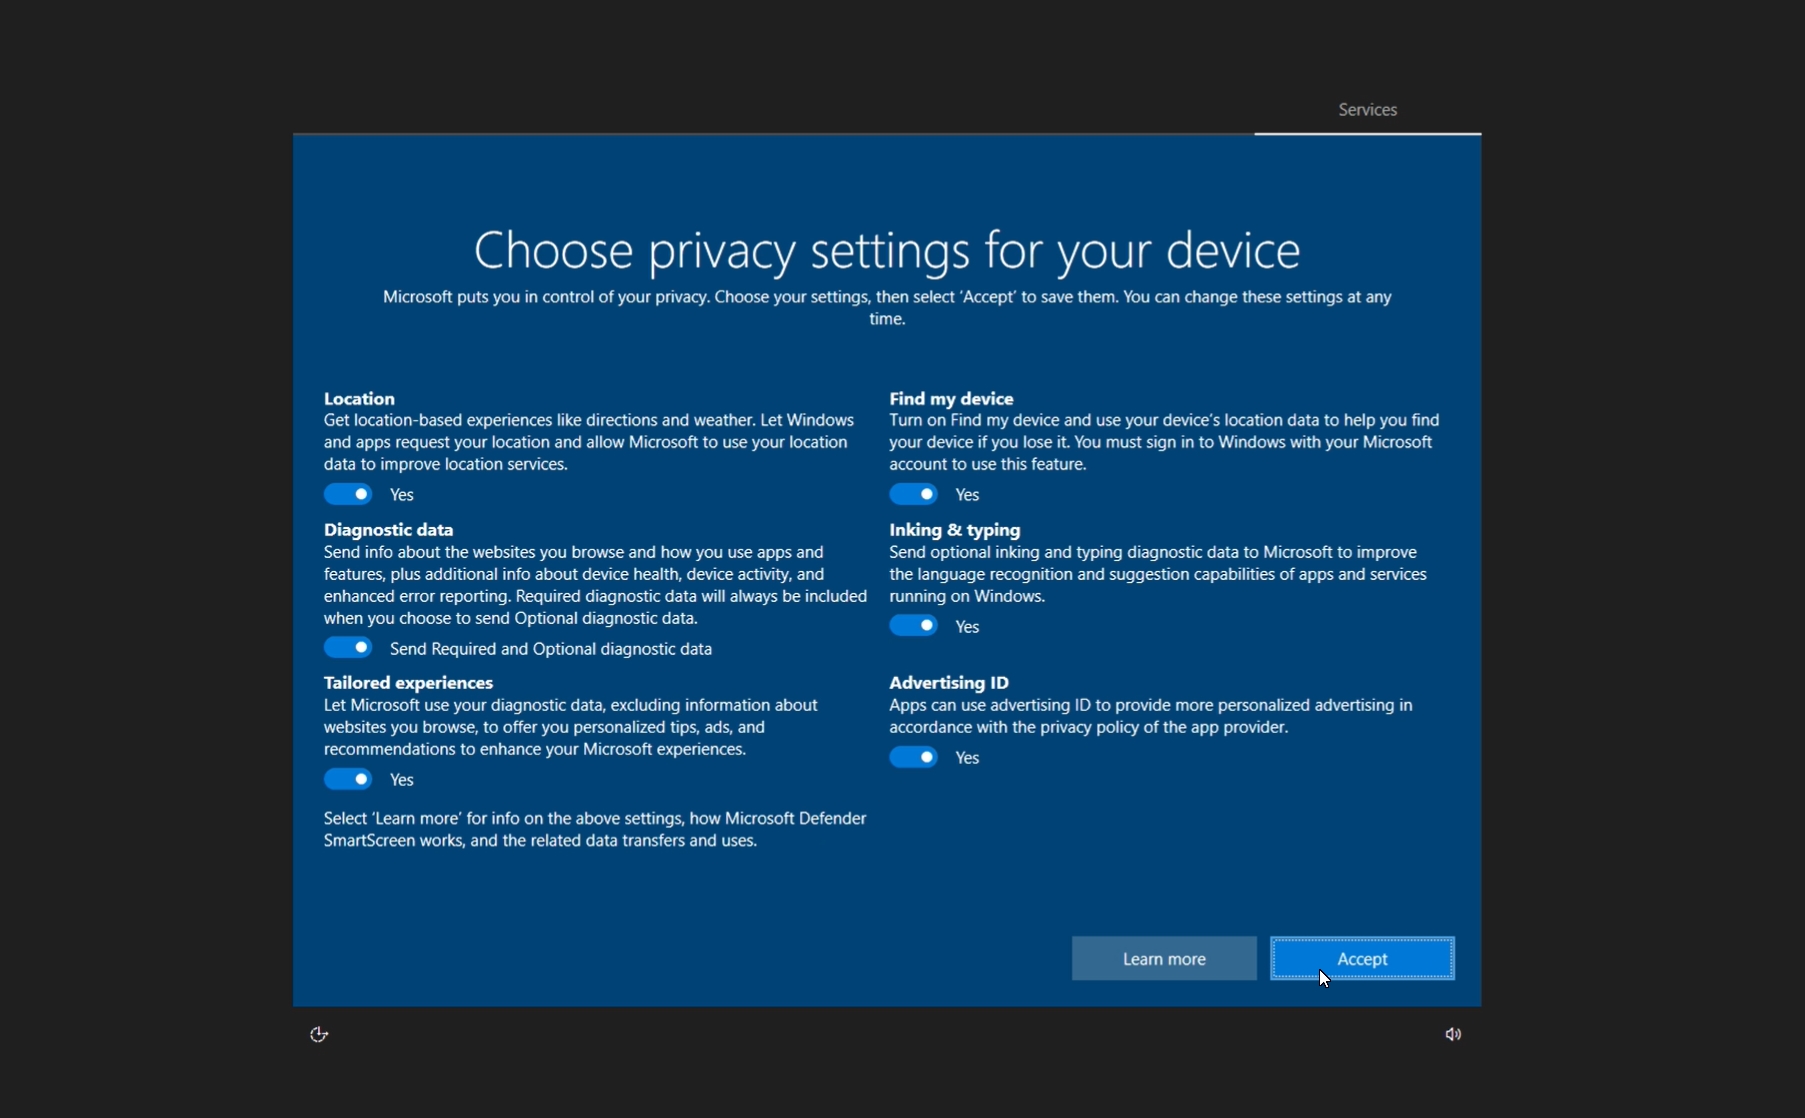
-
Once OOBE process is completed, the user will be logged into their Entra joined virtual machine.
Professional Edition
-
Upon accessing their persistent desktop for the first time, the user will be prompted to choose a region.
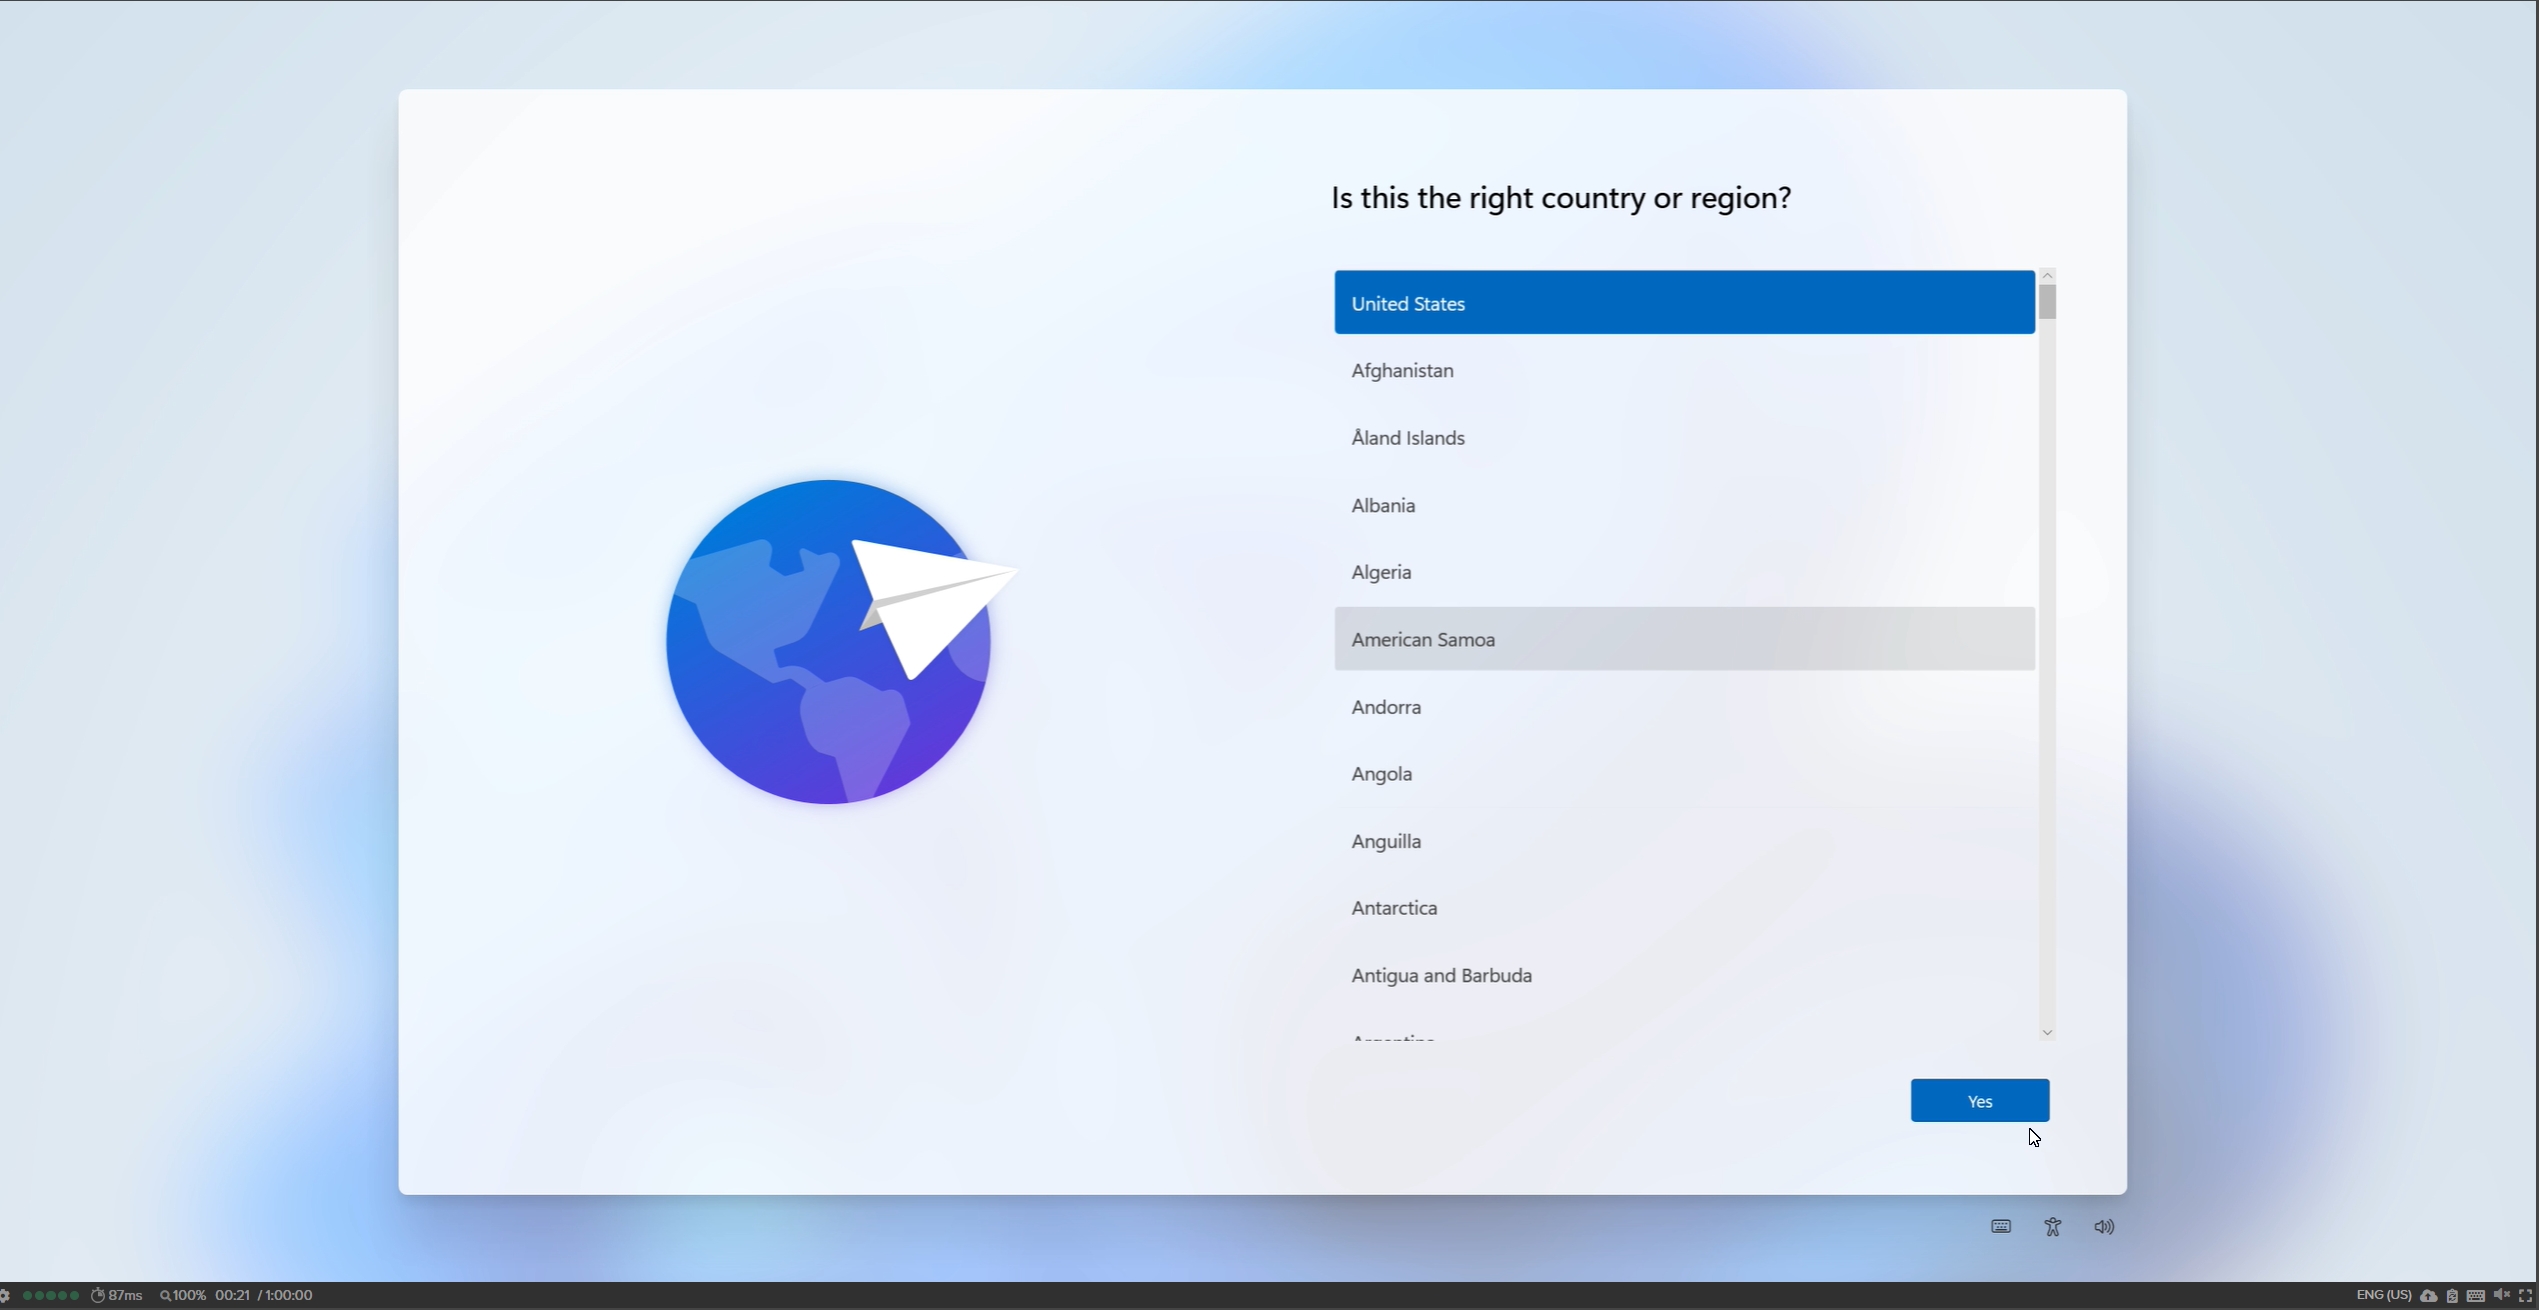
-
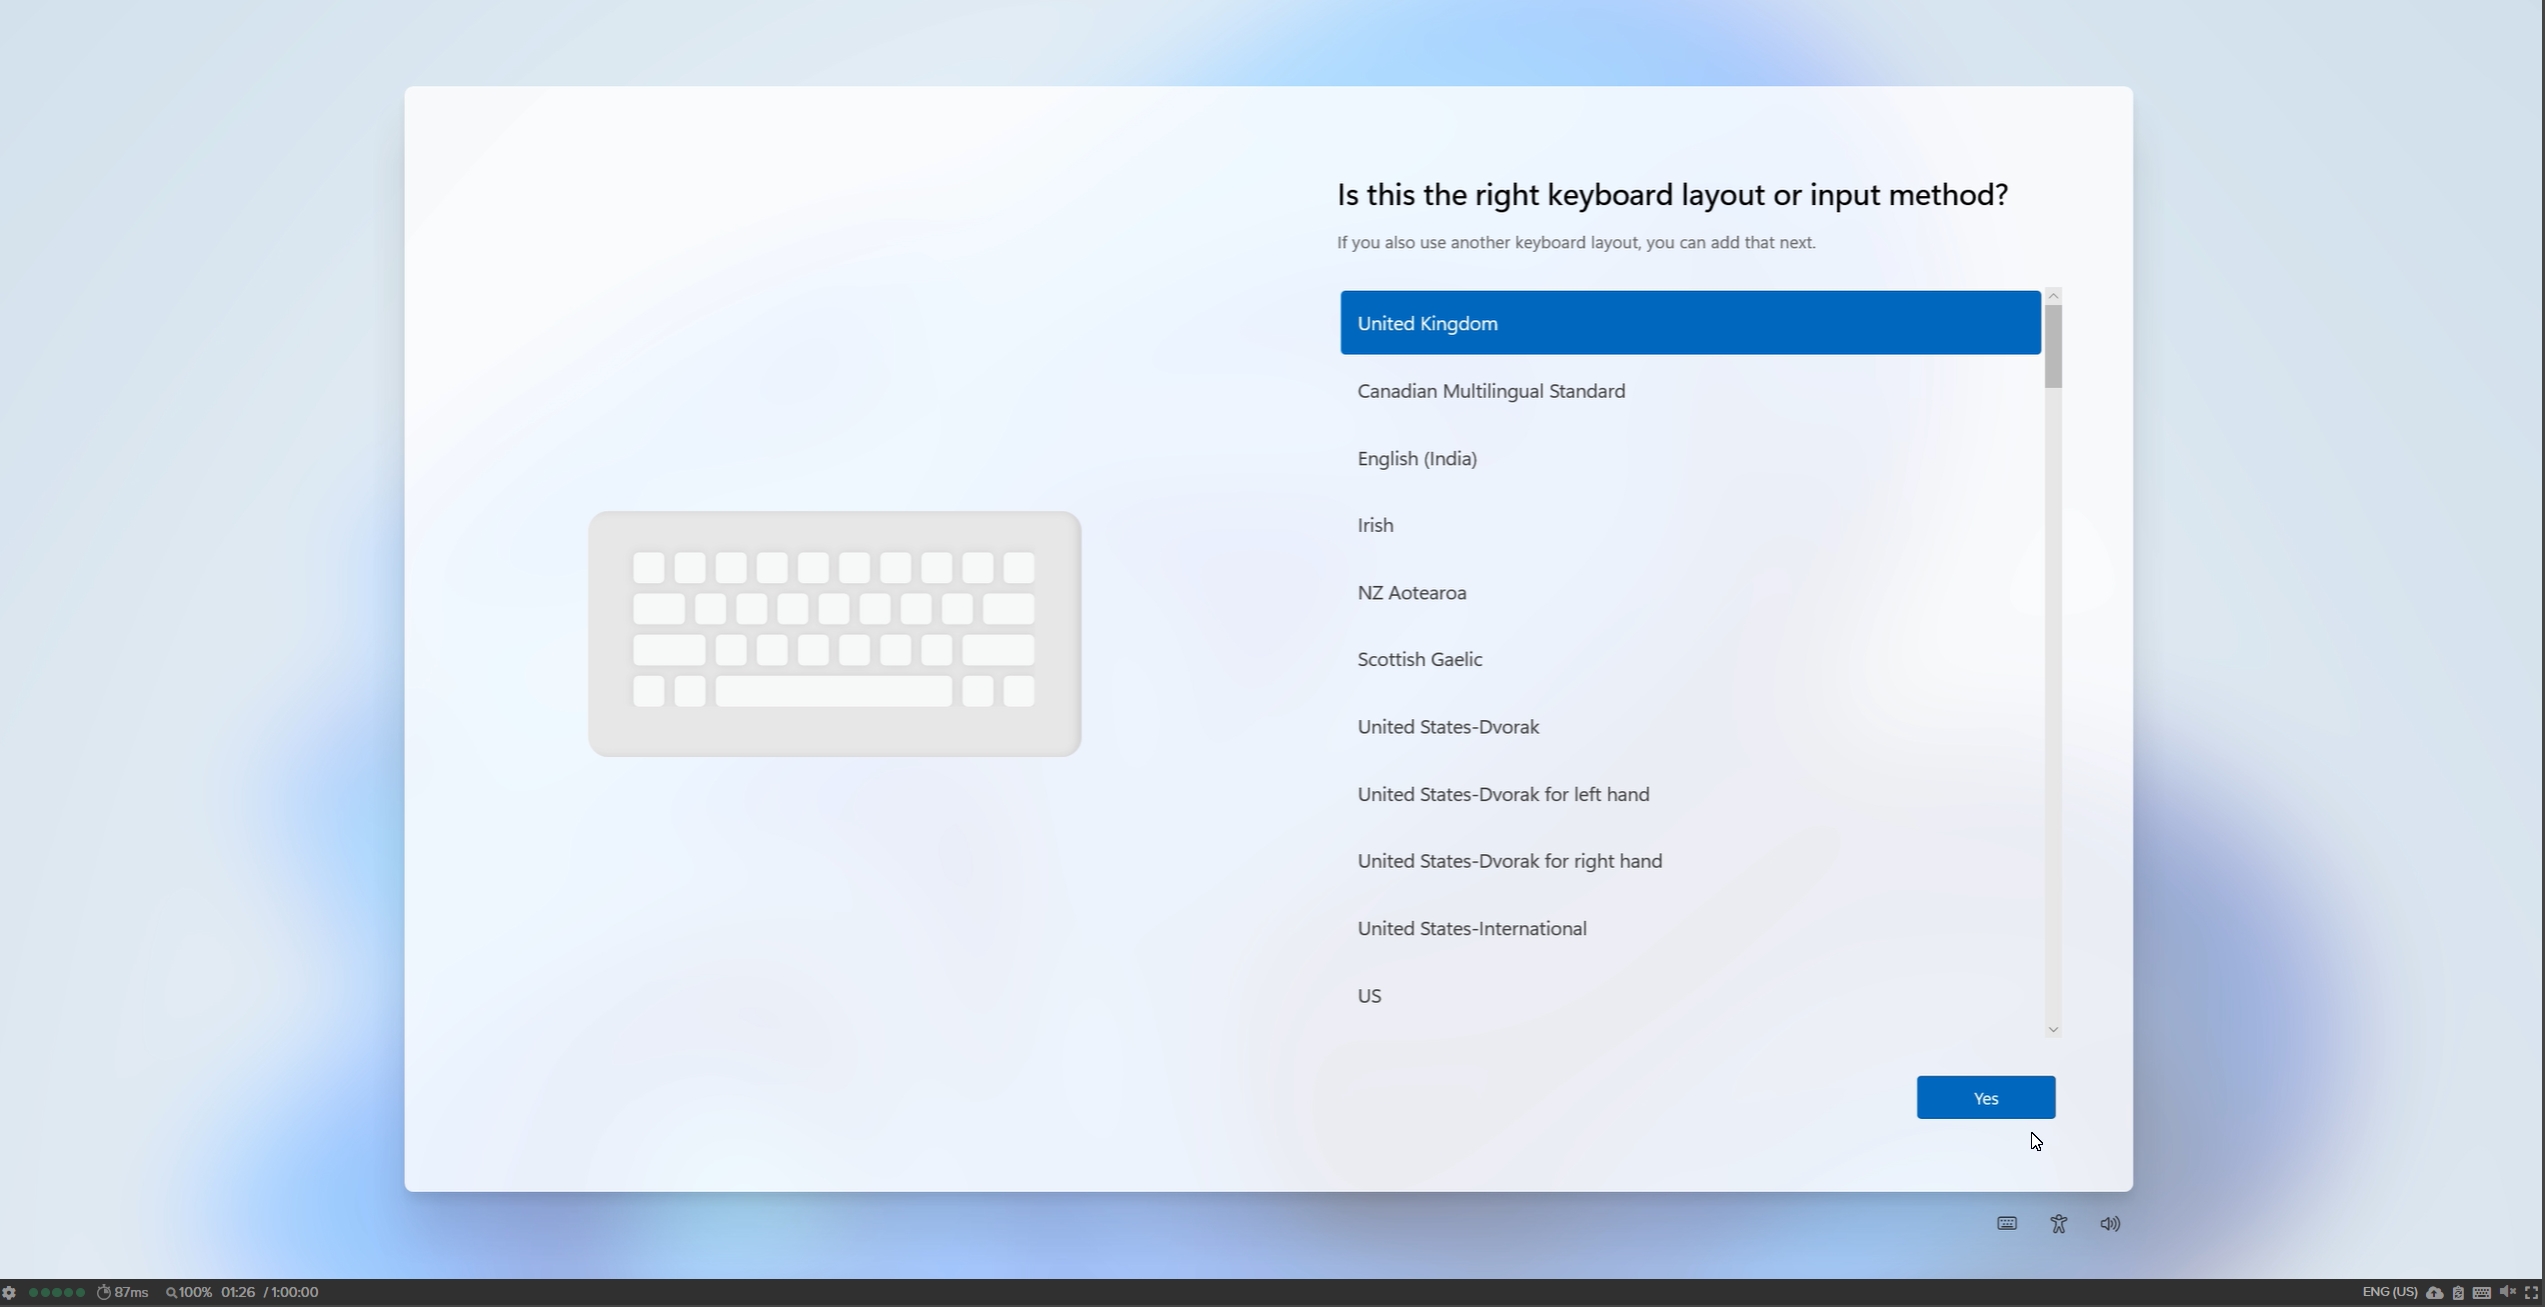
Next, select a keyboard layout.
-
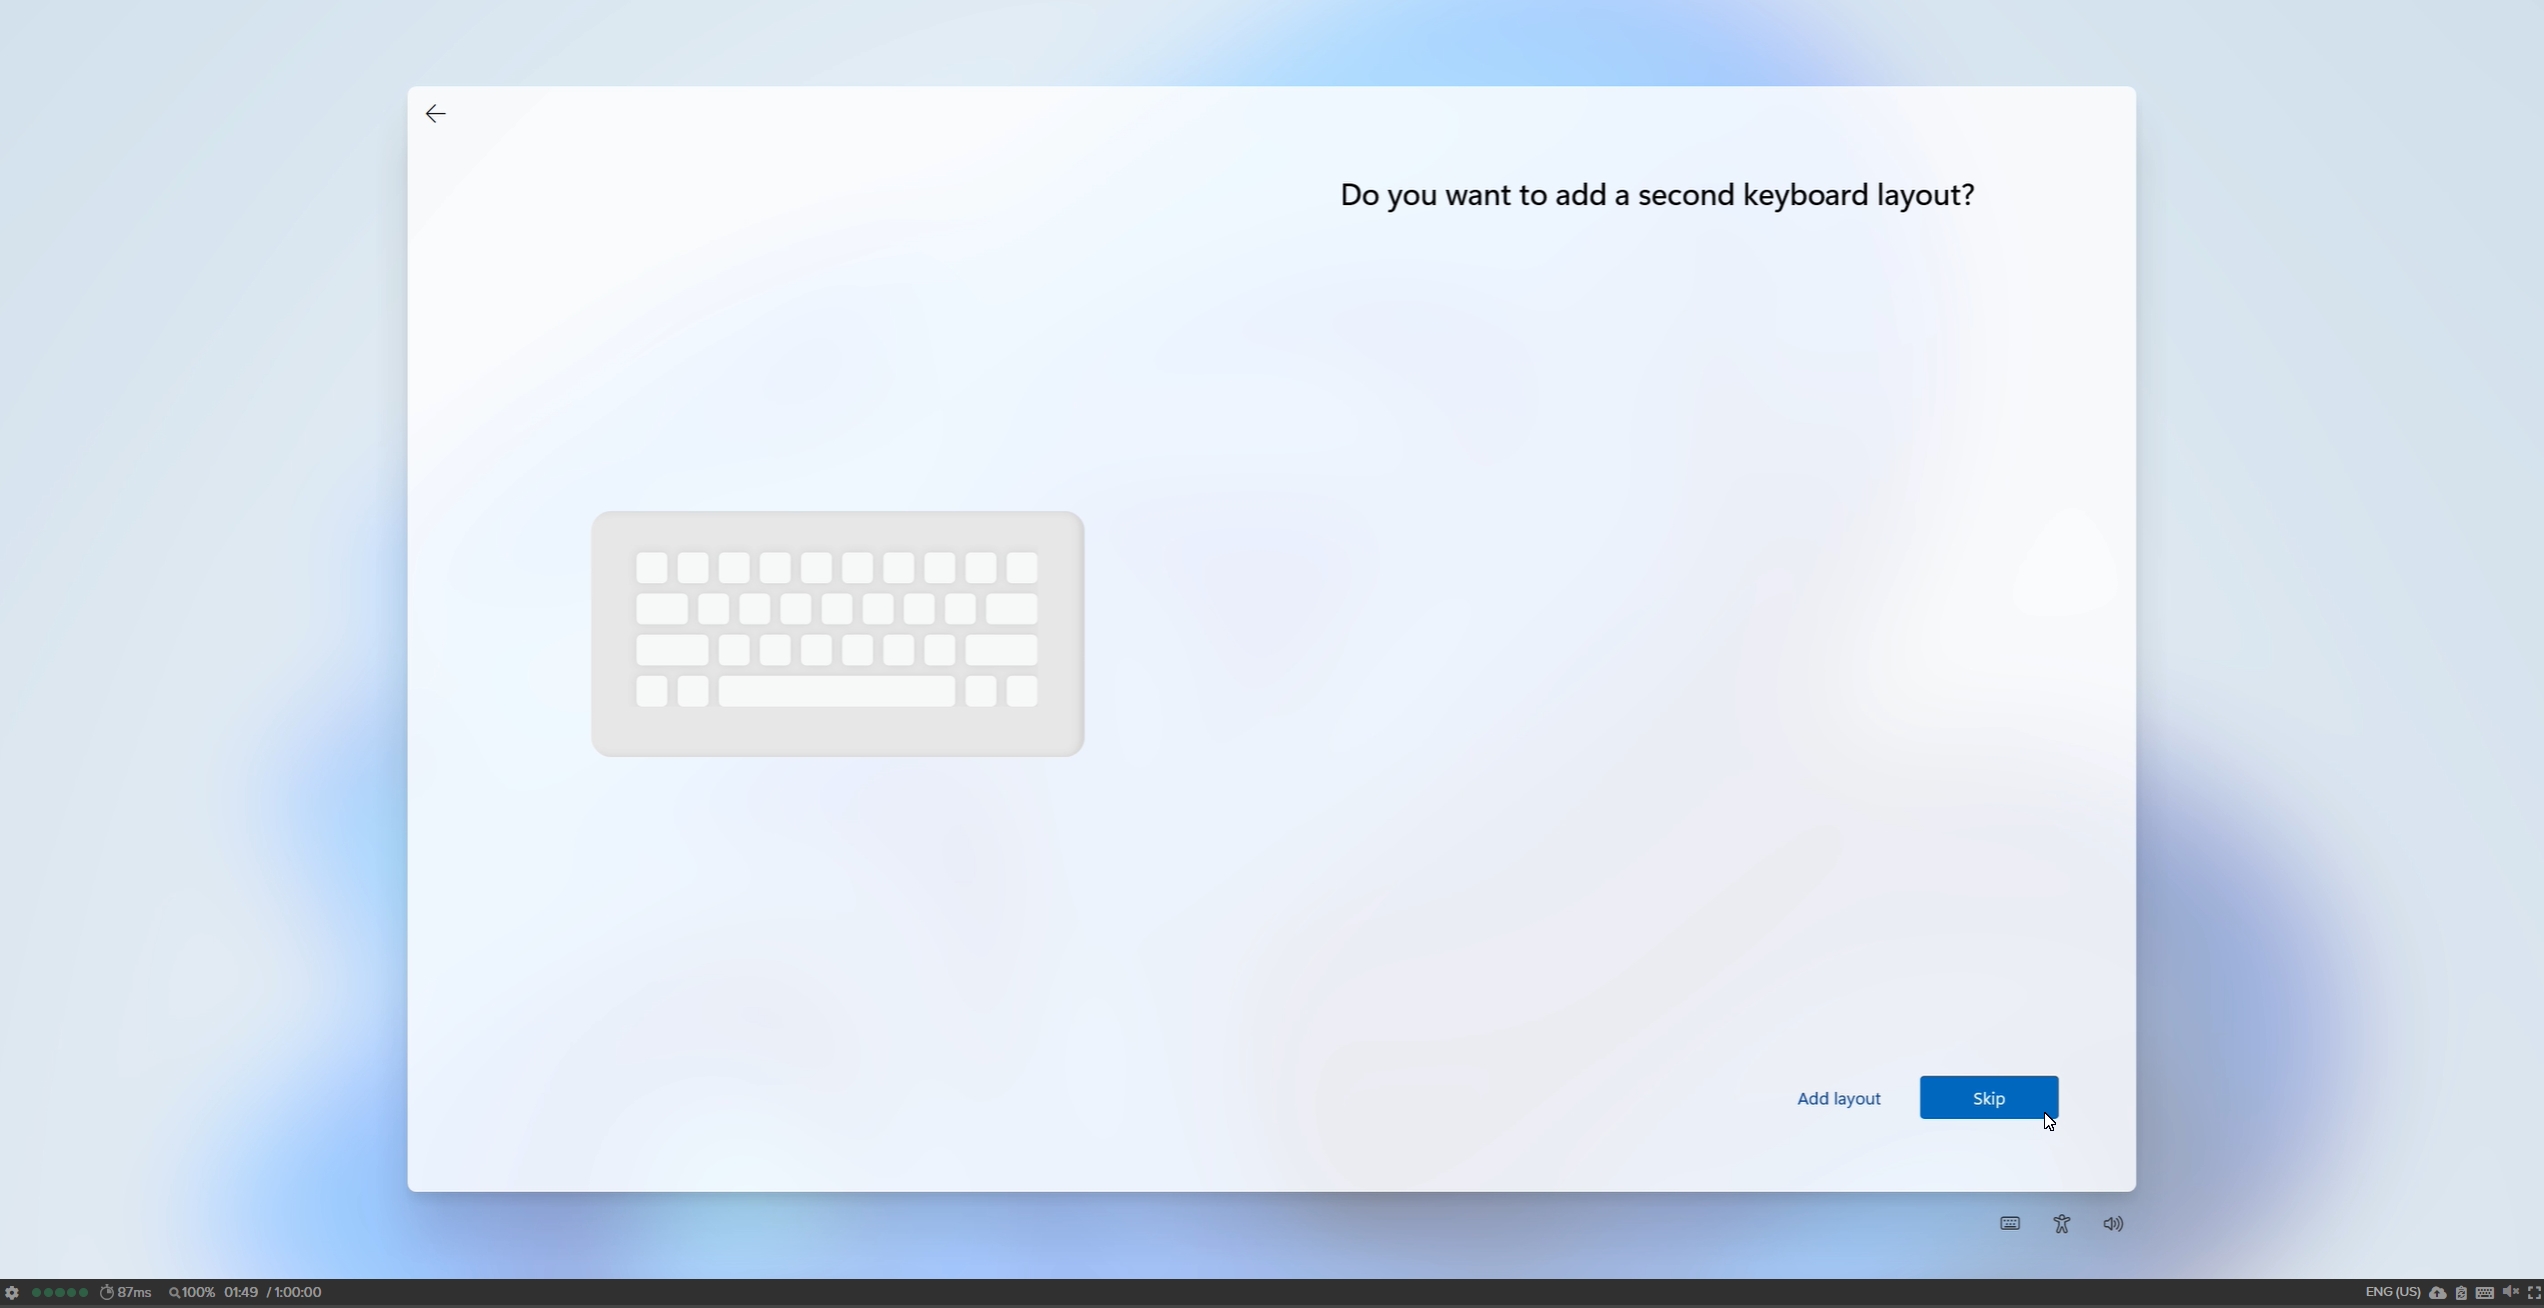
Optionally add a second keyboard layout.
-
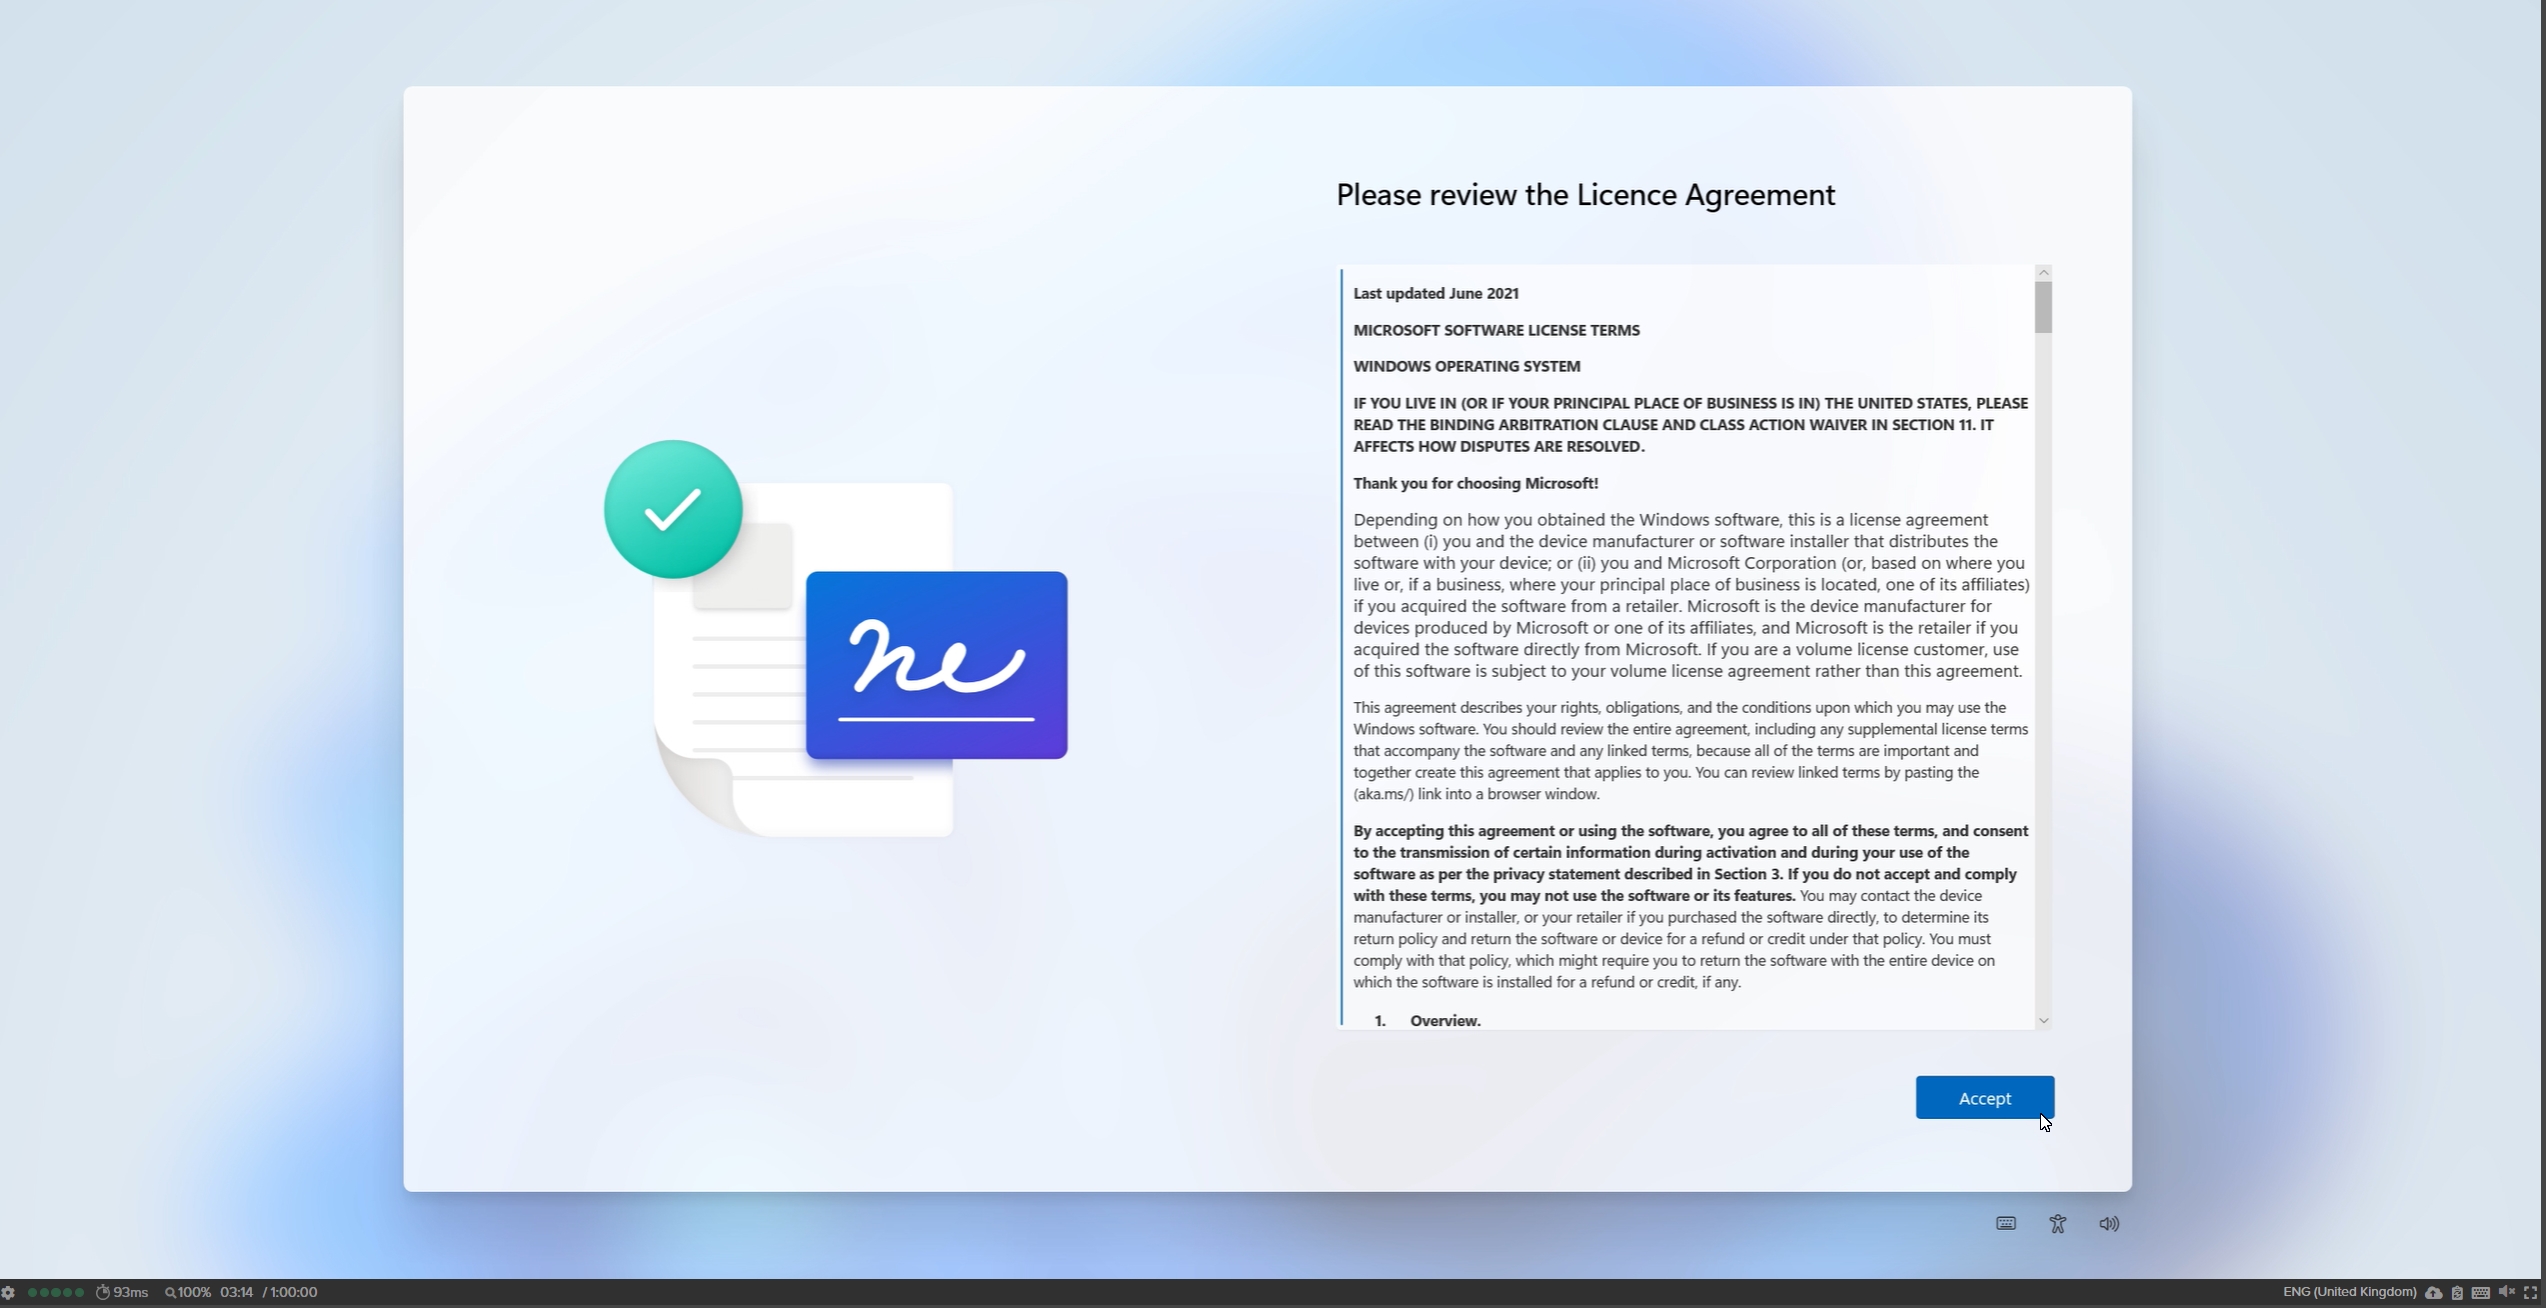
Review and accept the OS license agreement. By accepting the agreement, the user agrees to comply with its terms.
-
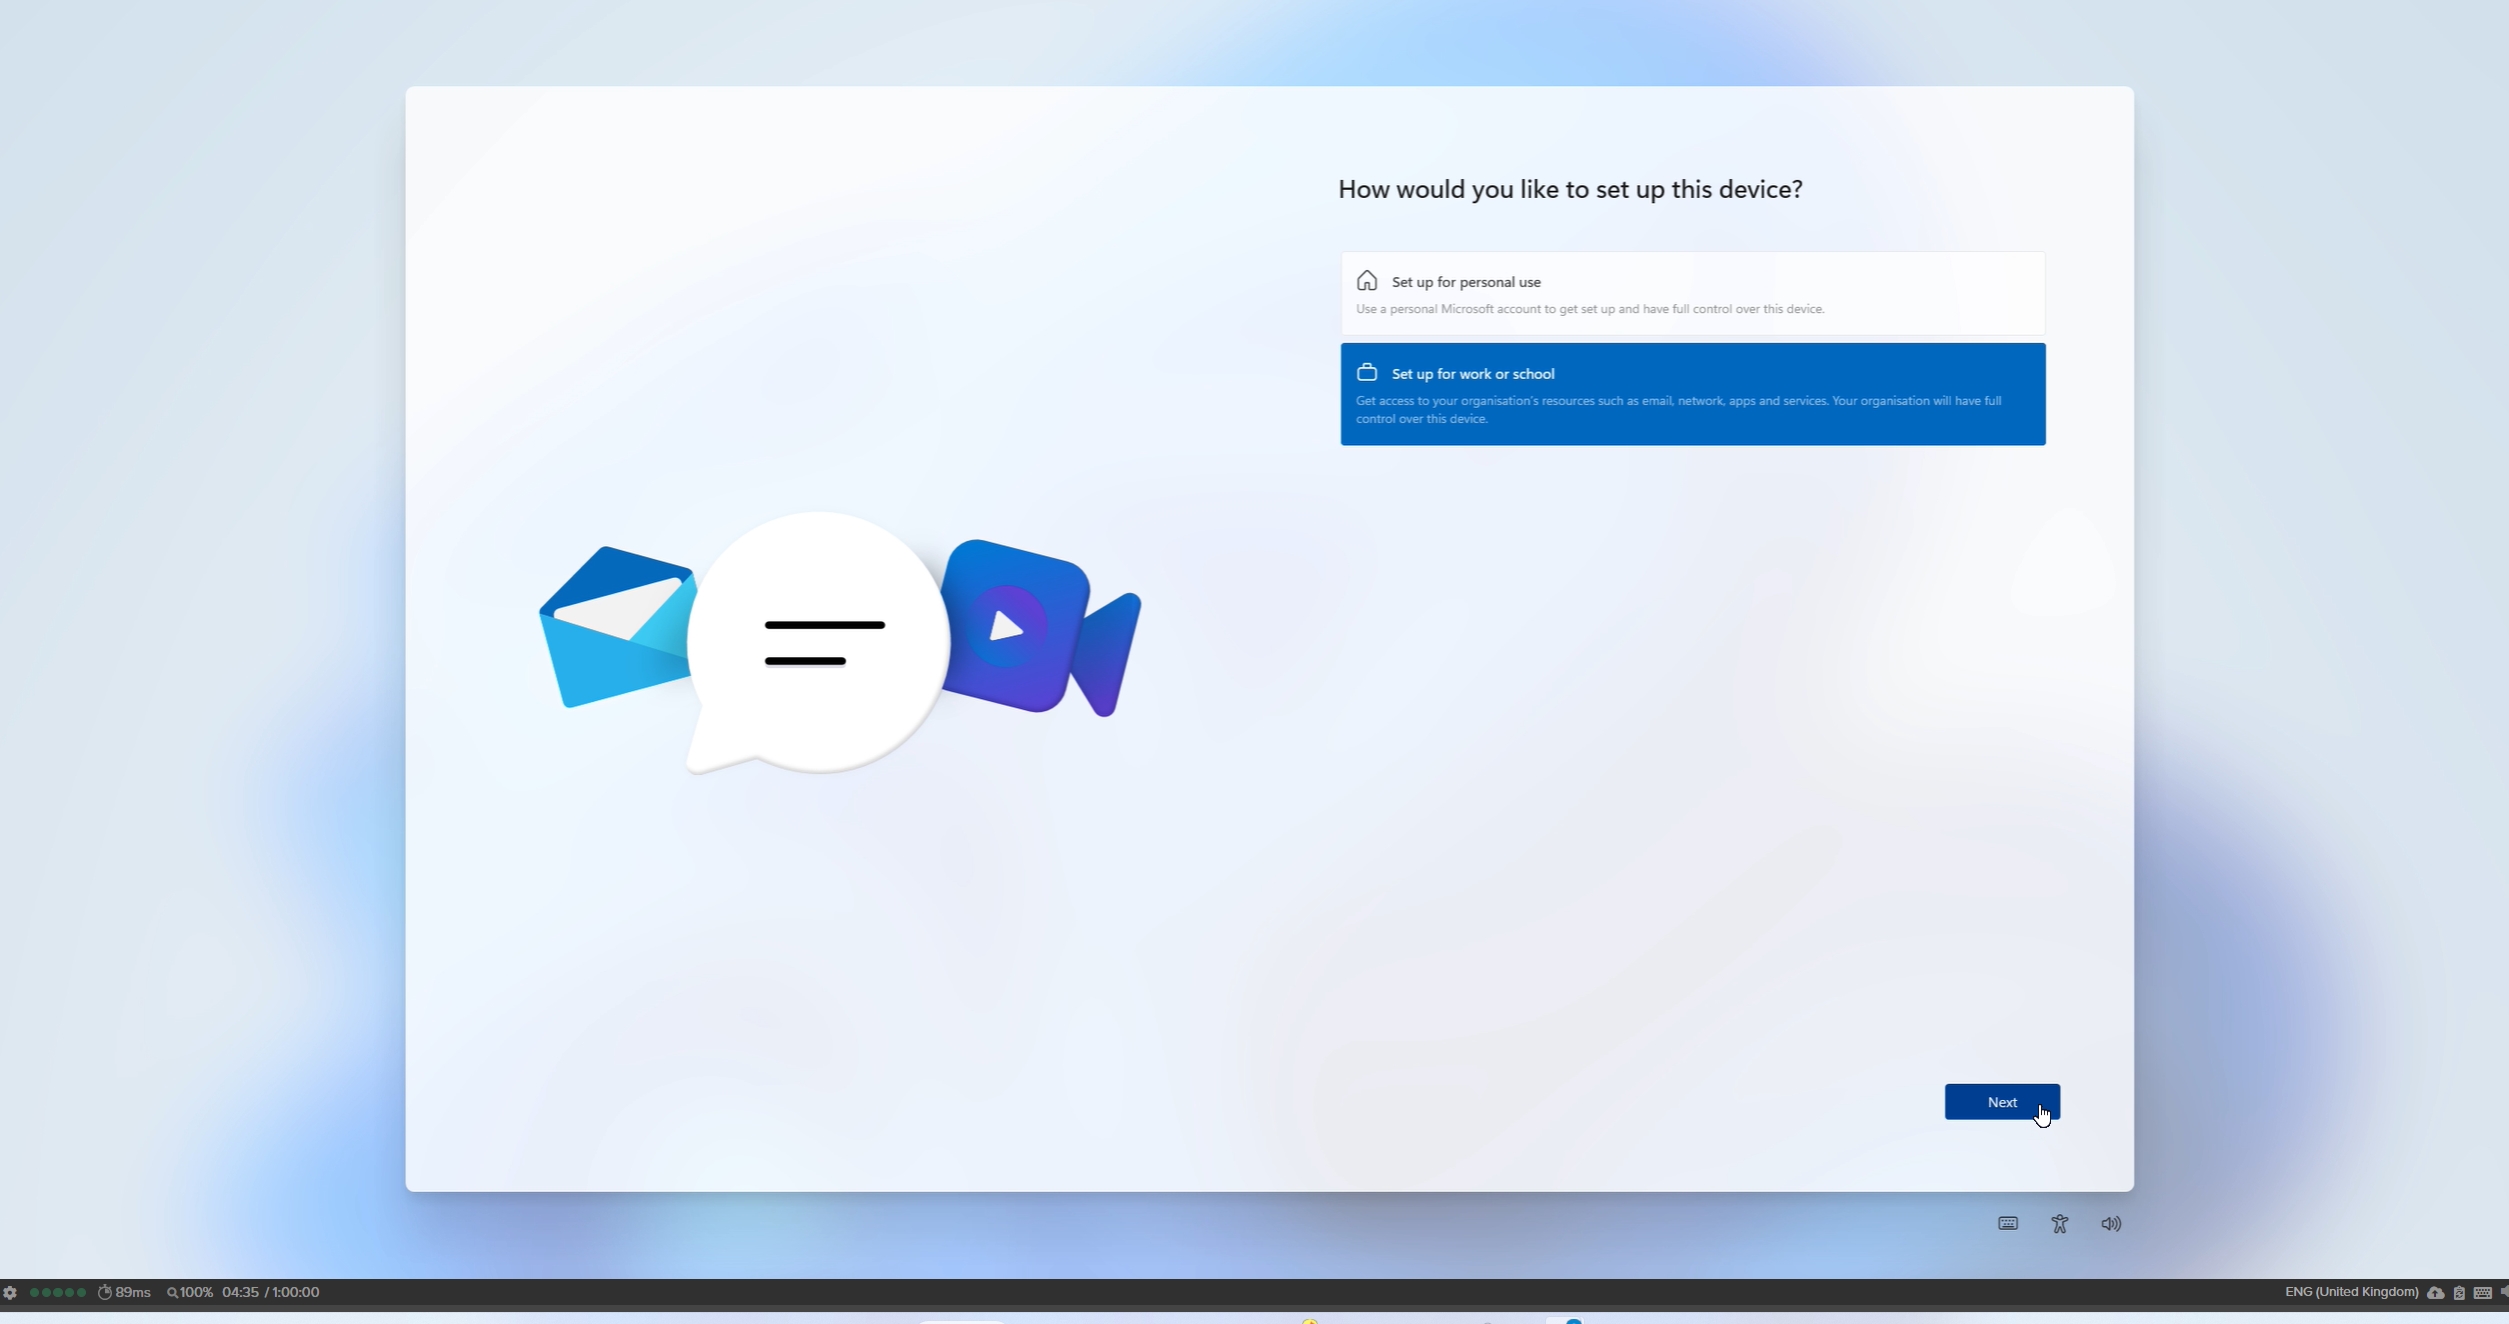
Set up their user account by selecting "Set up for Work or School".
-
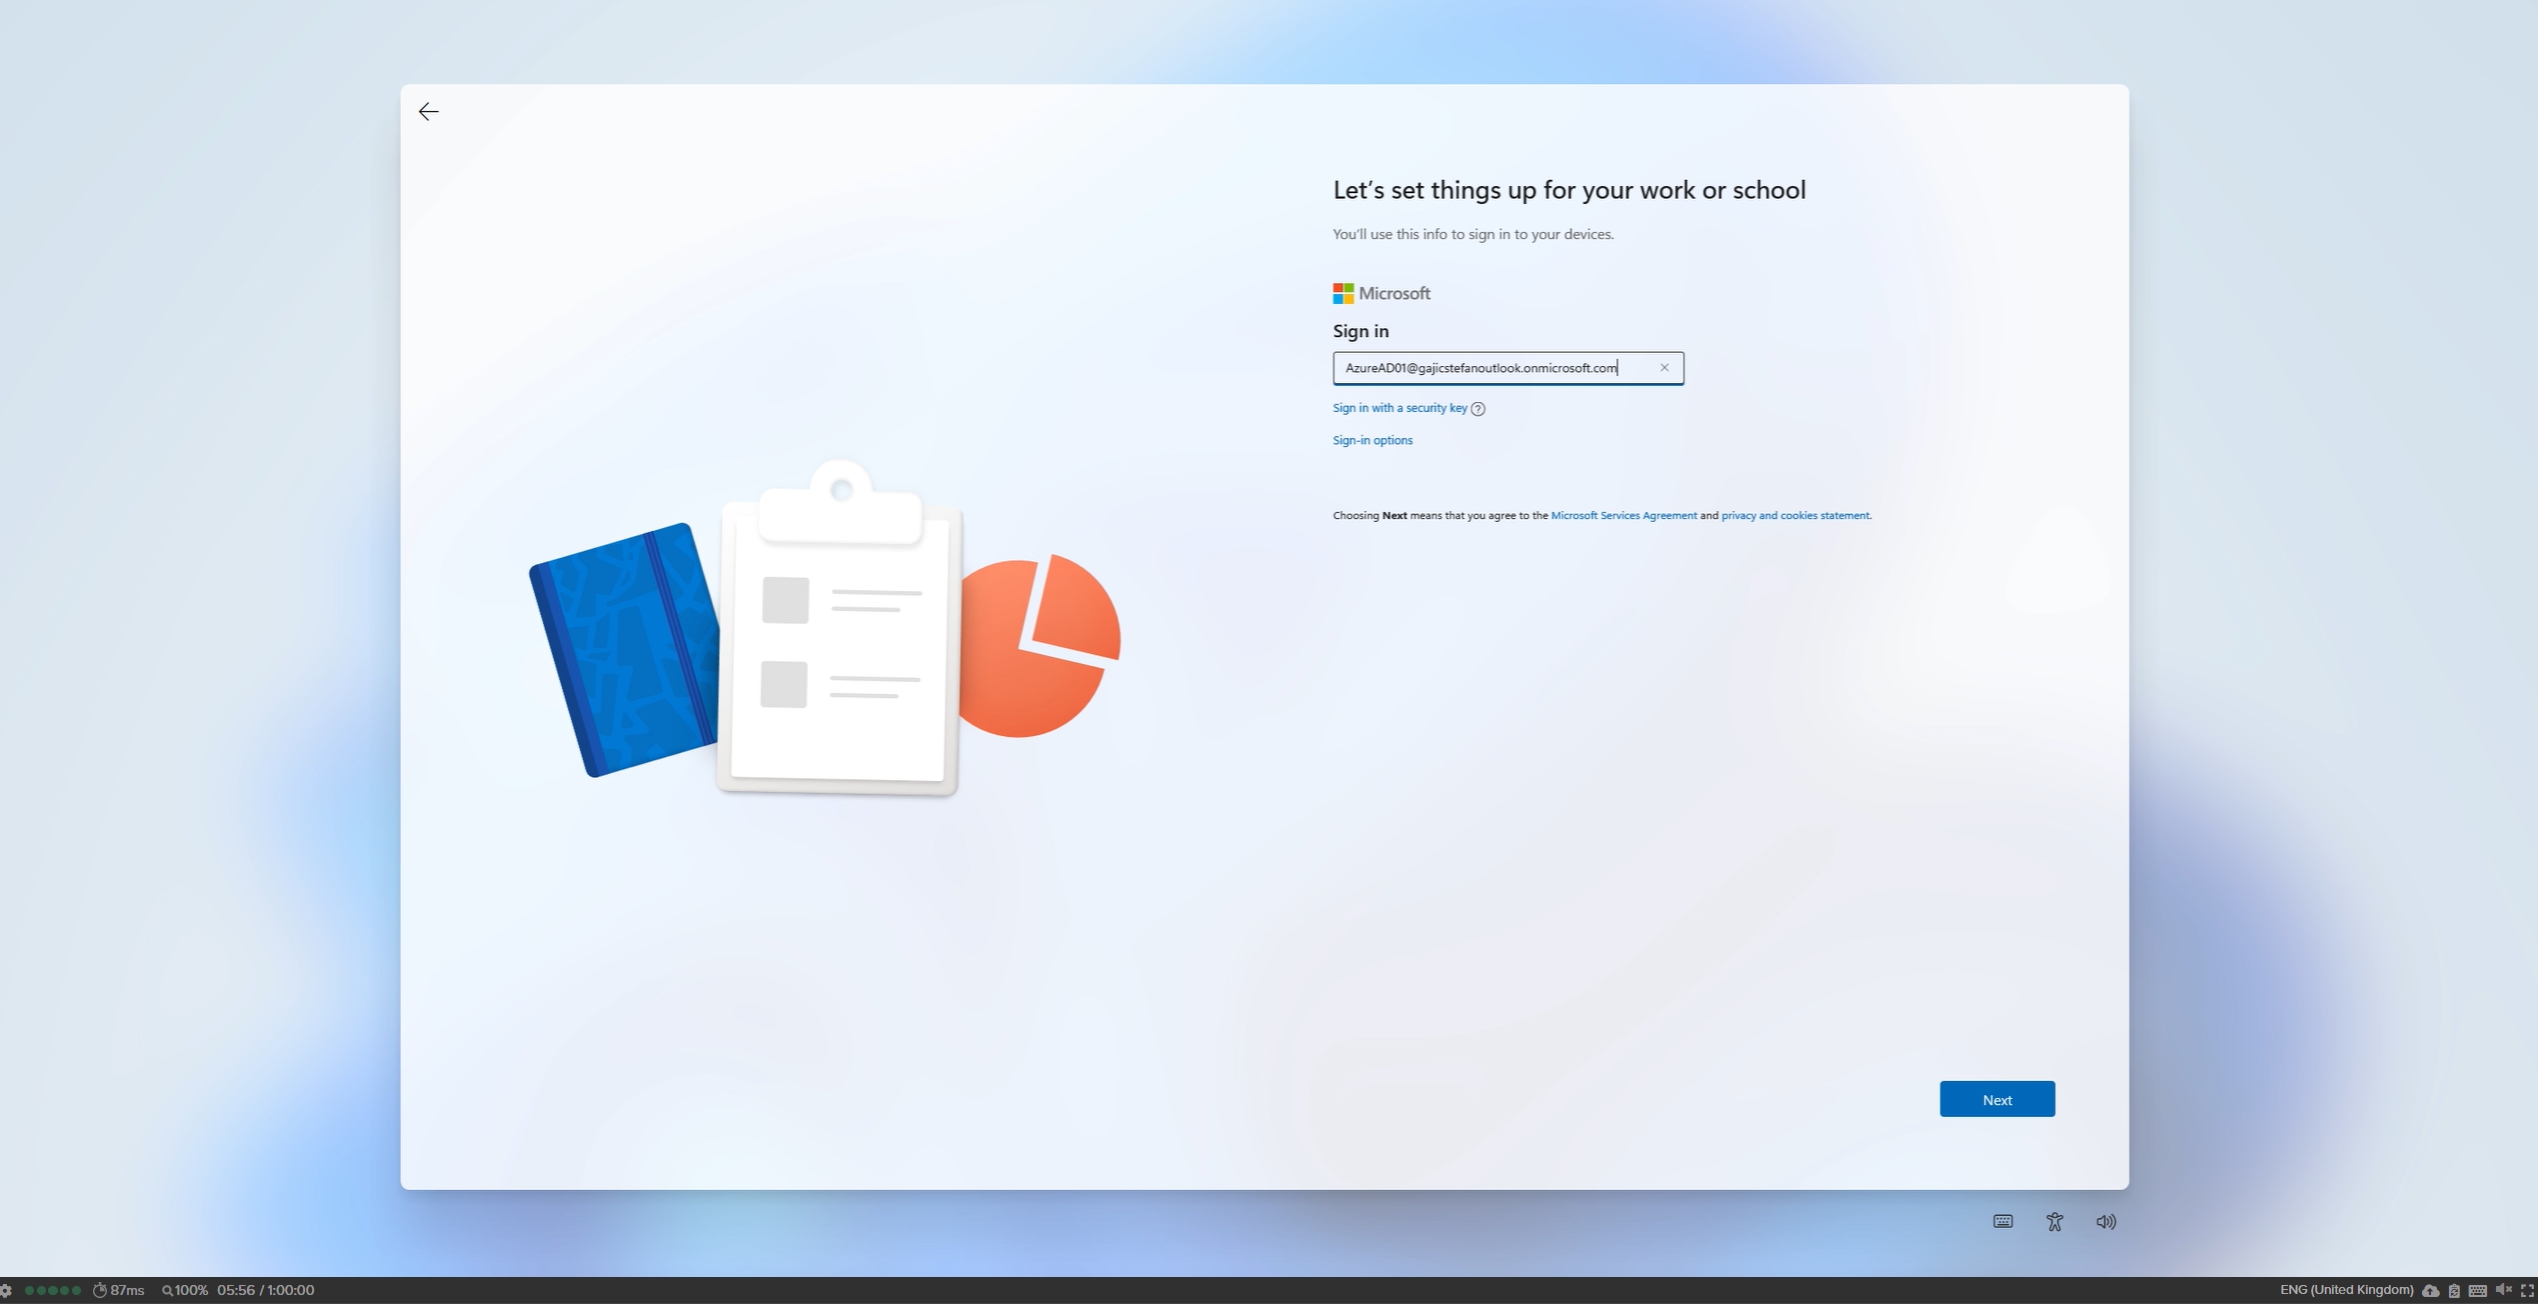
Next, the user will need to set up their user account by entering their Entra ID username.
-
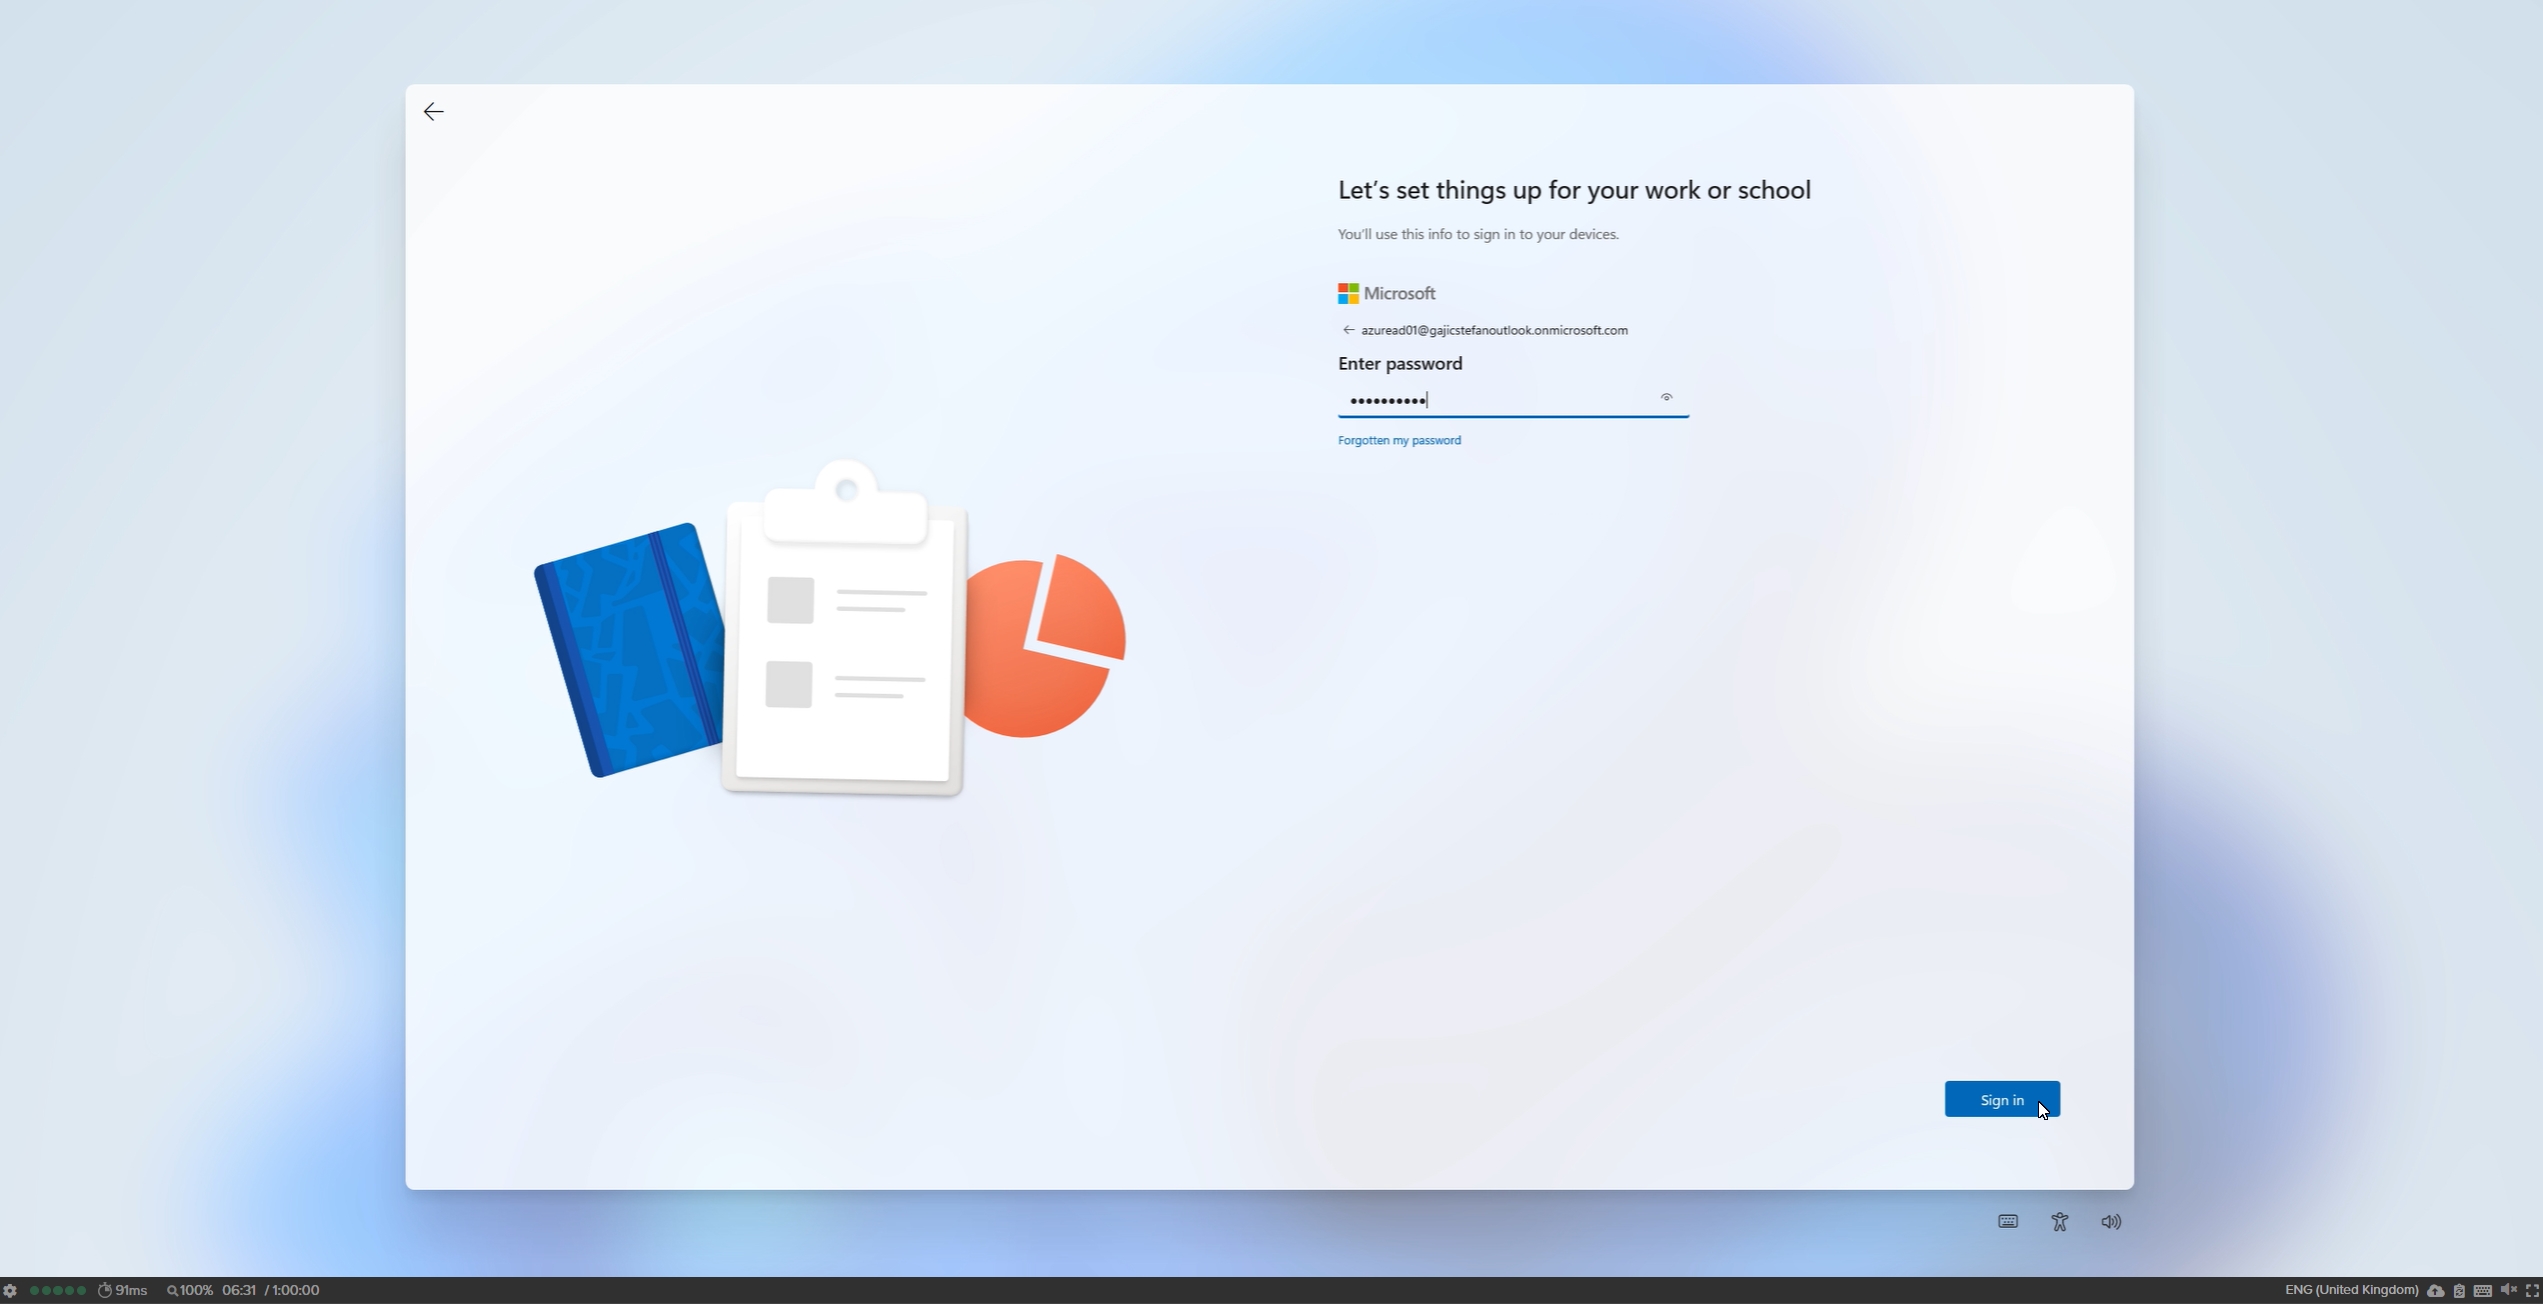
On the next page, they'll be prompted to enter their Entra ID password.
-
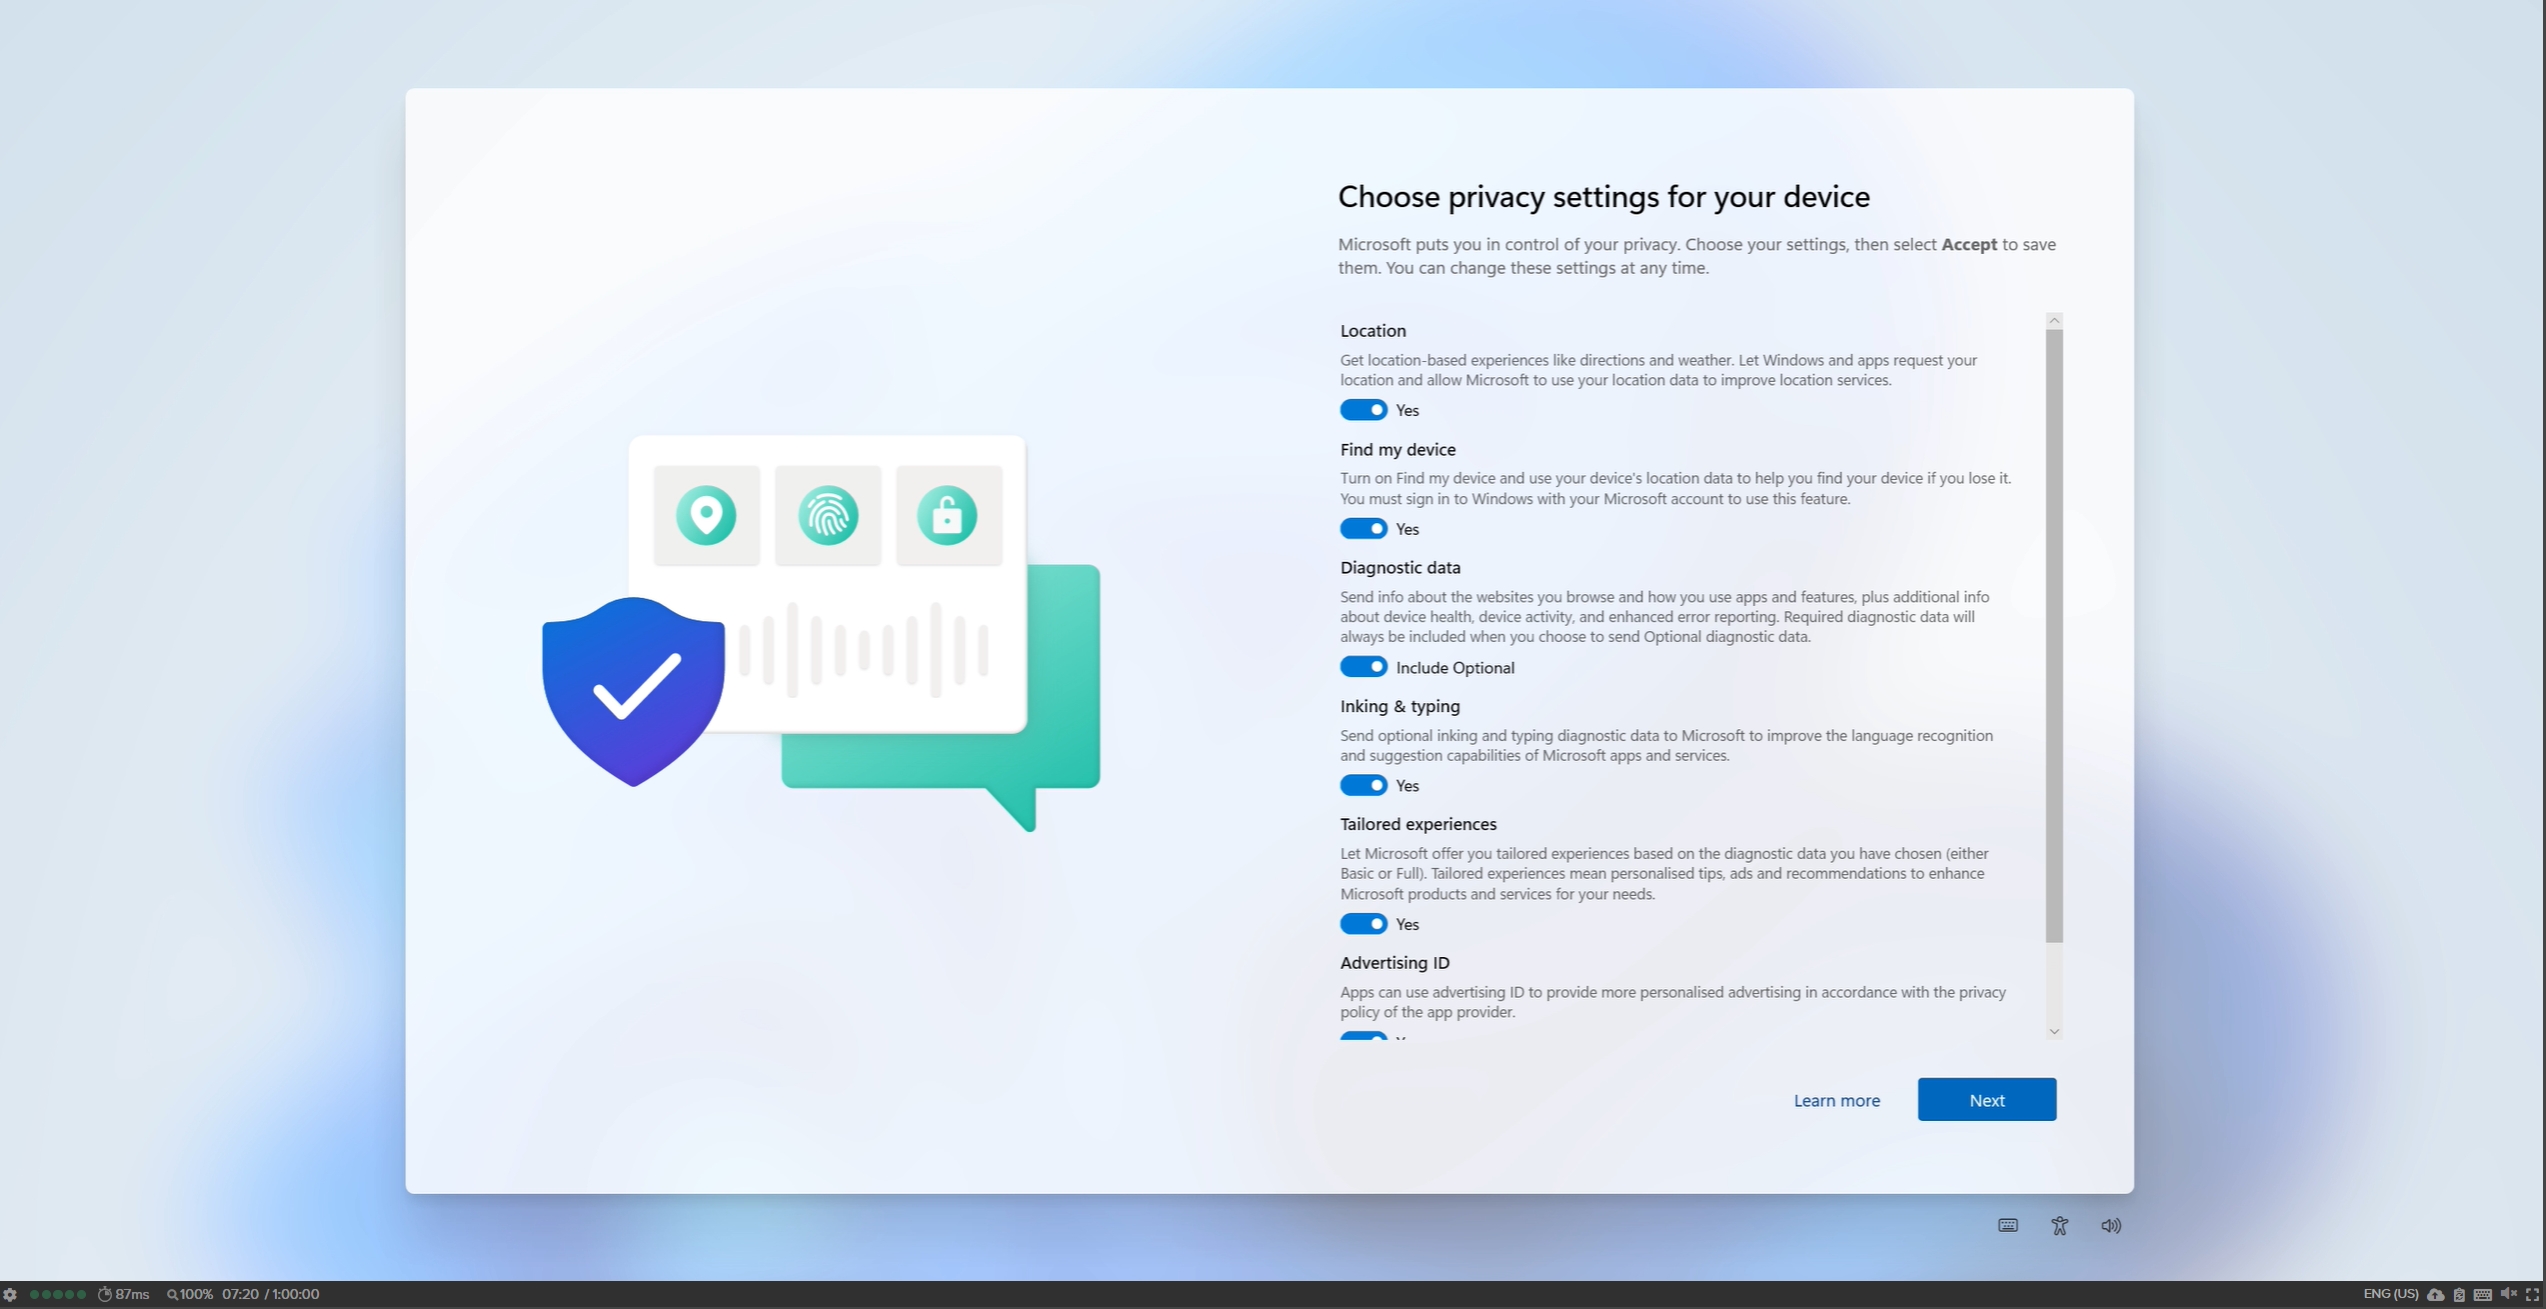
Lastly, the user will be asked to select their desired privacy settings.
-
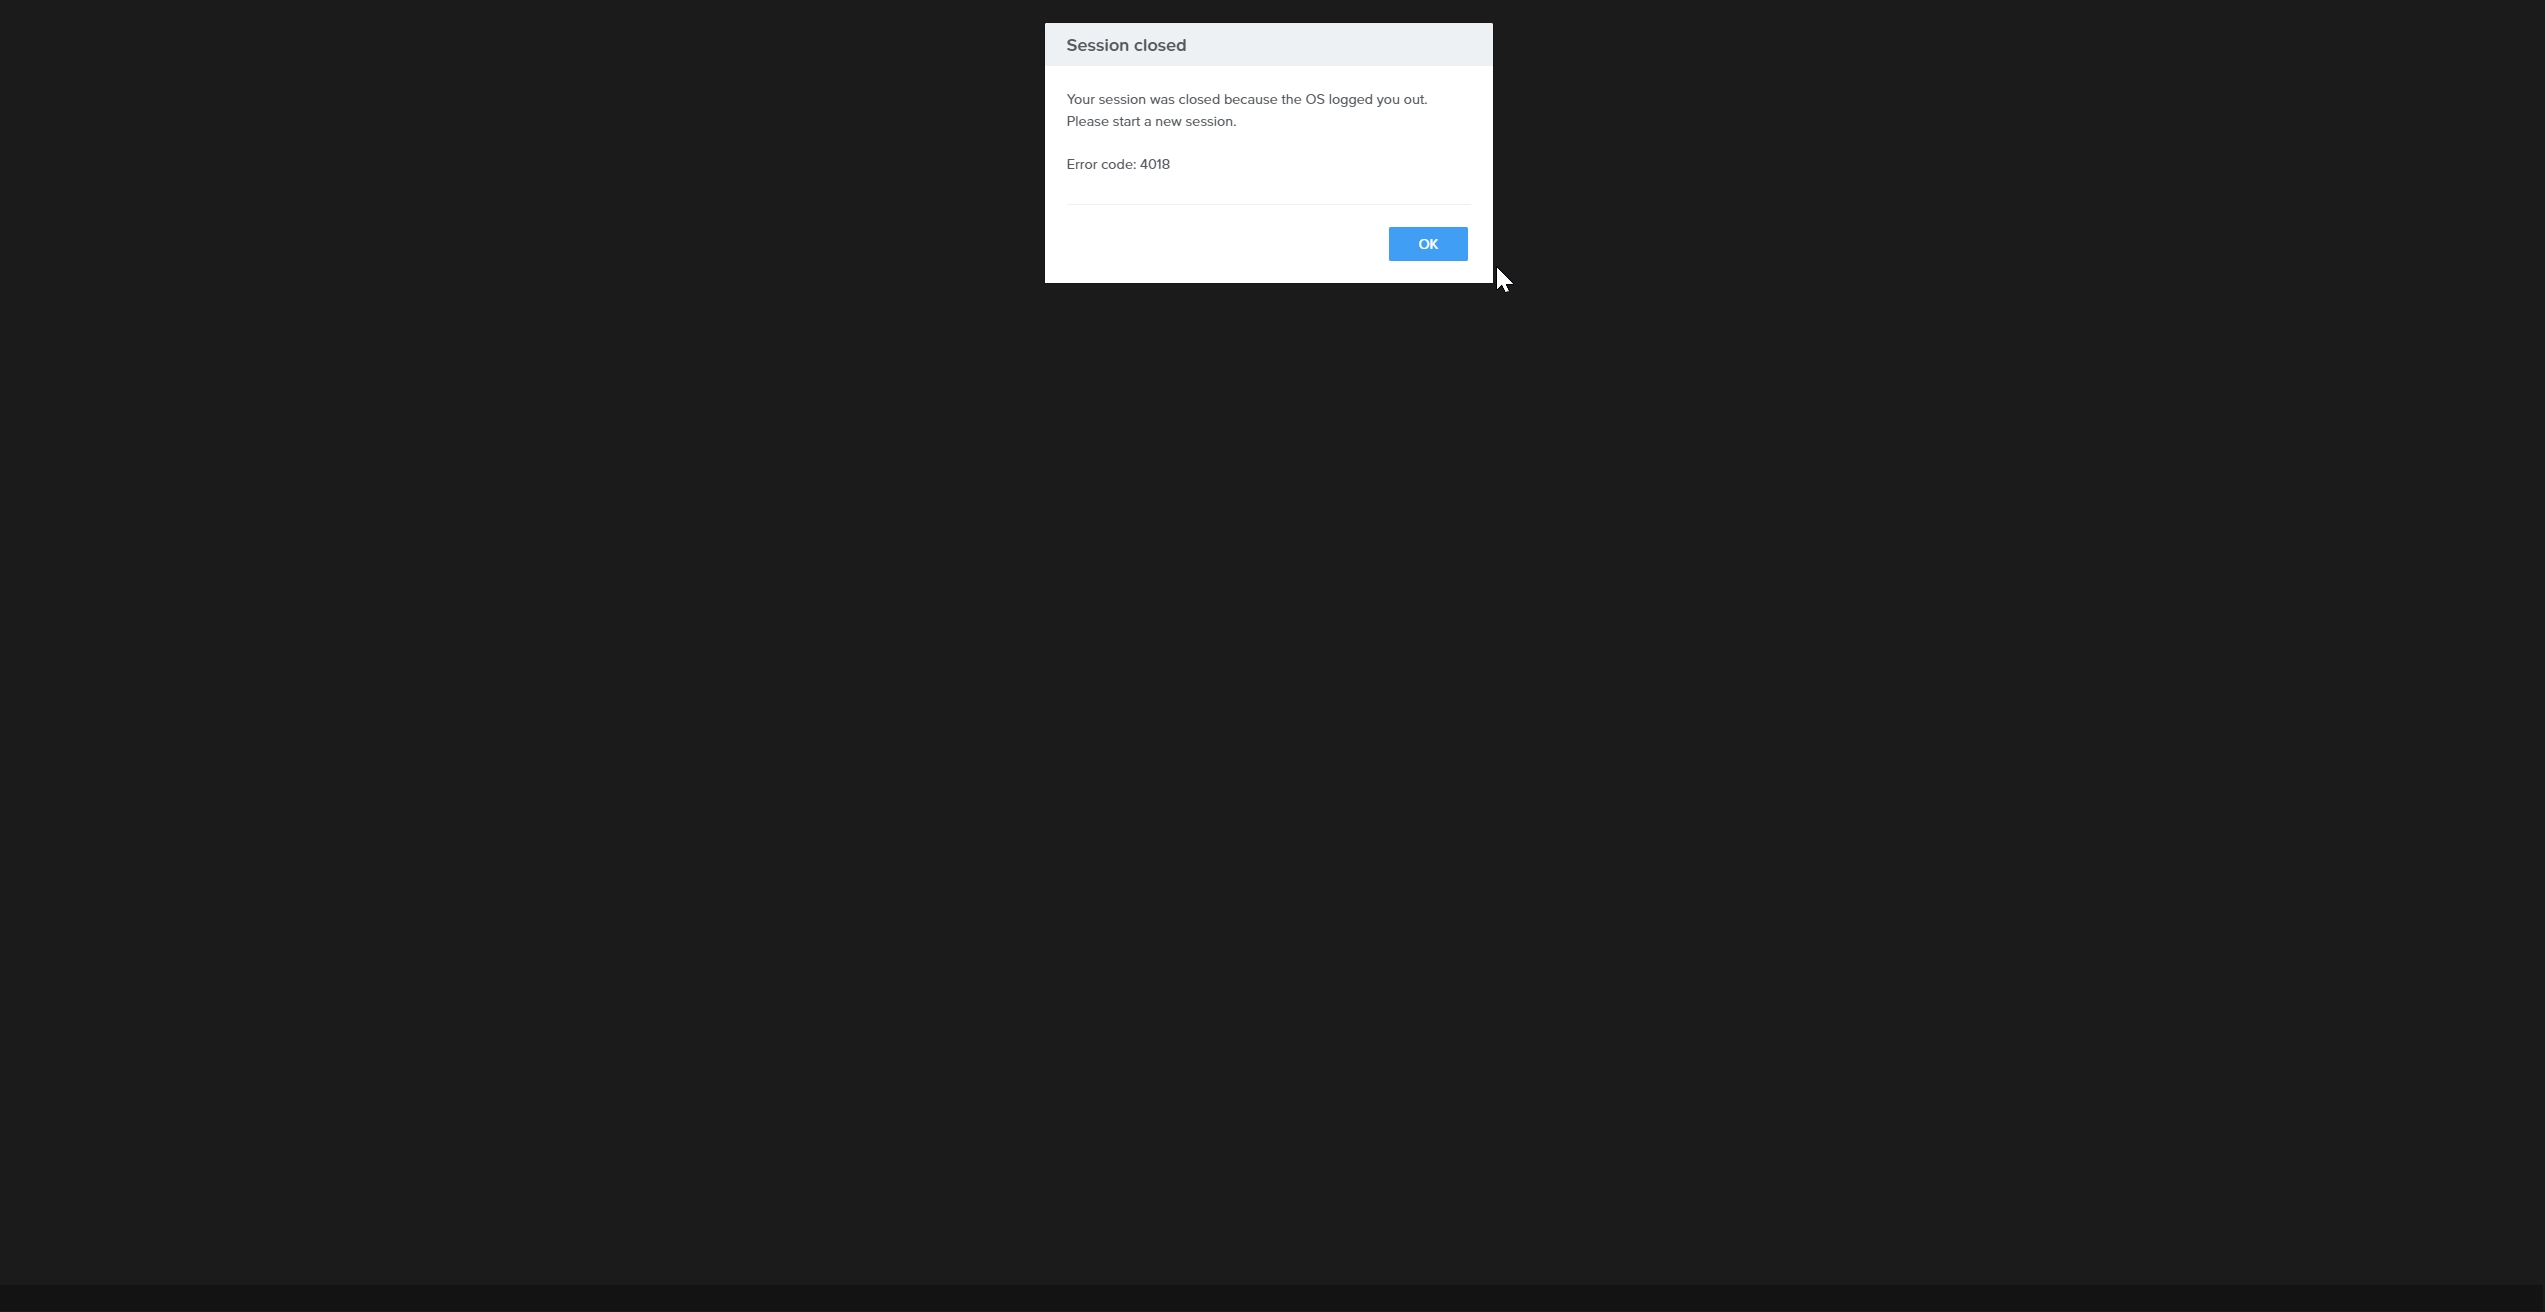
After saving their privacy settings, the user may be logged out of their Frame session. If this happens, they simply need to start a new session.
-
Once the OOBE process is complete, the user will be logged into their Entra joined virtual machine.