Maintenance Mode
Overview
Frame Administrators can enable Maintenance mode to prevent their users from starting production sessions within the Frame Account. This feature is useful when an administrator is making configuration changes (e.g., networking, adding/upgrading an SGA, changing the Windows domain settings, etc.) that are expected to prevent or limit users from starting or continuing with their Frame sessions.
Frame Administrators can access the Frame Account Sandbox and Utility servers, regardless of whether the Frame Account is set to maintenance mode.
Enable Maintenance Mode
To enable maintenance mode on an account:
- Navigate to the Summary page of your Frame Account Dashboard.
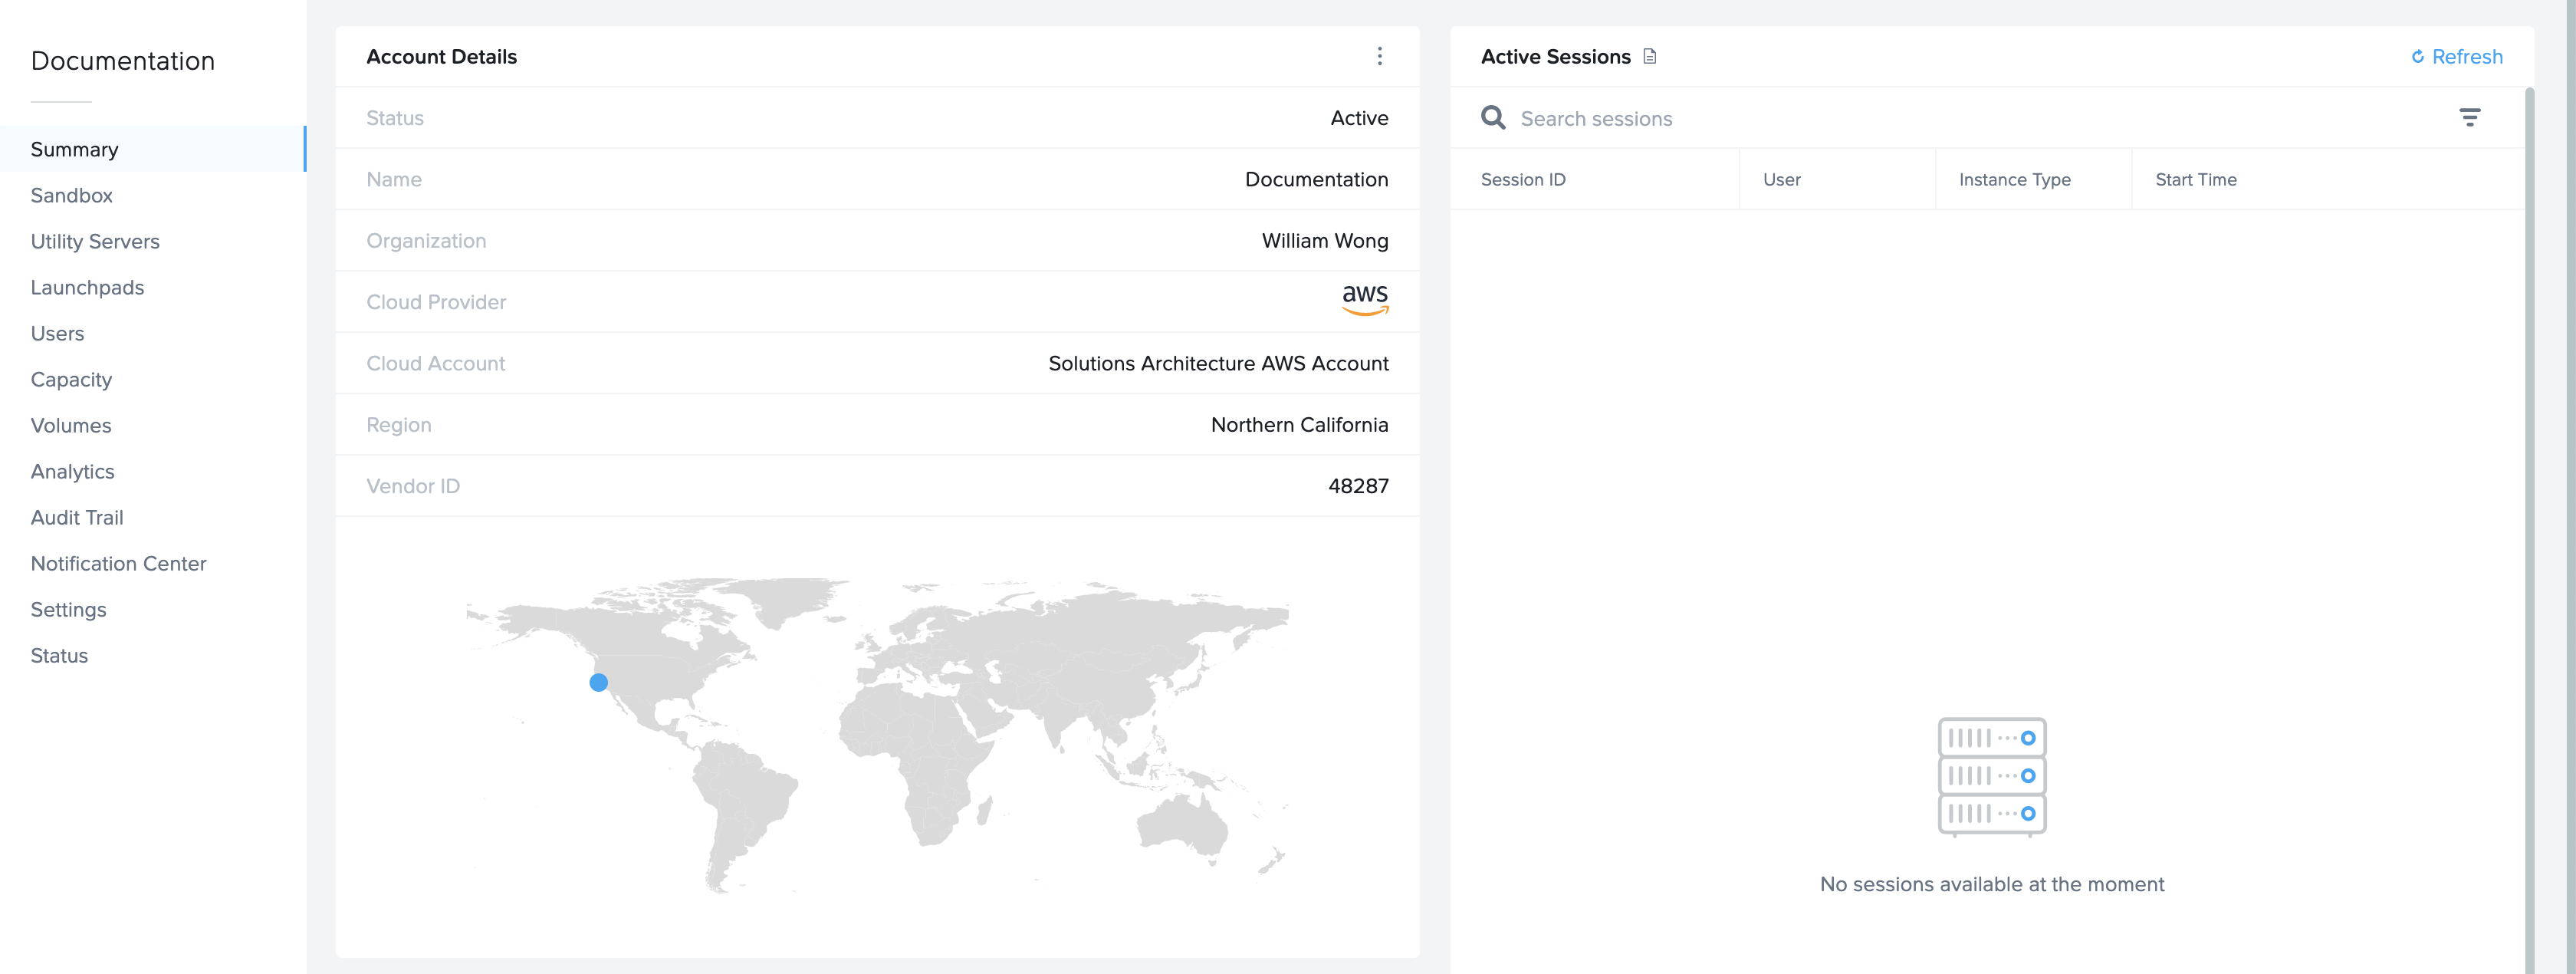
- Click the kebab button to the left of the “Account Details” header.
- Click the “Start maintenance” menu item.
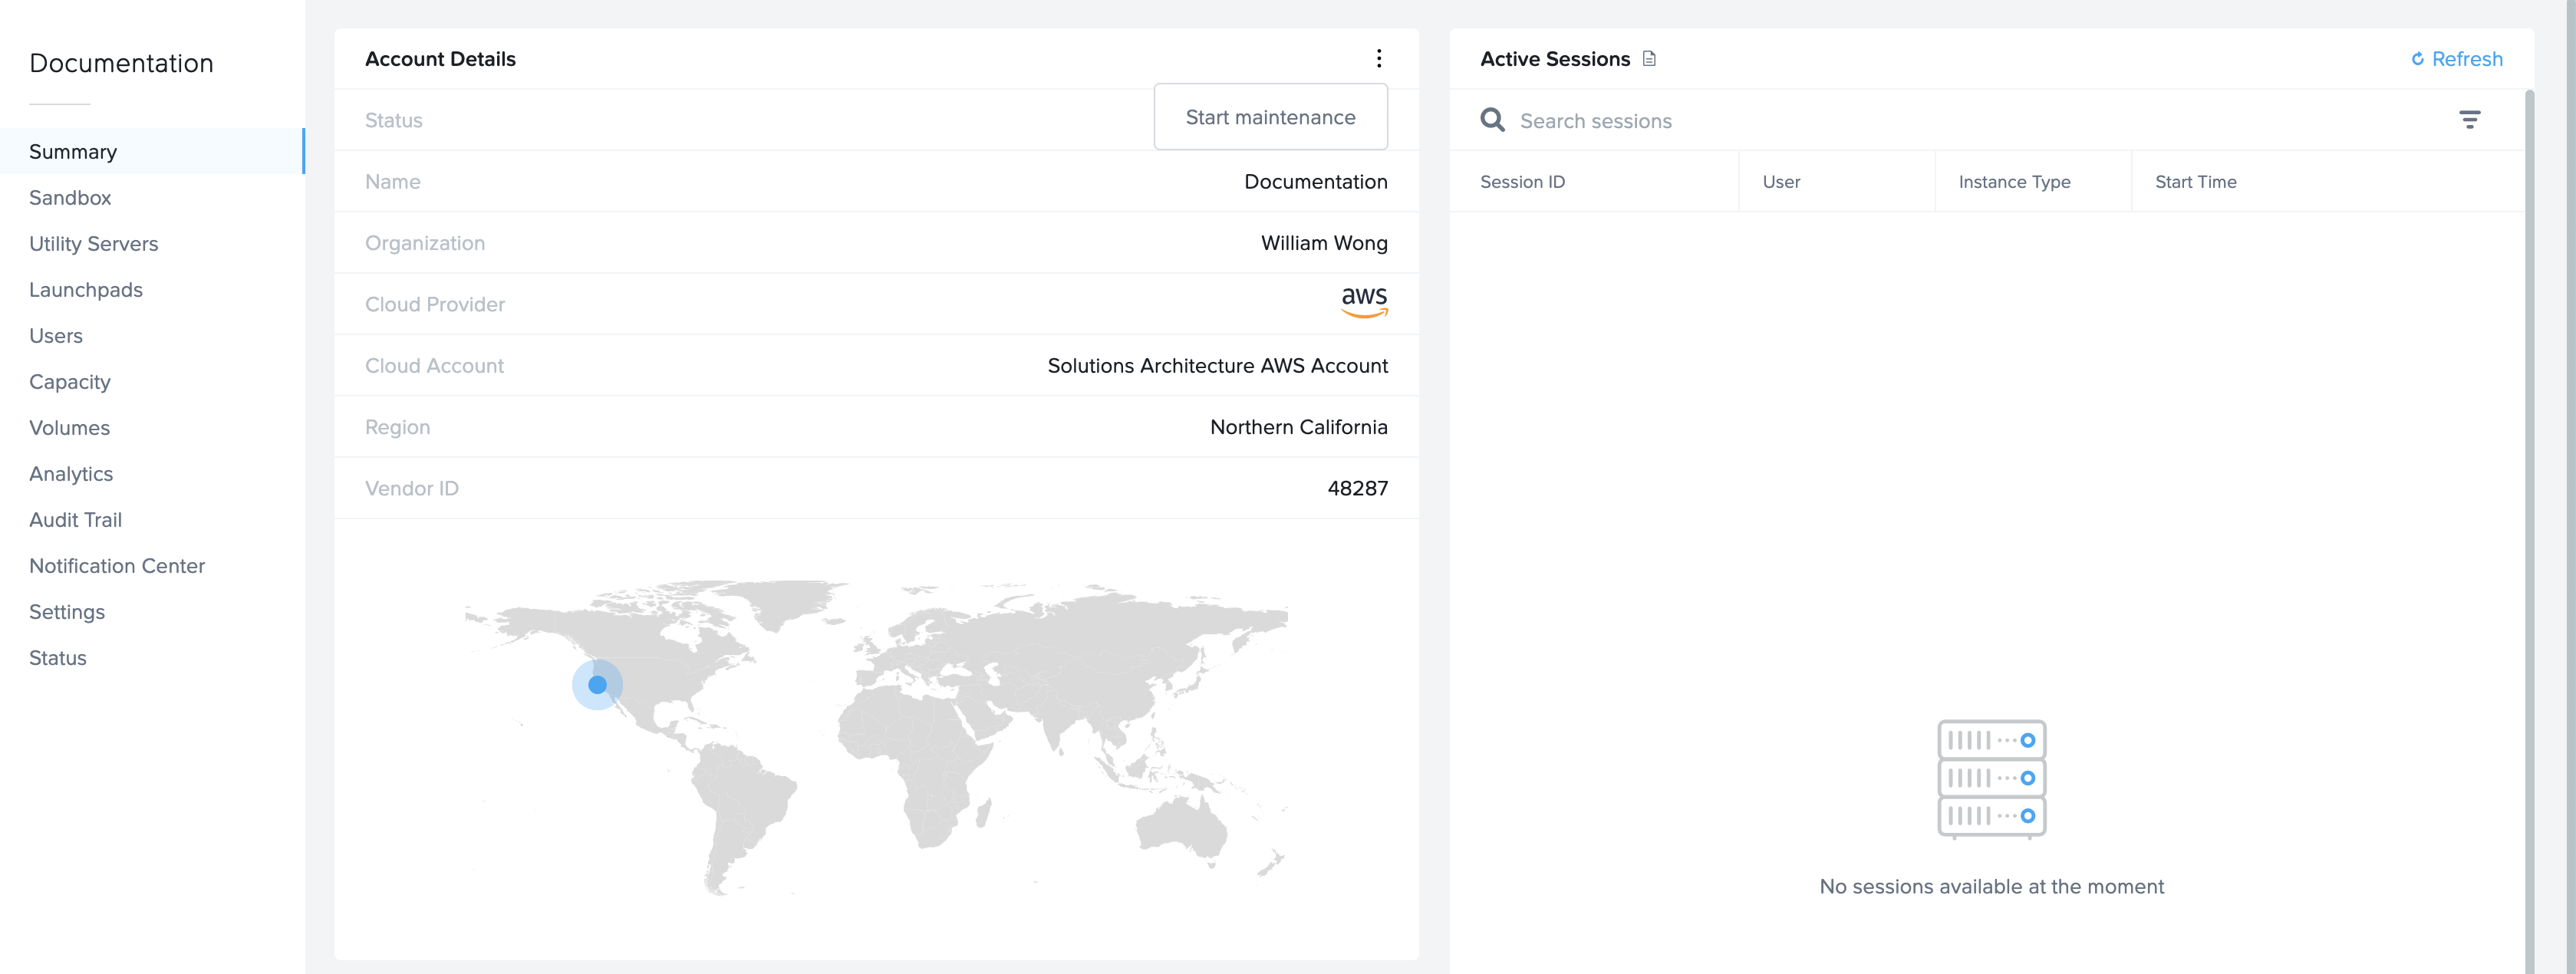
- This will open the Maintenance mode window. Click the toggle to enable and enter a custom message that will be displayed to Launchpad users. Click “Start” when you are ready.
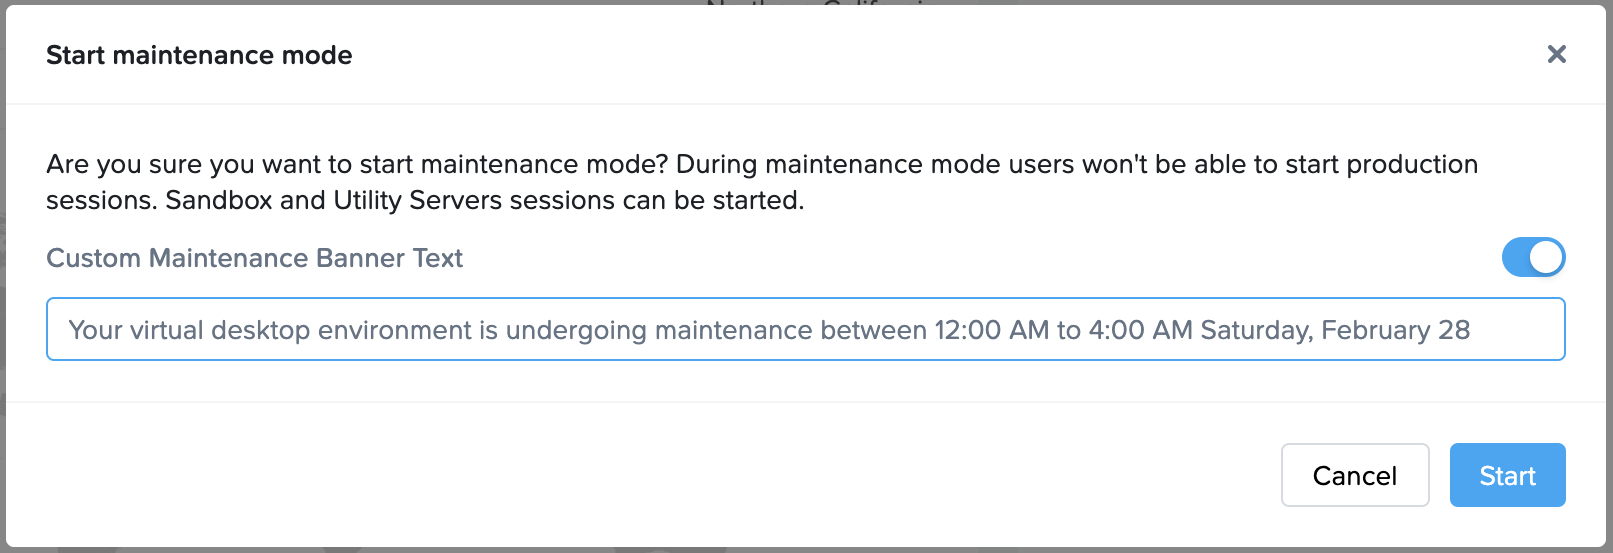
- The account is now in Maintenance mode and a “In Maintenance” banner has been added to the Summary tab of the Frame Console.
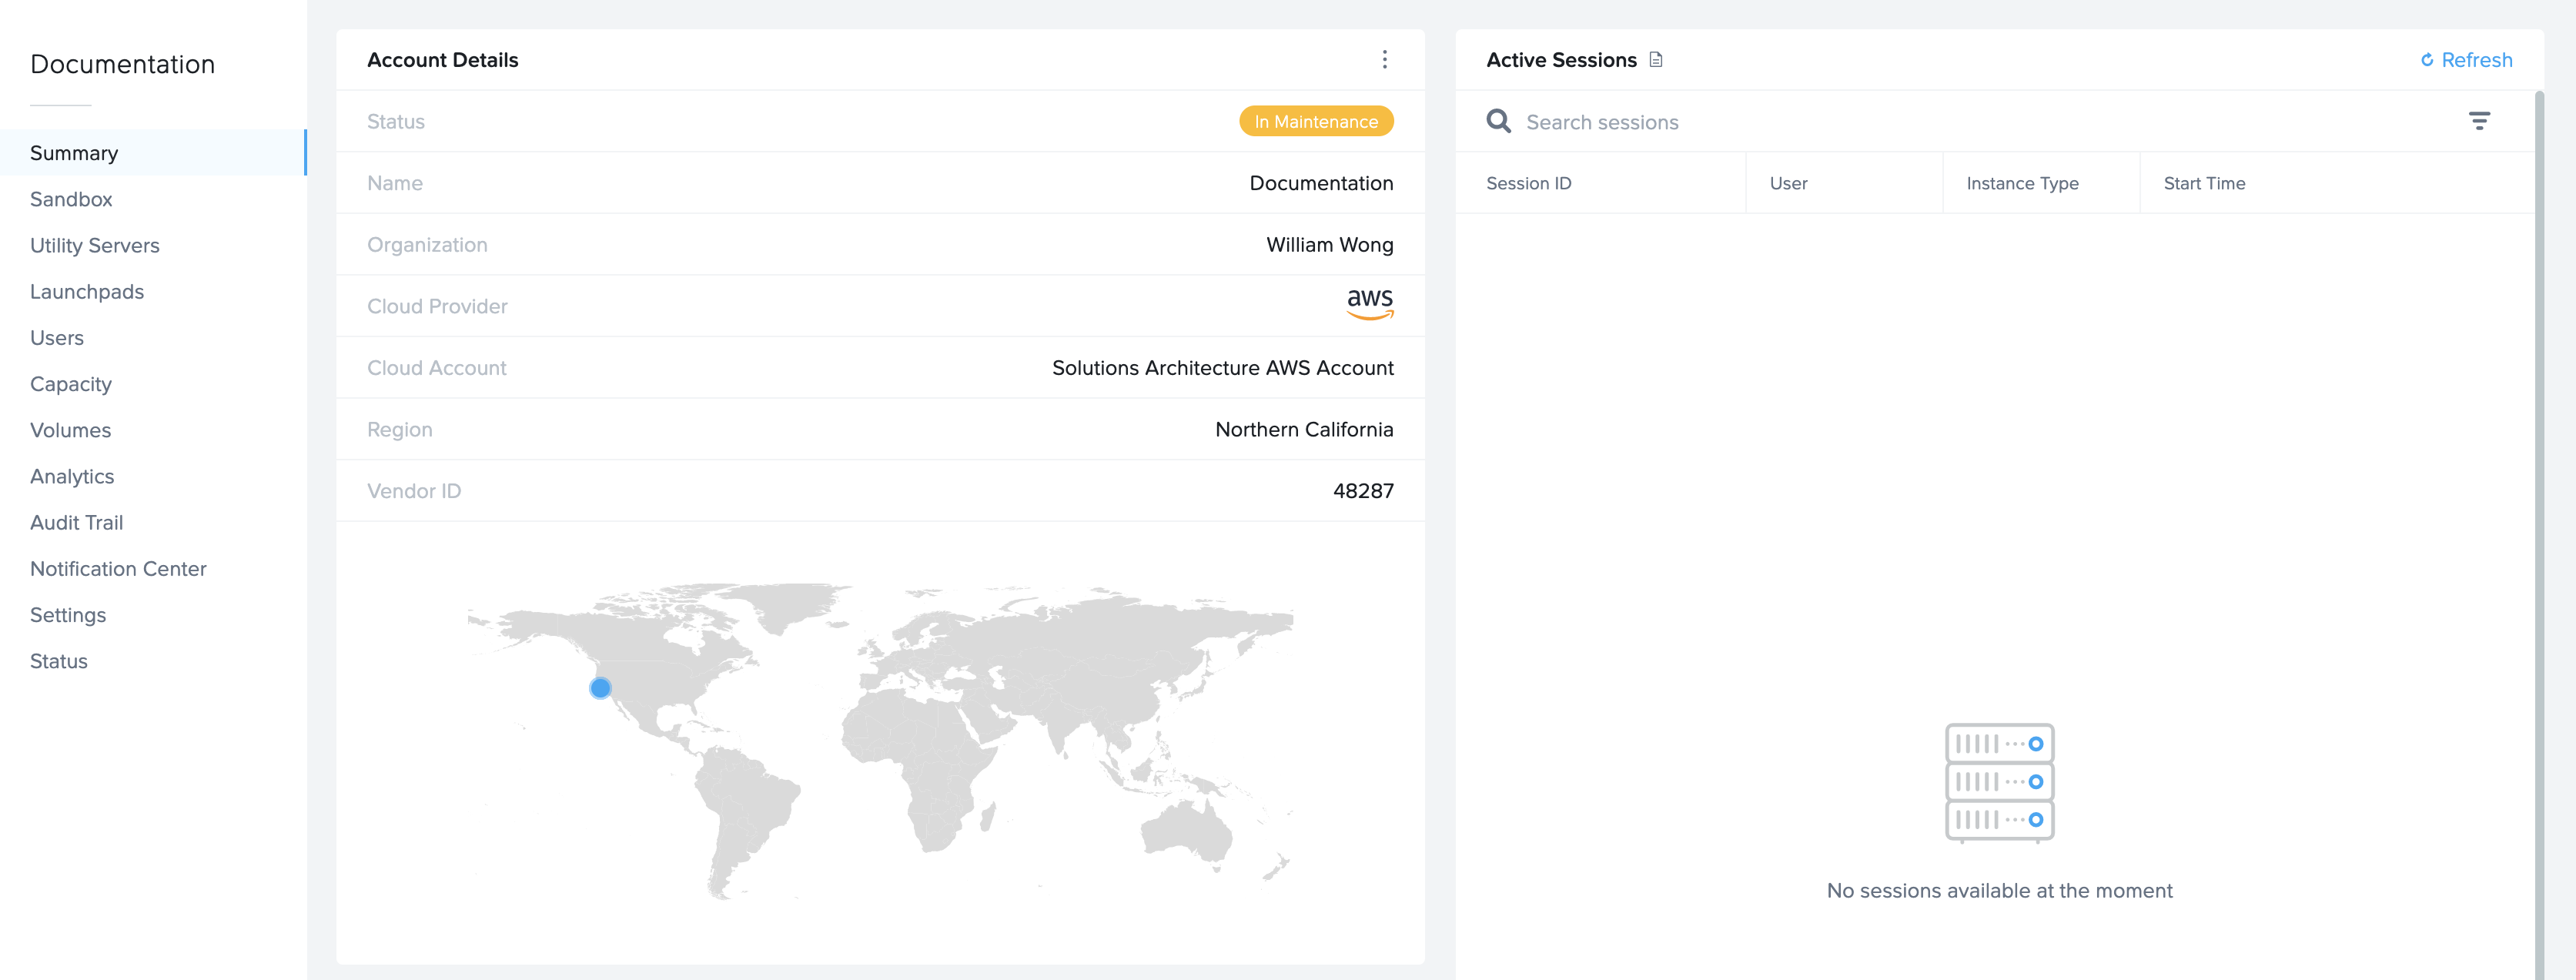
Exit Maintenance Mode
To exit Maintenance mode, go back to the Summary page of your Frame Account Dashboard, click on the kebab button, and select Exit maintenance. Then click on Exit to allow your users to start production sessions.
If you exit Maintenance mode, any custom maintenance message will be deleted.
Update Maintenance Message
To update the Maintenance message, go back to the Summary page of your Frame Account Dashboard, click on the kebab button, and select Update maintenance message. You can then update the maintenance banner text.
If you did not customize the message before, you can click on the toggle and enter your custom message.
Be sure to Save your custom maintenance banner text when you are done.
User Experience
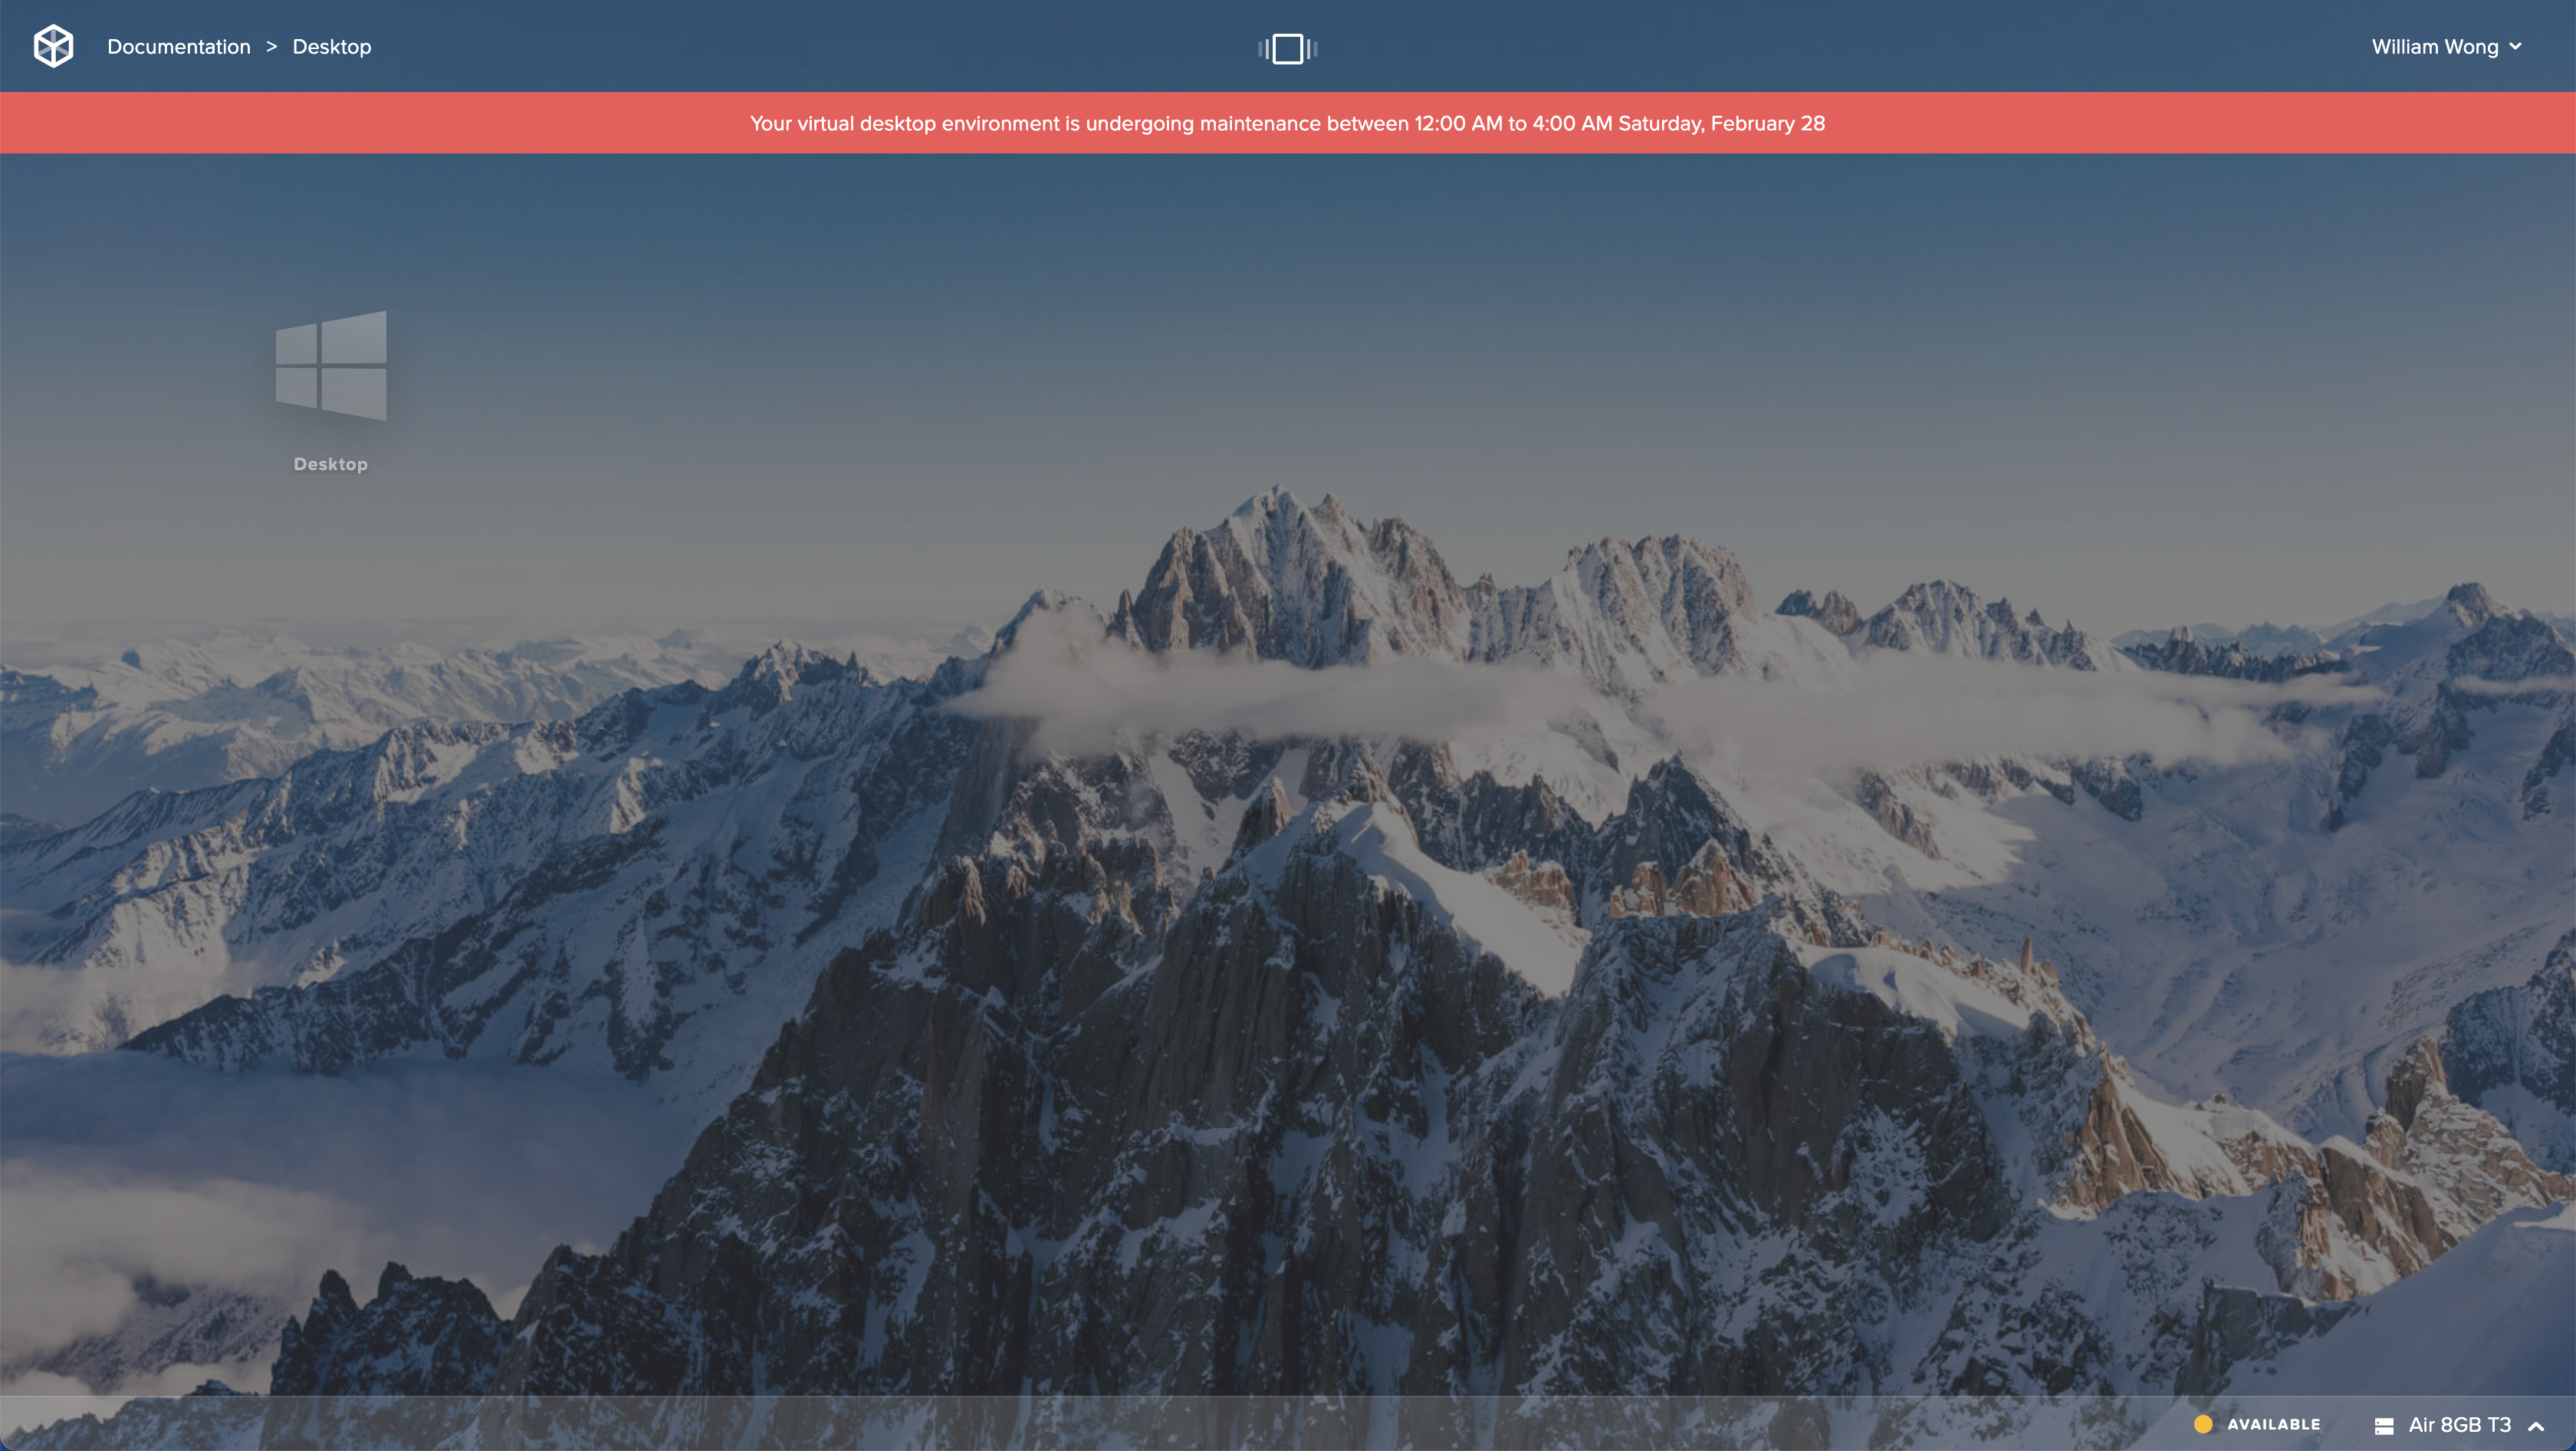
When Maintenance mode is enabled, Launchpad users will see the following message banner when they reach their Launchpad and will not be able to start a Frame session.
